Want to learn how to create a stunning salon website in WordPress – without needing to code or spending a fortune?
This is the perfect tutorial for you.
By the end of this guide, you'll have all the information you need to create an impressive website for your salon. With these tips and tricks, you can dive in and start showcasing your hair styling expertise online immediately.
Ready to create a solid online presence for your business? Let's get started!
What You’ll Need to Build Your Website
This is our recommended list of items you’ll need to build a website. Some of these tools are optional (e.g. using a page builder, or choosing WordPress as your CMS), but we strongly recommend them if you want to create a site that will perform well:
- Domain name for your website (e.g. www.sweetsalon.com)
- Reliable web hosting to “house” your site (start here if you’re still searching for a host)
- WordPress as your content management system (where you’ll manage all your site content)
- WordPress theme for your site’s structure, look, and feel
- Reliable WordPress page builder to create and customize your webpages (without coding)
- WordPress plugins to expand your website’s functionality (e.g. adding a Google Reviews feed to your site)
- Email marketing service to capture leads and turn them into loyal clients
- Secure checkout tool to process payments for online bookings and product sales
Once you’ve got everything you need, it’s time to start building.
How to Build a Salon Website that Attracts More Clients (Step-by-Step)
After you’ve purchased or set up a free domain name, chosen a WordPress web hosting provider, and completed the WordPress installation process -- it’s time to start working on your actual website.
This step-by-step tutorial will show you how to do this:
1. Download & Install Thrive Theme Builder + Thrive Architect
Creating a website for your salon should be fun. In fact, building your site should be as enjoyable and creative as styling a client's hair or working on the perfect manicure.
With the right tools and a dash of creativity, you'll be amazed at how enjoyable the process can be. Your website is your salon's digital storefront, and designing it should feel like redecorating your actual salon – a chance to showcase your style, your services, and what makes your salon unique.
And that’s why I’m recommending Thrive Theme Builder and Thrive Architect as the tools to use to build your salon website.
This website building duo is the perfect option for WordPress beginners who don’t want to wrestle with code, and more advanced users who prefer tools that’ll help them set up a high quality website quickly.
No matter what your design experience is, these tools will meet you where you’re at.
I’ve also been using these tools for the last couple of years and let me tell you – they’re worth it.
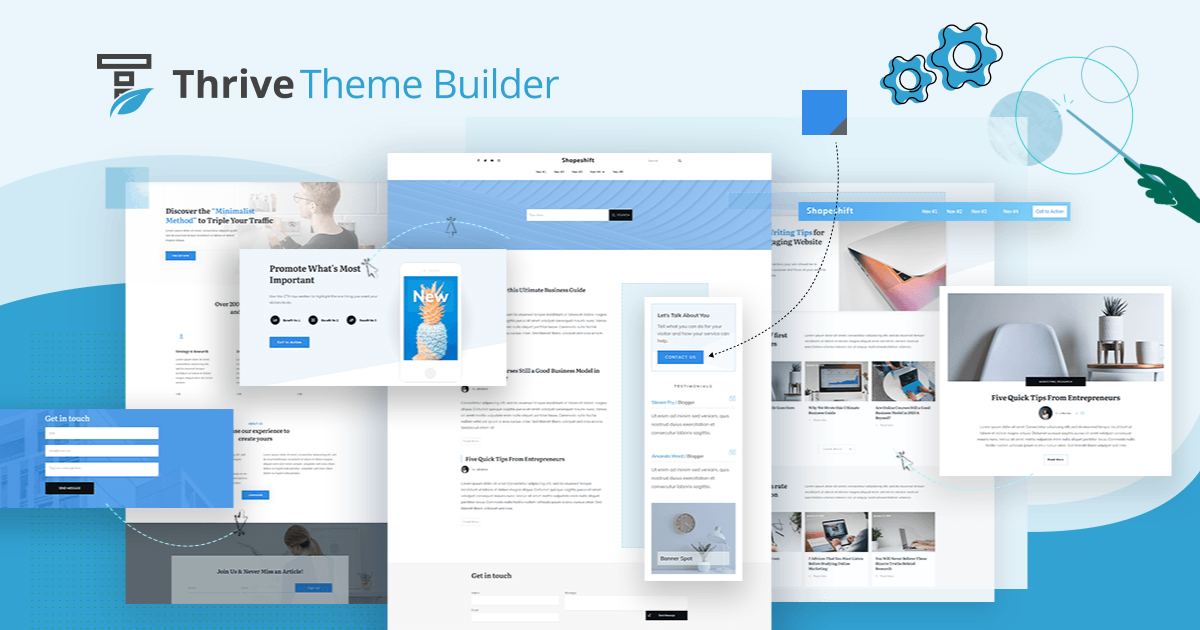
Thrive Theme Builder helps you get started with the right structure for your website. In a few minutes (and clicks), you’ll have a custom WordPress theme, complete with a set color scheme, fonts, page layouts and styles.
Once you’ve set up your theme, you’ll hop in to Thrive Architect to customize your page templates and turn them into unique webpages for your business.
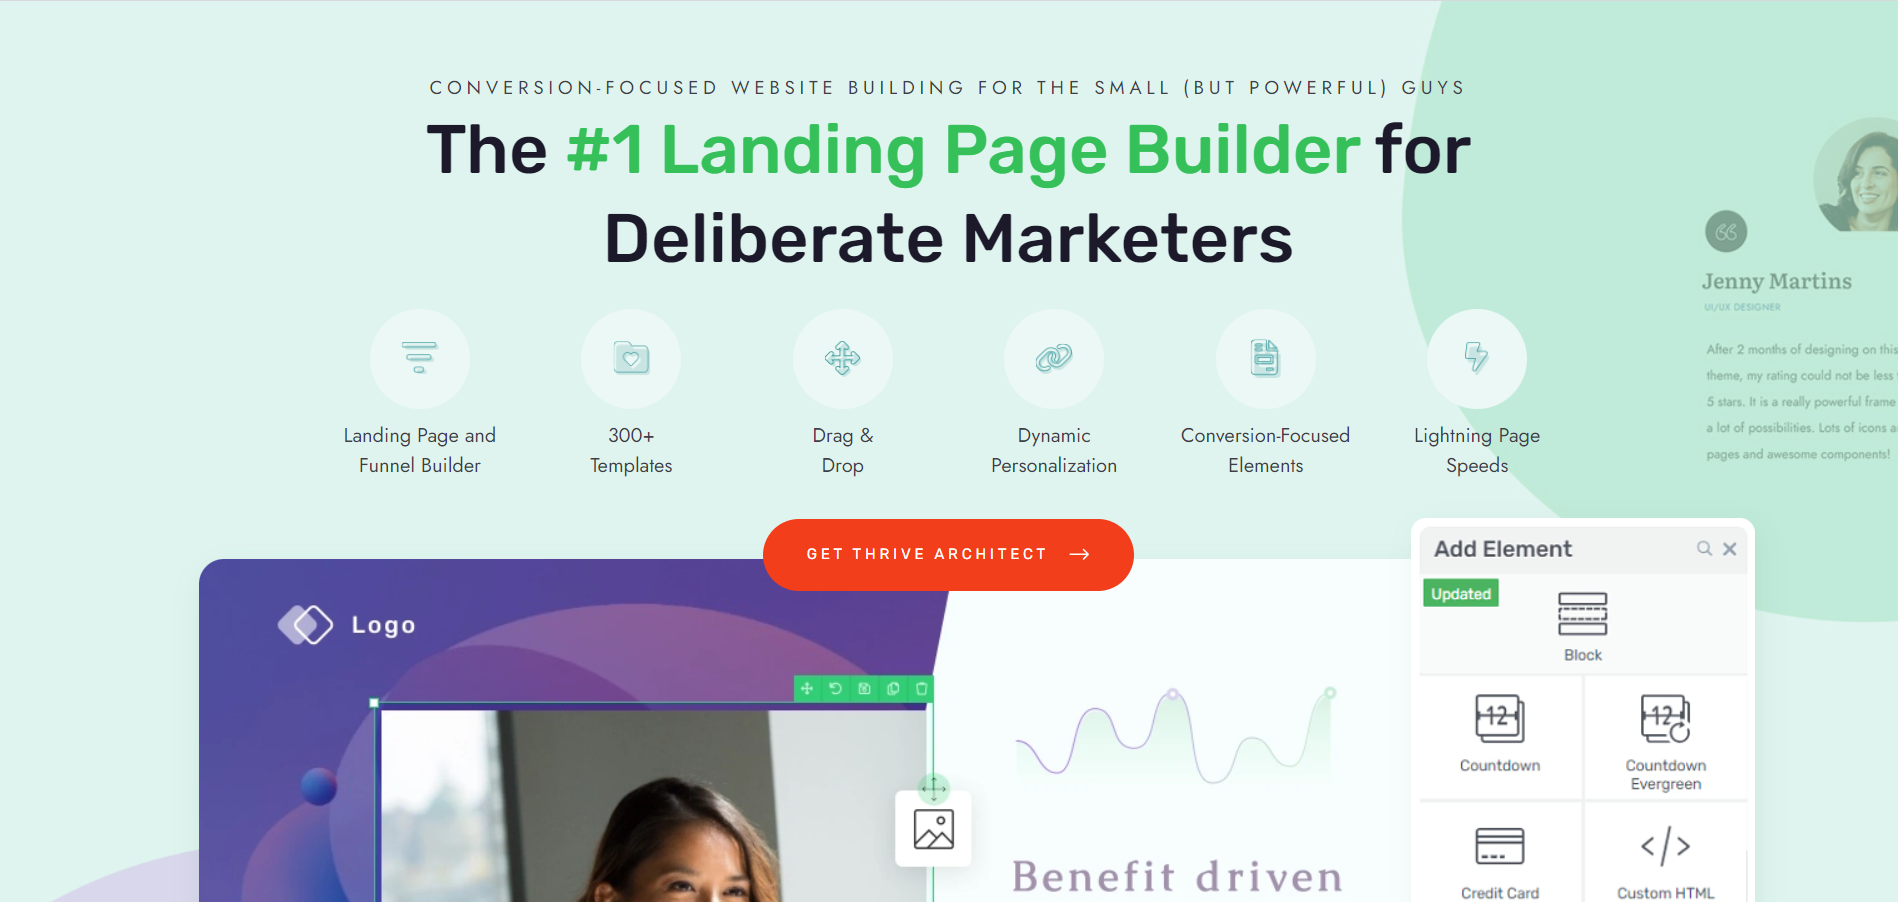
Thrive Architect gives you the freedom to design landing pages that truly fit your brand. No need to struggle with complex coding. Just drag and drop elements onto your pages to create a stunning design.
These tools were designed with you, business owner, in mind. Your goal is to create a professional site for your business in the best way possible and these tools give you the opportunity to do just that.
2. Choose Spa Theme: Perfect for Beauticians and Beauty Salons
To get started, you’ll need to install and activate Thrive Theme Builder. This shouldn’t take you too long.
Once you’re in, you’ll need to choose your theme – we have the perfect one for you: Spa WordPress Theme.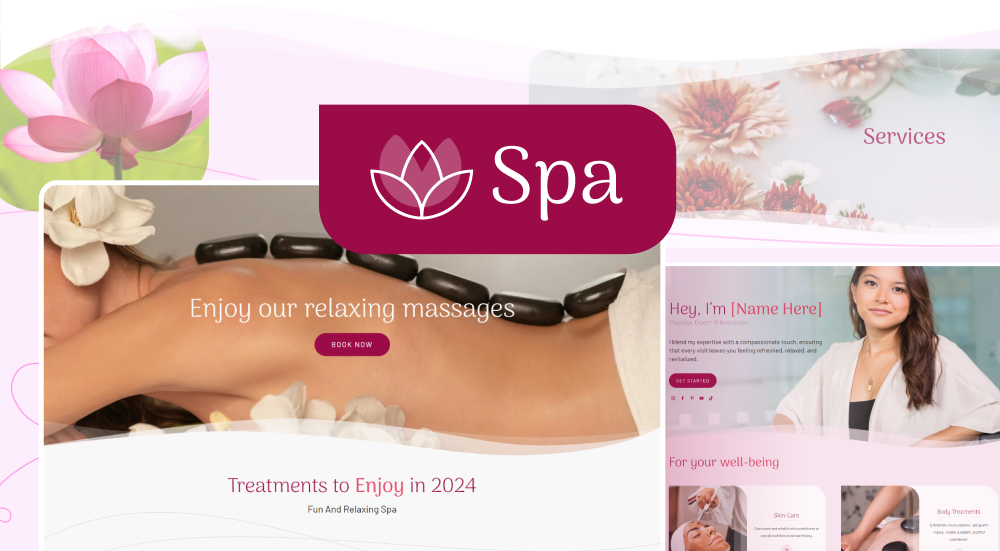
Spa is designed to give your potential clients a sneak peek into what they can expect from visiting your salon or beauty center. It's made to show off your services, create a relaxing online space, and help you promote your products and services.
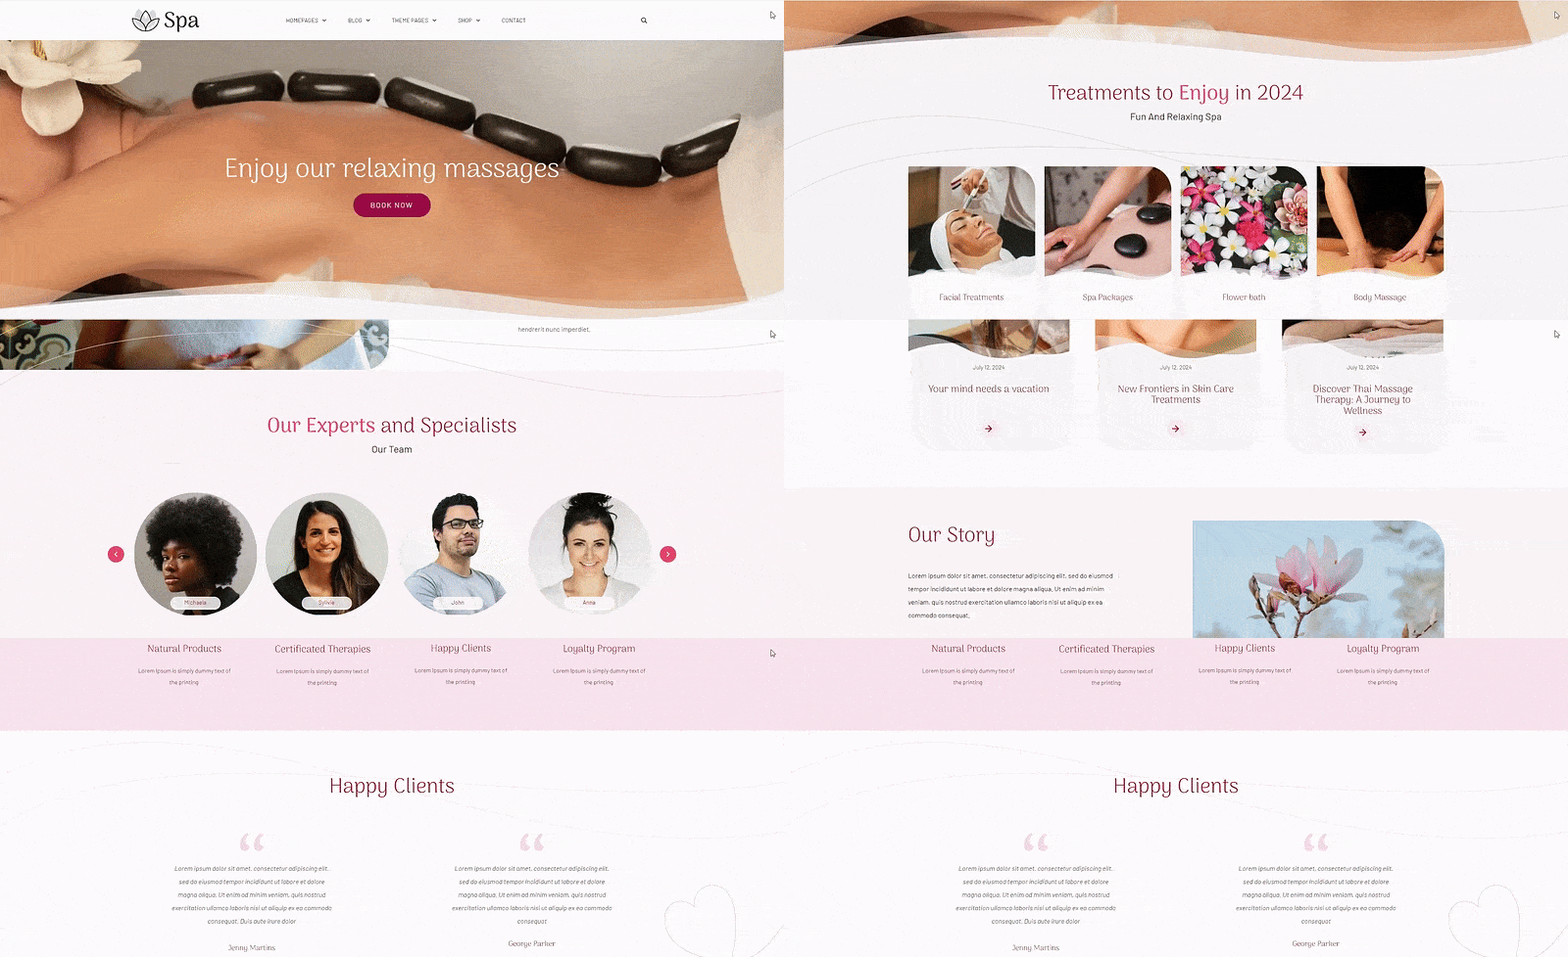
Our goal is to help you create a professional website for your salon quickly and easily. And with Spa and Thrive Theme Builder, you can do that in no time.
To give your website a truly custom feel, you also get a selection of high-quality block templates. These are easy to add to your pages and tailor to match your salon's unique style and brand. It's like having a versatile set of tools to style your website, just as you would style a client's hair.
What is a Block Template?
Thrive Architect's block templates are pre-designed sections you can easily add to your pages with just a click. These templates are made up of various elements like text boxes, images, contact forms, and buttons, all arranged in visually appealing layouts.
You can quickly customize these templates to match your brand, saving you time and effort in designing your website pages from scratch.
Visitors will feel pampered just by looking at your website. But it's not just visually appealing — it also helps you showcase your services, connect with clients, and grow your salon business.
To create this kind of website, all you need to do is browse through a set of high-quality templates and choose the ones that best represent your salon's style and atmosphere.
No coding. No stress.
Just simple, straightforward building so you can get your salon's online presence up and running as quickly as you can style a chic bob.
3. Set Up Your Salon Site Structure with the Thrive Theme Builder
The Thrive Theme Builder Setup Wizard helps you select all of your page templates, a color scheme, and fonts you need for your site’s design —and it only takes a few minutes to do this.
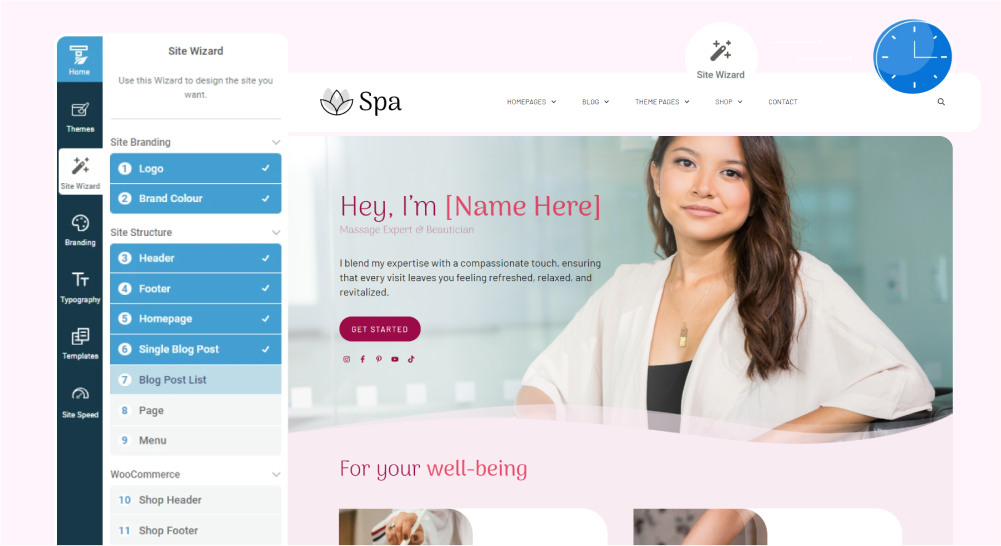
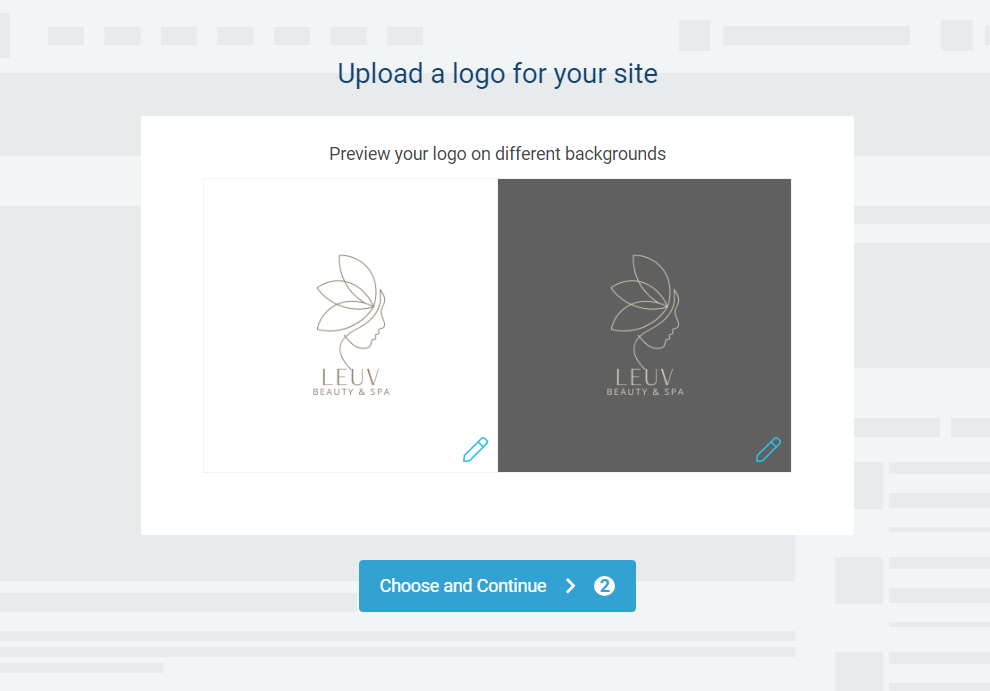
The wizard guides you through setting up the following:
A logo for the dark and light backgrounds on your website
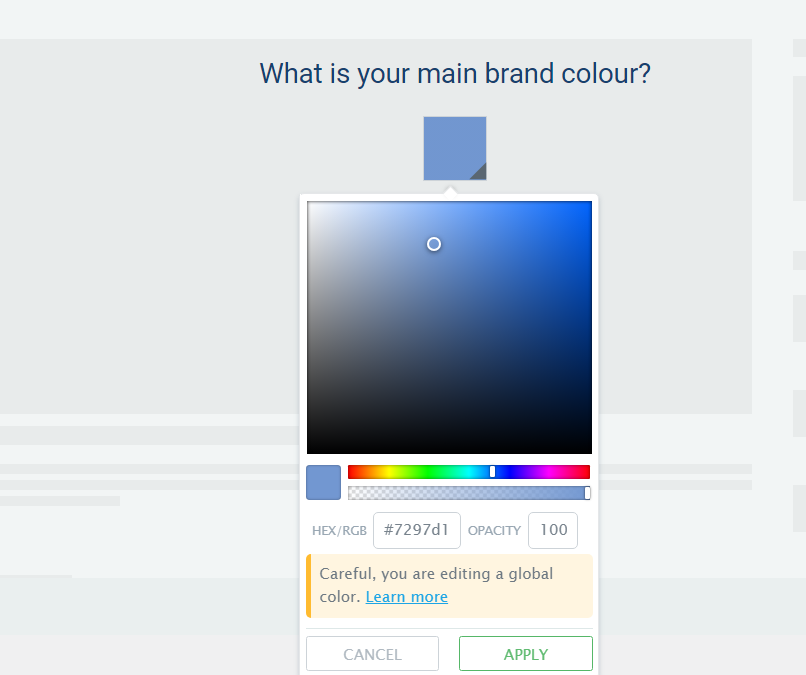
Choose your site’s color scheme by picking a primary brand color. This color scheme will automatically be applied to your website templates, fonts, blocks, etc.
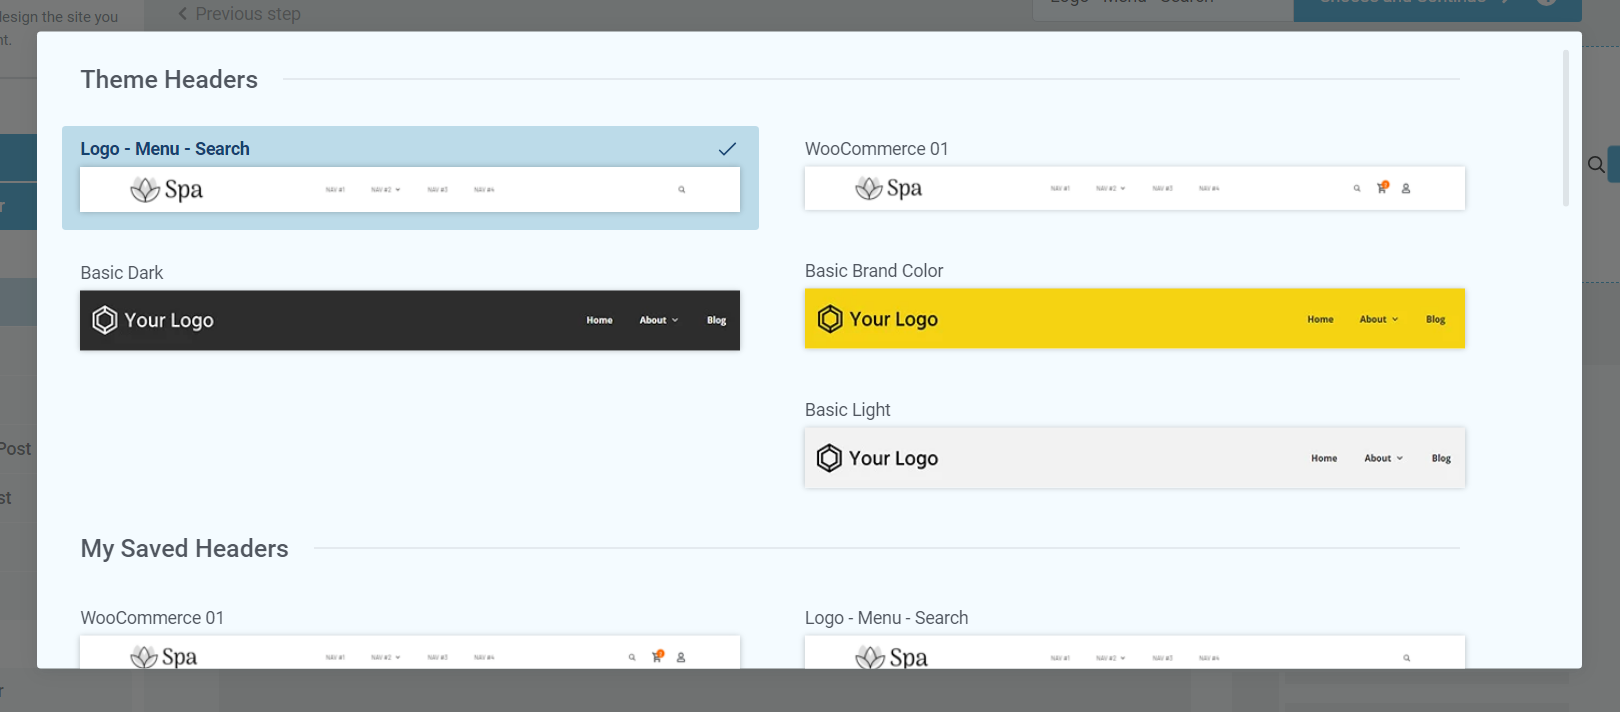
A conversion-focused header for straightforward site navigation.
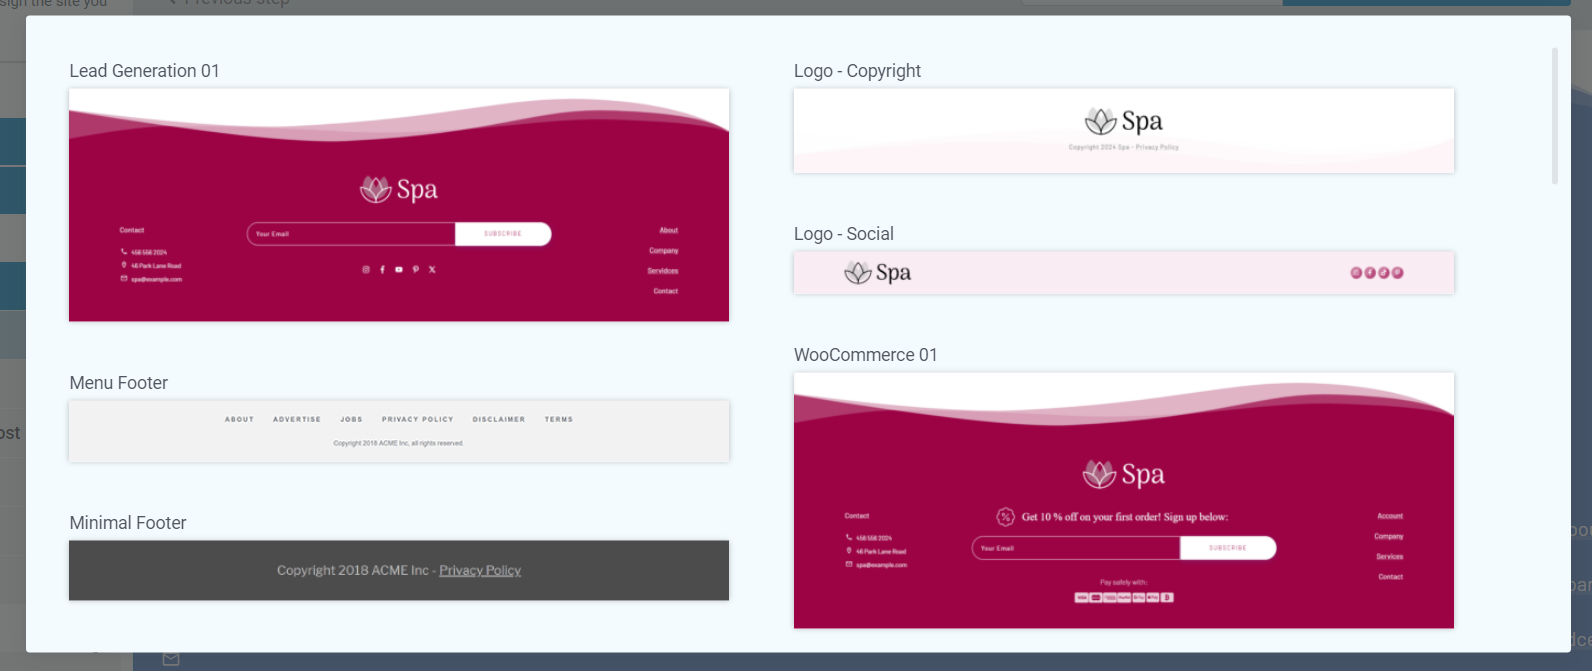
A focused footer to add contact information, your business address, links to social media platforms, etc.
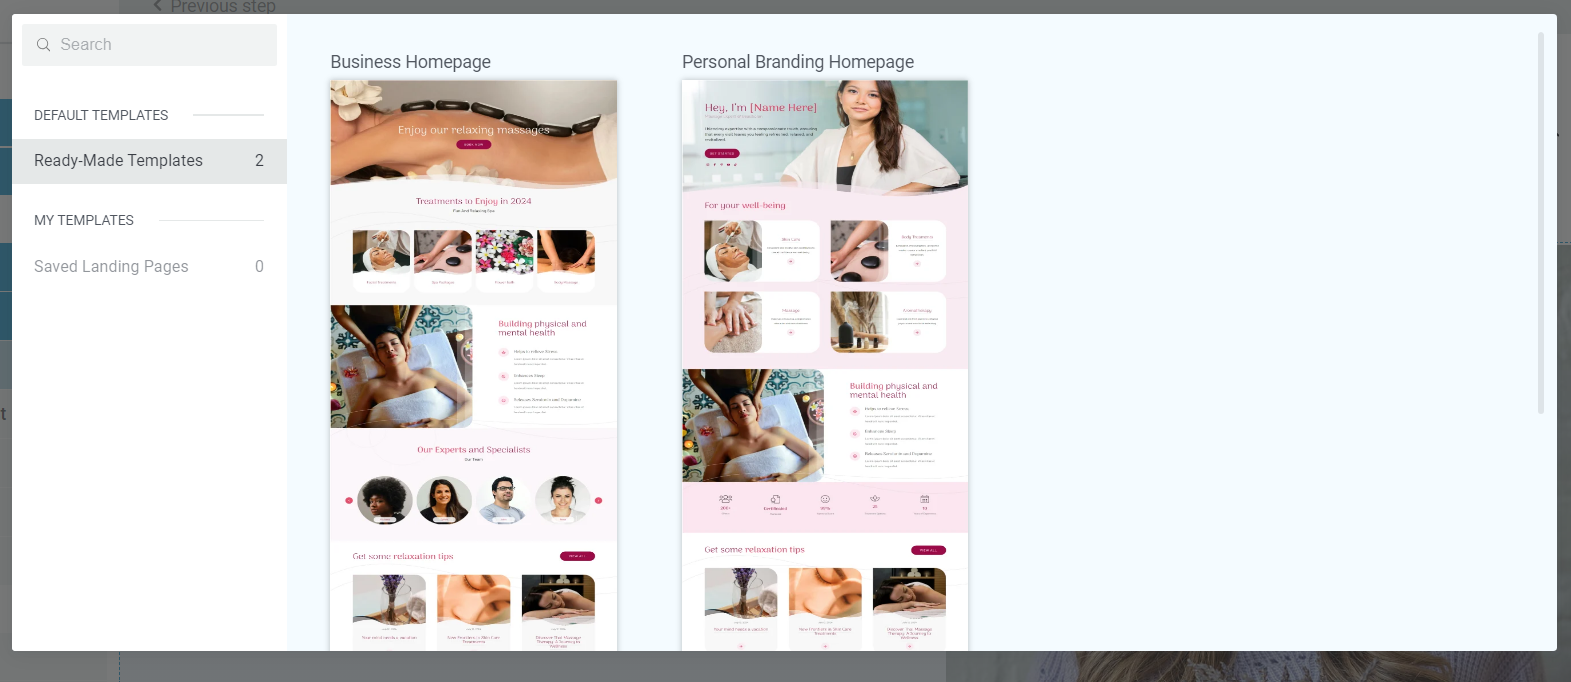
The perfect homepage template for your site. You have two options – a business-focused template that leads with showcasing your business, or a personal brand template that’s great for solo business owners or individual stylists and beauticians.
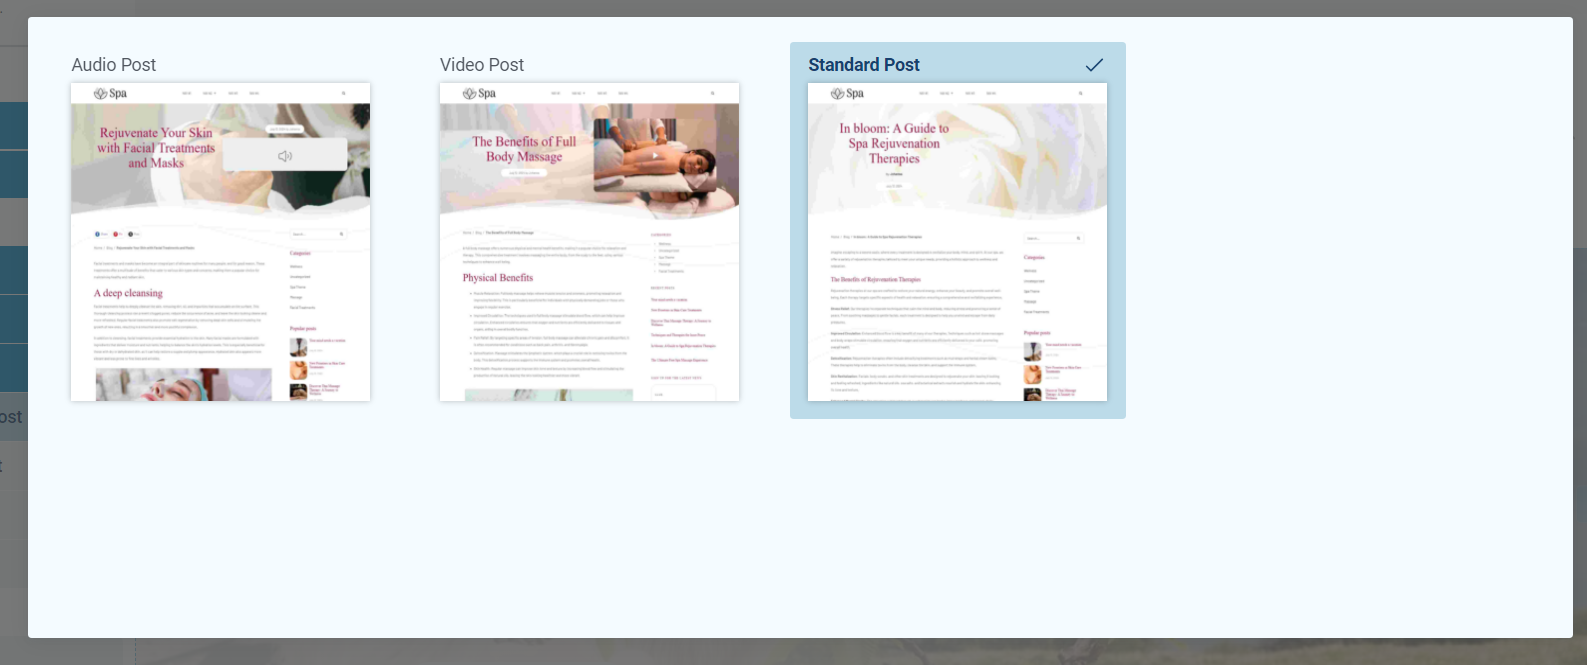
A template for your blog posts.
And if you need your platform to double up as a shop website — we’ve got more templates for you.
Allure comes with several WooCommerce theme pages for you (shop page, checkout page, etc.) to help you set up your store website quickly.
By the end of the Setup Wizard, you will have created a clean website layout that you can customize using Thrive Architect.
Allure also comes with other default page templates – 404 page, about page, etc. You can find them in the “Templates” section in Thrive Theme Builder.
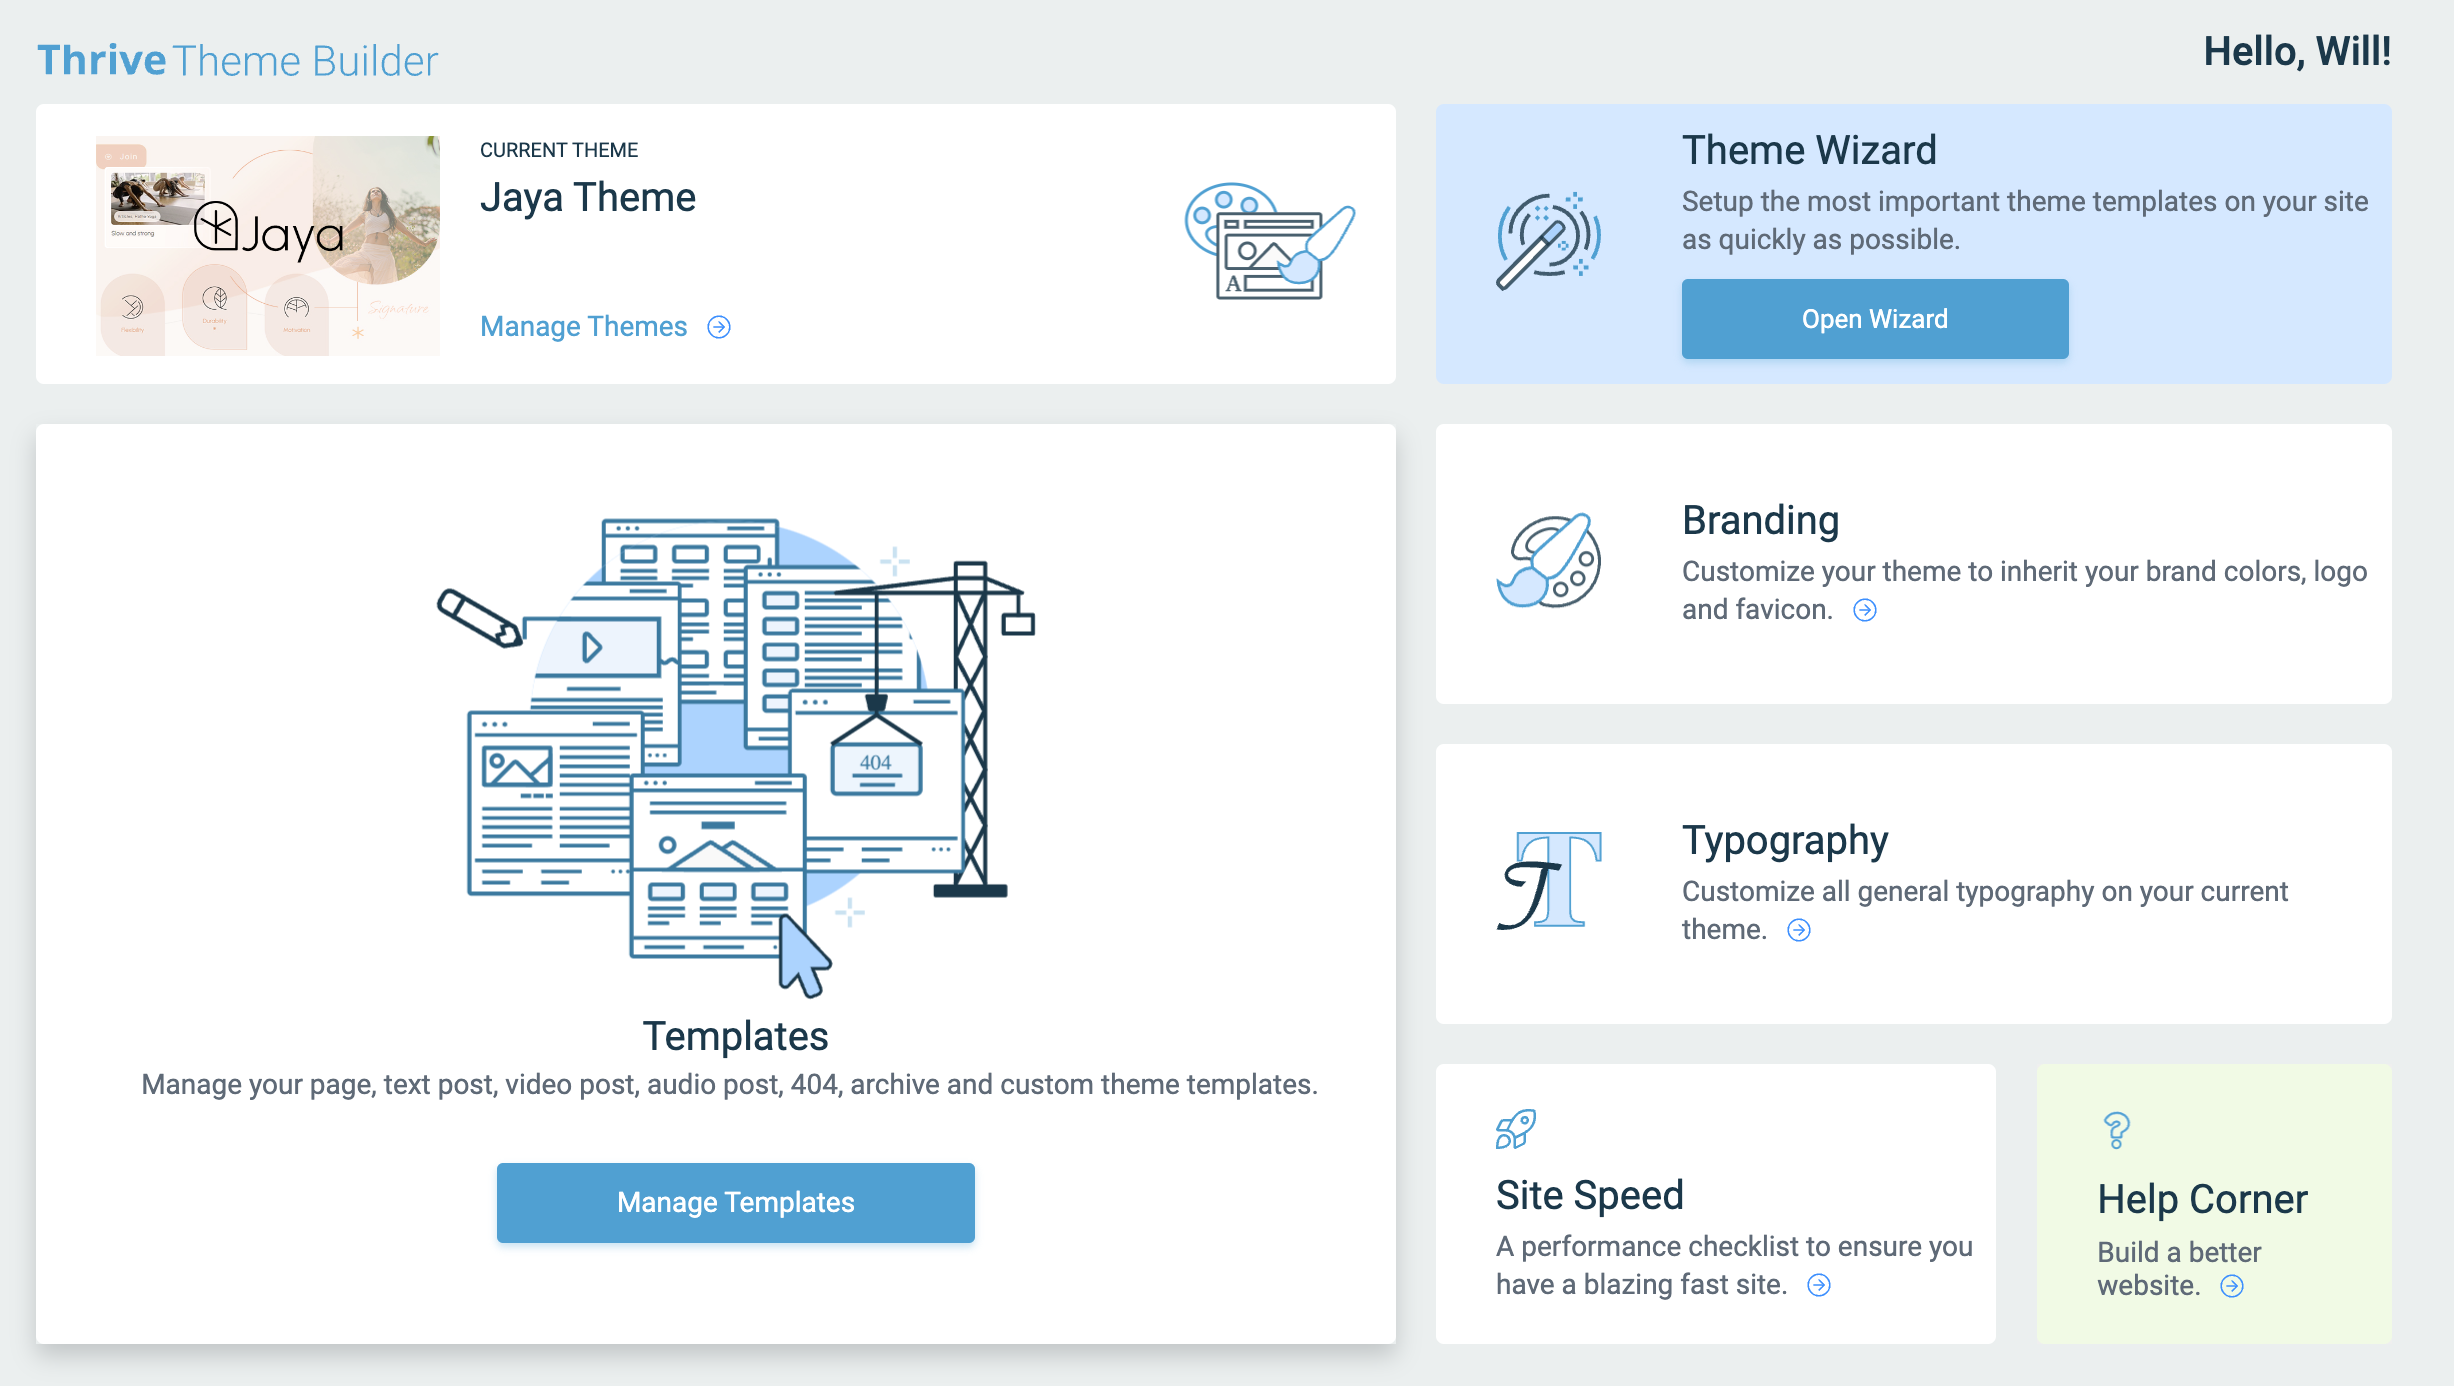
And there you go! You’ve just set up your entire website’s structure. It’s that easy!
4. Create and Customize Your Core Pages with Thrive Architect
Next, you need to create the rest of your site’s pages with Thrive Architect, our landing page builder.
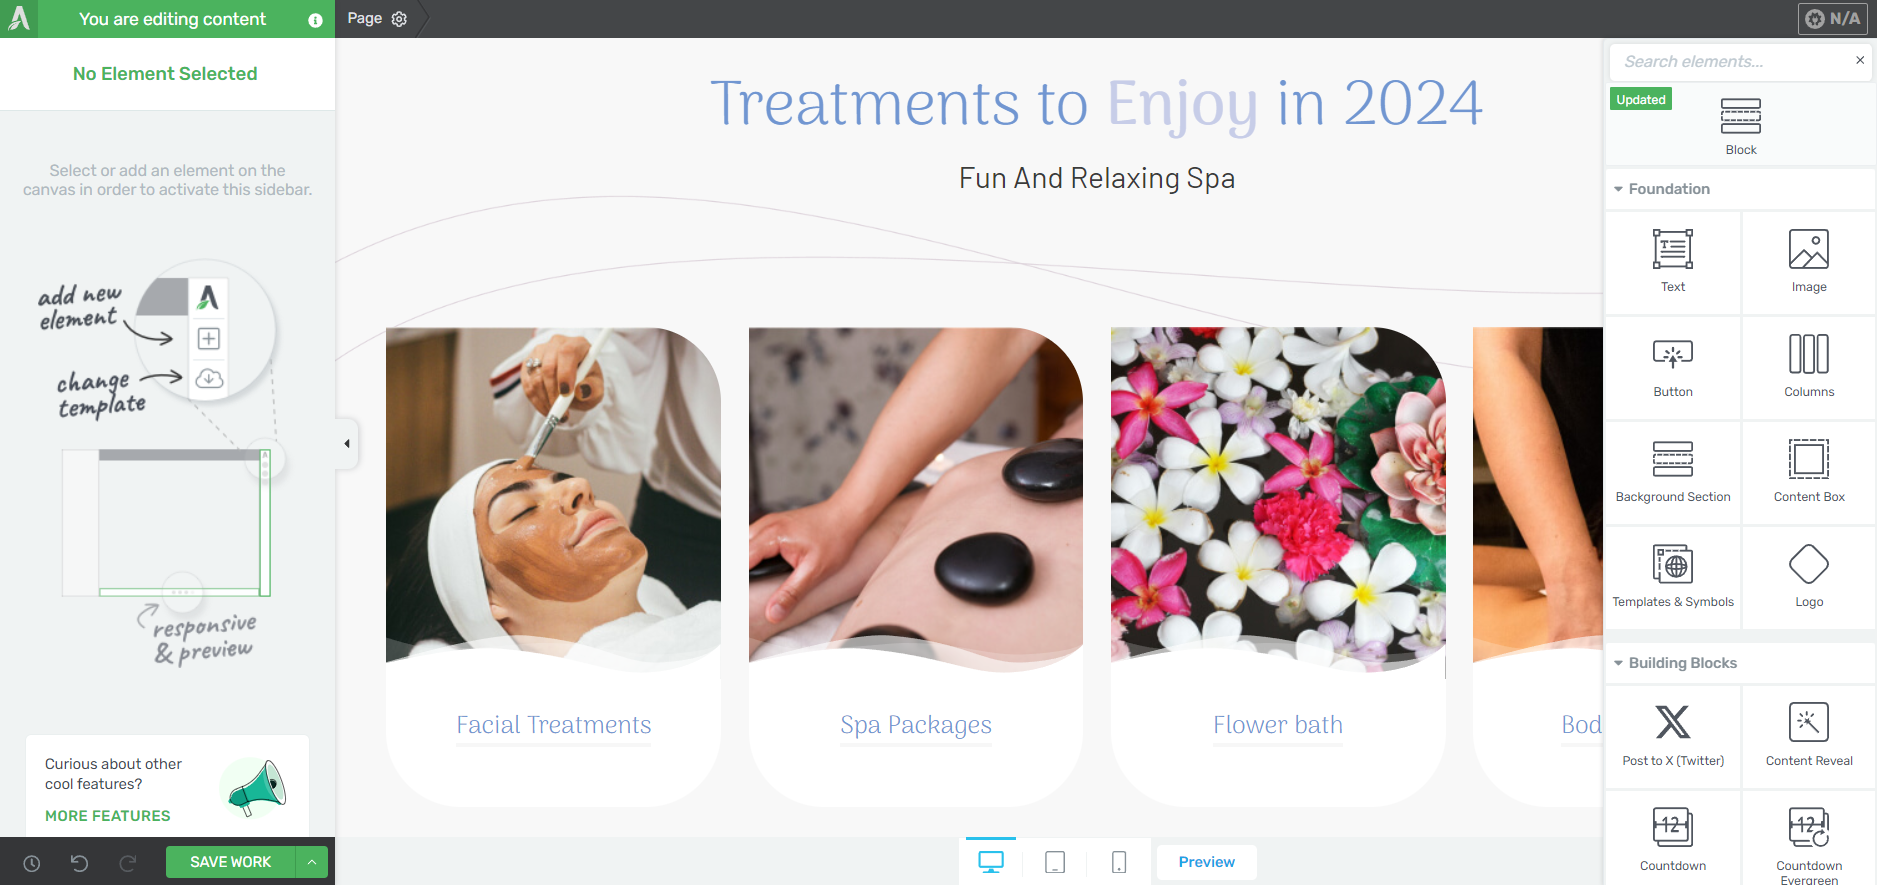
This tool gives you total control over your website’s look and the design flexibility to turn any template into a unique page. You also get a drag-and-drop editor to customize your pages with ease.
Our page templates are there to help you build pages quickly. They all look great and can easily be customized with a few clicks, drags and drops.
But the real creative freedom comes with our block templates. You can add new blocks to your pages if you feel like something’s missing, or delete the ones you don’t want – in one click.
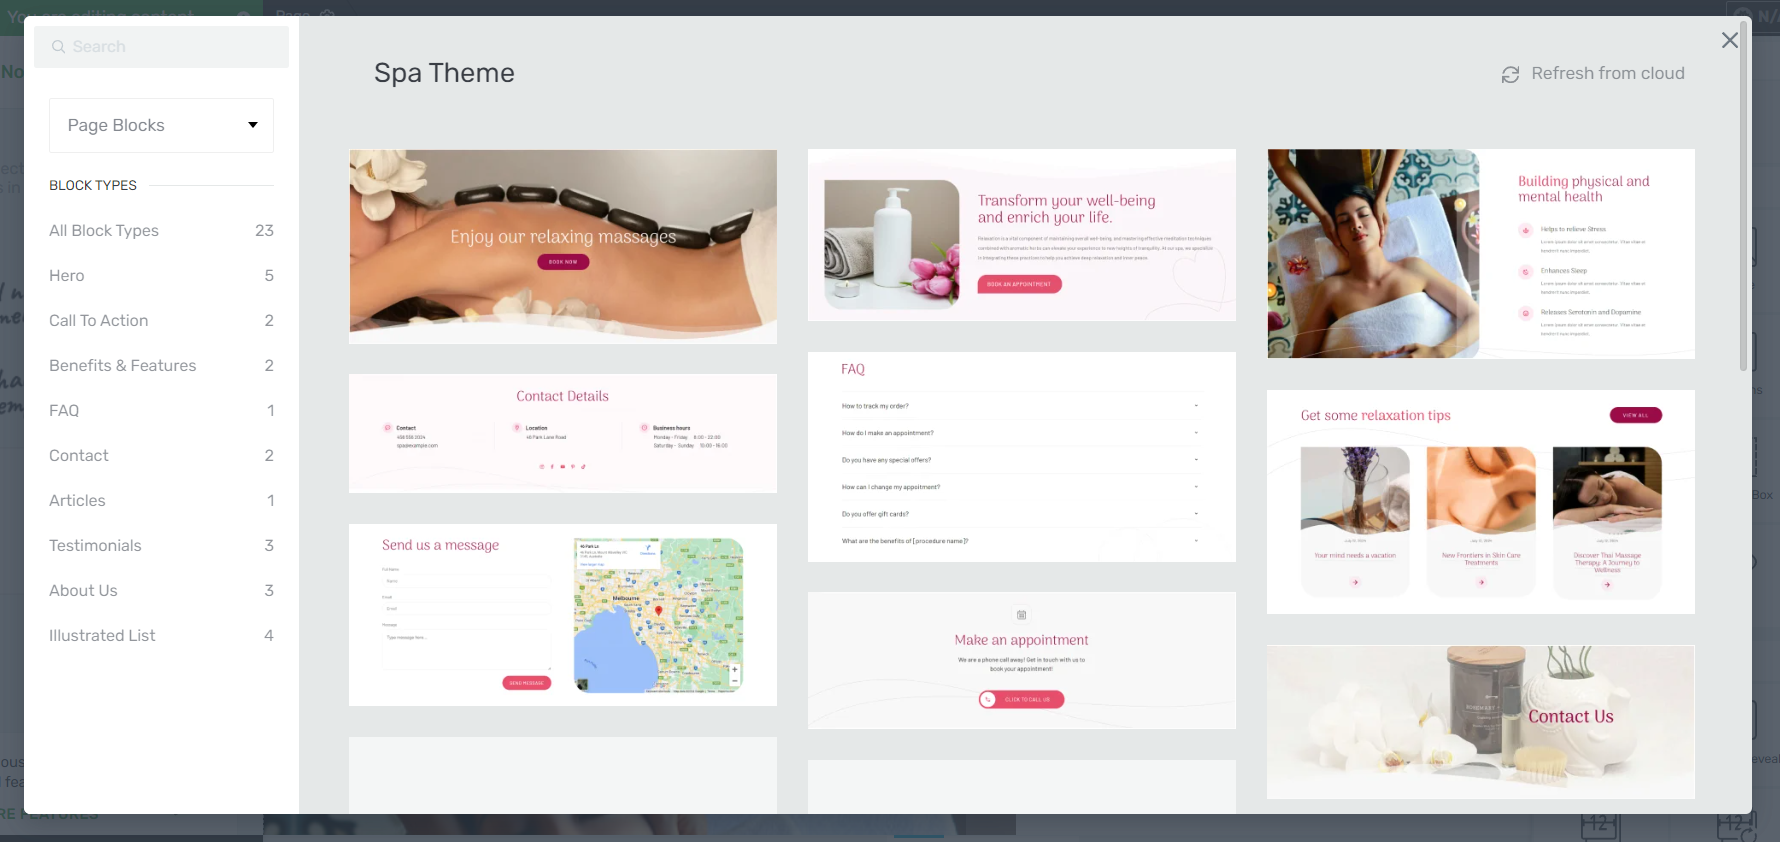
Thrive Architect's drag and drop editor
Your site’s design is in your hands – without any stress.
And in case you need more design elements, just take a look at the right sidebar in the Thrive Architect editor.
With all these tools, you can create and customize the rest of the pages for your art gallery website without any hassle.
Key Pages for Your Salon Website
- Home: Welcome visitors with a stunning visual introduction to your salon. Highlight your unique style, showcase featured services, and include a clear call-to-action for bookings.
- Services: Provide a comprehensive list of your hair, beauty, and styling offerings. Include brief descriptions, pricing, and estimated duration for each service.
- About Us: Share your salon's story, mission, and values. Introduce your team of stylists with photos and brief bios highlighting their specialties and experience.
- Gallery: Create a visually appealing portfolio of your best work. Include before-and-after photos, styled looks for different occasions, and examples of color treatments.
- Booking: Implement an easy-to-use online appointment scheduling system. Allow clients to choose their preferred stylist, service, date, and time.
- Contact: List your salon's address, phone number, email, and hours of operation. Include a map for easy navigation and parking information if applicable.
- Testimonials: Feature reviews and feedback from satisfied clients. Include photos (with permission) to add authenticity and personal touch
- Blog/Tips: Share hair care advice, styling tutorials, and trend updates to establish your expertise and improve SEO.
- Promotions: Highlight current specials, package deals, or loyalty programs to encourage repeat visits and attract new clients.
5. Finalize Your Homepage
Once you’ve created the rest of your website’s pages, you should focus on finalizing your homepage next.
When you were working through the Thrive Theme Builder Setup Wizard, you got started creating your Homepage template…
A homepage is automatically generated for you, so you don’t need to create a new page or configure any other homepage settings.
You’ll find it in the "Pages" section in the WordPress Admin Dashboard.
Search for the page titled "Generated Homepage".
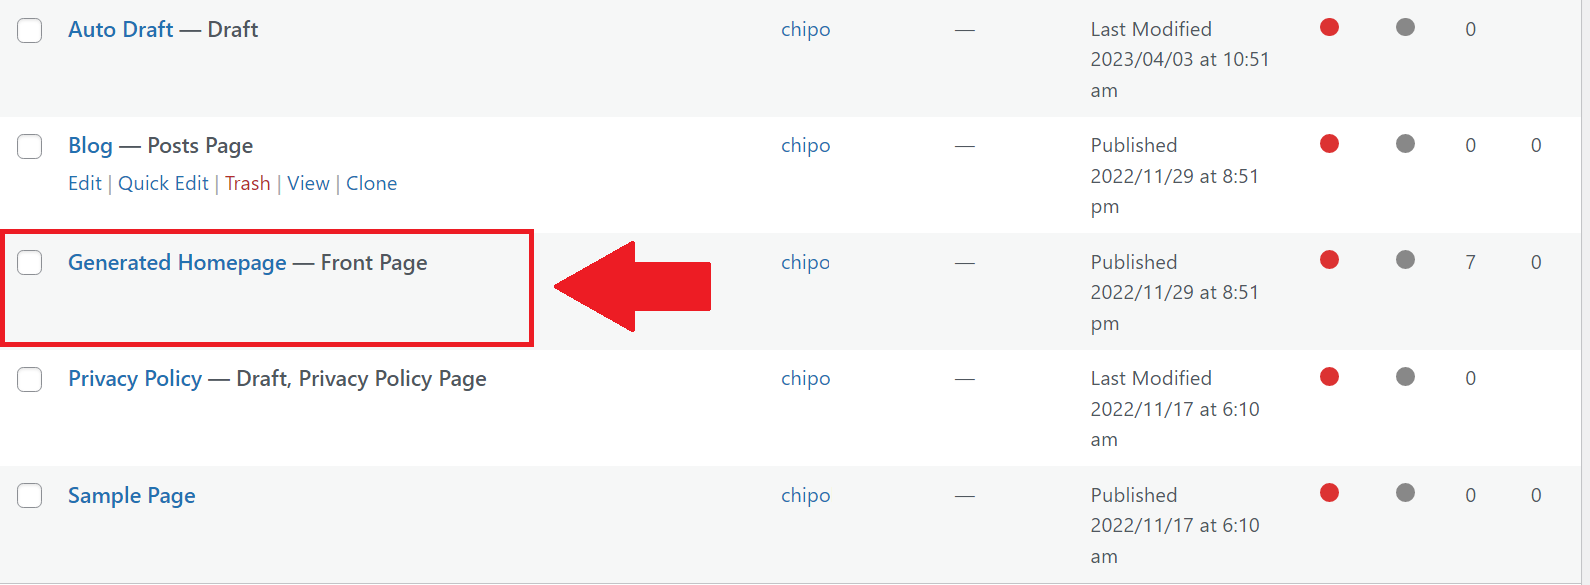
Click on the link, and you’ll be taken to the WordPress Block Editor (Gutenberg) space from the WordPress Dashboard.
In the Editor, click “Launch Thrive Architect”.
As you work on your page design, you may need to add new sections (e.g., a drop-down menu, widgets area, or FAQ section) or remove a few. You can go right ahead and use the block templates and design elements to customize your homepage’s look.
Thrive Tip: Want to learn how to create a conversion-focused homepage to turn more curious visitors into paying clients? Check out this handy guide.
6. Connect Your Site to Your Email Marketing Service
Connect your email service through the Thrive API. You will only need to do this once for the first opt-in form you set up.
You can find tutorials for all major email providers here.
Go to your homepage or landing page and click on the opt-in form (if you have one on your page). In the sidebar, click on "Connect form with service" and follow the setup wizard.
You'll be able to configure the fields you want to show (yes or no first name field), and you will also select the action after opt-in.
Thrive Tip: Setting up your email marketing tool is one step. But, do you have a clear idea on how to grow your email list and generate leads? This detailed guide can help.
7. Connect Your Site to Your Checkout Tool
If your site is doubling up as an online store, then this step is for you.
You should be able to accept payments for new purchases made through your eCommerce website.
There are a lot of WordPress checkout tools to choose from, including:
Your eCommerce payment tool of choice will have instructions or tutorials on how to create a product, set a price and pricing frequency, and add it to your site’s product or booking page.
After you’ve completed this step, sit back and admire your new business website
Growth Tools to Help Expand Your Business
With this tutorial, you’ll set up a conversion-focused website to start your brand on the right note. But if you’re serious about growth, we recommend installing the following tools:
All in One SEO: Get your website in front of more potential customers by ranking higher in search results.
MonsterInsights: Make smart decisions based on real data to improve your website and grow your business.
Smash Balloon: Build trust and engage your audience by showcasing your social media presence on your website.
To succeed online, you need the right tools. These plugins work together to help you get found, understand your customers, and build a strong online presence. With these powerful growth tools, you'll be able to market your business more easily and watch it grow.
Next Steps: Set Up Your First Funnel
Now that you've got your website set up, let's start working on promoting your salon business and services. You might be wondering why a salon needs a sales page in the first place. Well, in a space full of competition, you need to make sure you're promoting your services and unique brand as best as possible.
Here are a few free tutorials to help you get started with creating sales pages that convert:
Ready to Build a Website for Your Salon Business?
Now you've seen how straightforward it is to create a focused salon website using Thrive Architect and Thrive Theme Builder.
As you explore our user-friendly tools, you'll fine-tune every element to transform your initial design into a captivating website. Your online space will reflect the professional, welcoming vibe your salon embodies — encouraging more visitors to book their first appointment.
Remember to enjoy the process of building your salon's online presence.


