Are you ready to create a consulting sales funnel that turns your expertise into a thriving small business?
A well-designed sales funnel is your secret weapon for attracting your ideal customers, building trust, and ultimately converting them into loyal, paying clients. But where do you begin? How do you create an effective funnel without an expert sales team?
Don't sweat it – we've got your back.
In this blog post, we'll walk you through the key steps to build a consulting sales funnel that not only engages your target audience but also drives serious conversions.
By the end of this guide, you'll have a clear roadmap for this digital marketing strategy; allowing you to show off your consulting prowess and close deals. So, let's dive in and start building that funnel!
What Are the Elements of a Successful Consulting Sales Funnel?
If you want to turn your consulting expertise into a thriving business, you need a sales funnel that works like a well-oiled machine. That’s a major key for a successful sales strategy.
A solid sales funnel guides potential clients through the customer journey — from the moment they discover your services to the point where they become loyal, paying clients.
By creating a persuasive and easy-to-navigate funnel, you can show off your skills, build trust, and land conversions.
Here's what you need for a consulting sales funnel that gets results:

1. Sales Offer: The consulting service or package you're offering to your target audience.
2. Sales Page: A landing page that highlights the benefits of your consulting offer and encourages visitors to take action.
3. Order Form/Checkout Page: Where potential clients submit their order details and begin the purchase process.
4. Payment Processing Tool: An integrated tool that supports various payment methods, making checkout a breeze.
5. Confirmation Page: A page that thanks customers for their purchase, confirms order processing, and provides next steps or additional information.
6. Confirmation Email: A follow-up email reassuring customers of their successful purchase, including order details, customer service contact information, and next steps. This email also helps build relationships with new clients.
Every piece of your consulting sales funnel plays a part in turning prospects into paying clients. Make sure each component is well-crafted and fits together smoothly to get the best results.
Quick Tutorial: Learn the Different Funnel Stages
Your sales funnel is split into three different stages — awareness, interest, and decision (conversion).
These stages of the sales pipeline are also known as top of the funnel (TOFU), middle of the funnel (MOFU), and bottom of the funnel (BOFU).
Brand Awareness stage (TOFU): Your target audience has just discovered your business (through a social media post, Facebook ad or search engine results page) and wants more valuable content. This is where you offer a lead magnet to convert them into leads.
Interest stage (MOFU): Your audience is aware of their problem or need, and are still trying to work out if you can help them. Here you’ll use email and more educational lead magnets to build trust and boost your new leads’ interest in your products.
Decision stage (BOFU): At this stage, your qualified leads are ready to buy and need a push in that direction. Offering an incentive like a coupon or special discount could help accelerate the sales process.
This tutorial focuses on the decision stage of the funnel, where you turn your leads into customers
How to Build a Sales Funnel for Your Consulting Business (Step-By-Step)
This tutorial is simple, straightforward, and quick to set up. Follow the steps to create an effective sales funnel for your business.
Step 1: Download and Install Thrive Architect
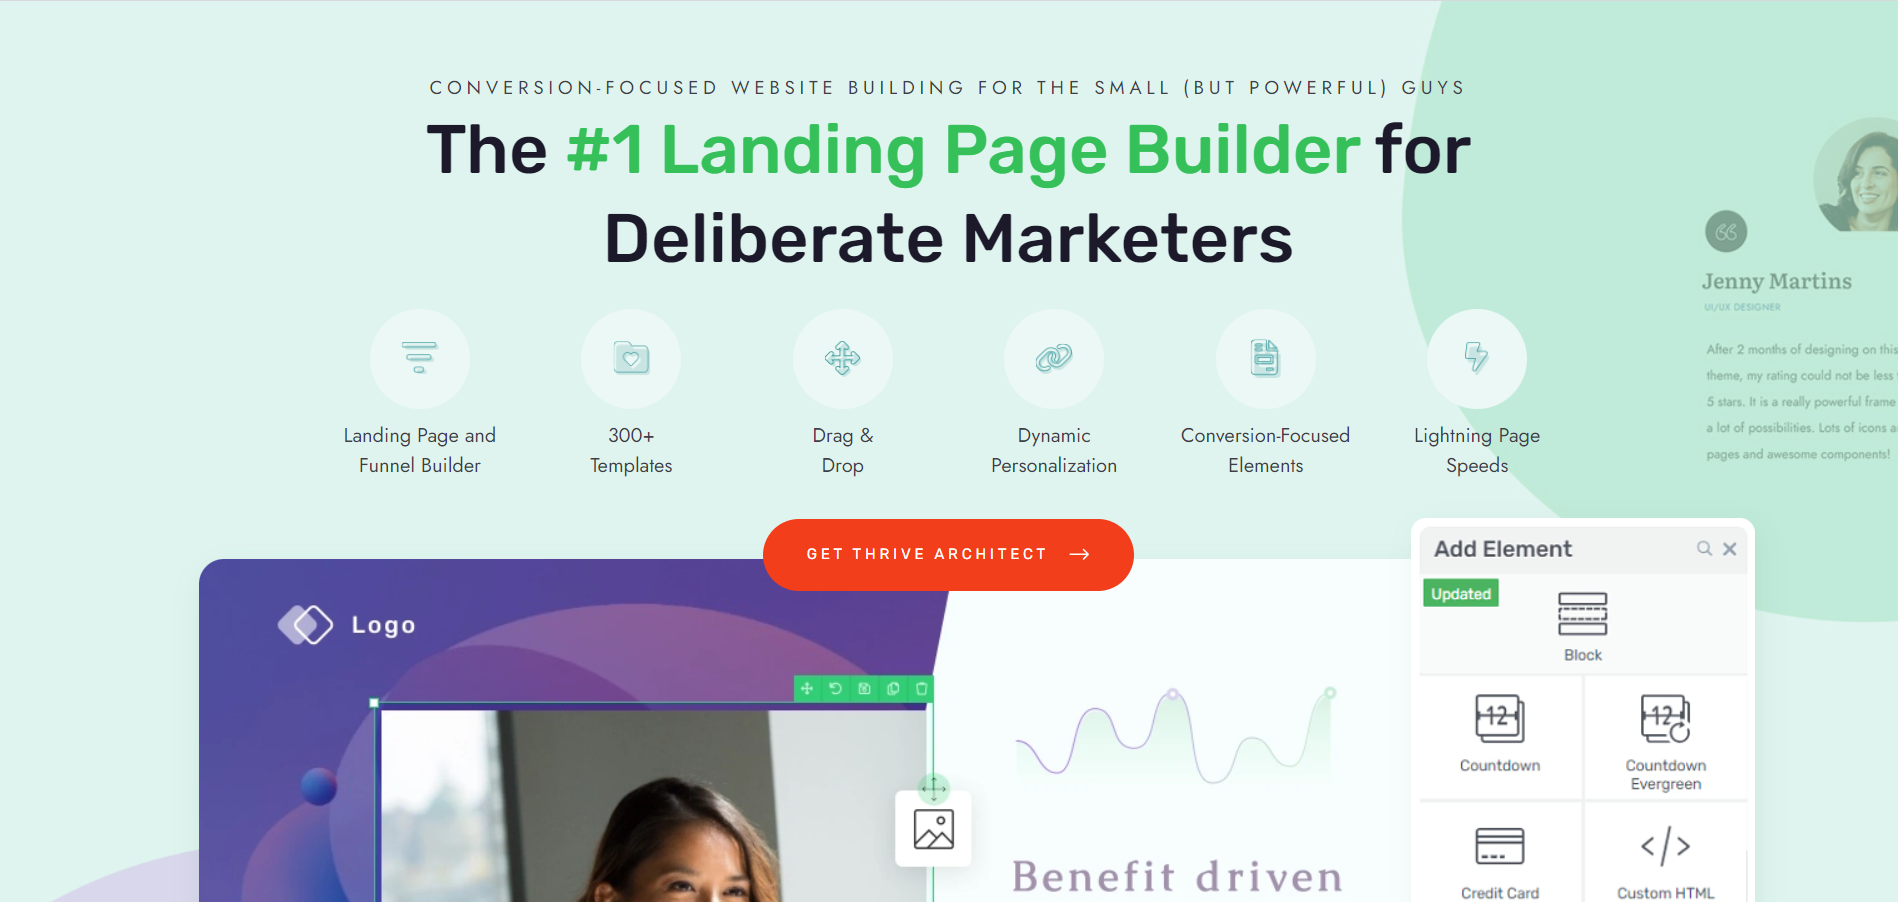
If you want to design high-converting sales funnel pages in a straightforward, stress-free way then you need to use Thrive Architect.
Easy Page Building, No Coding Required
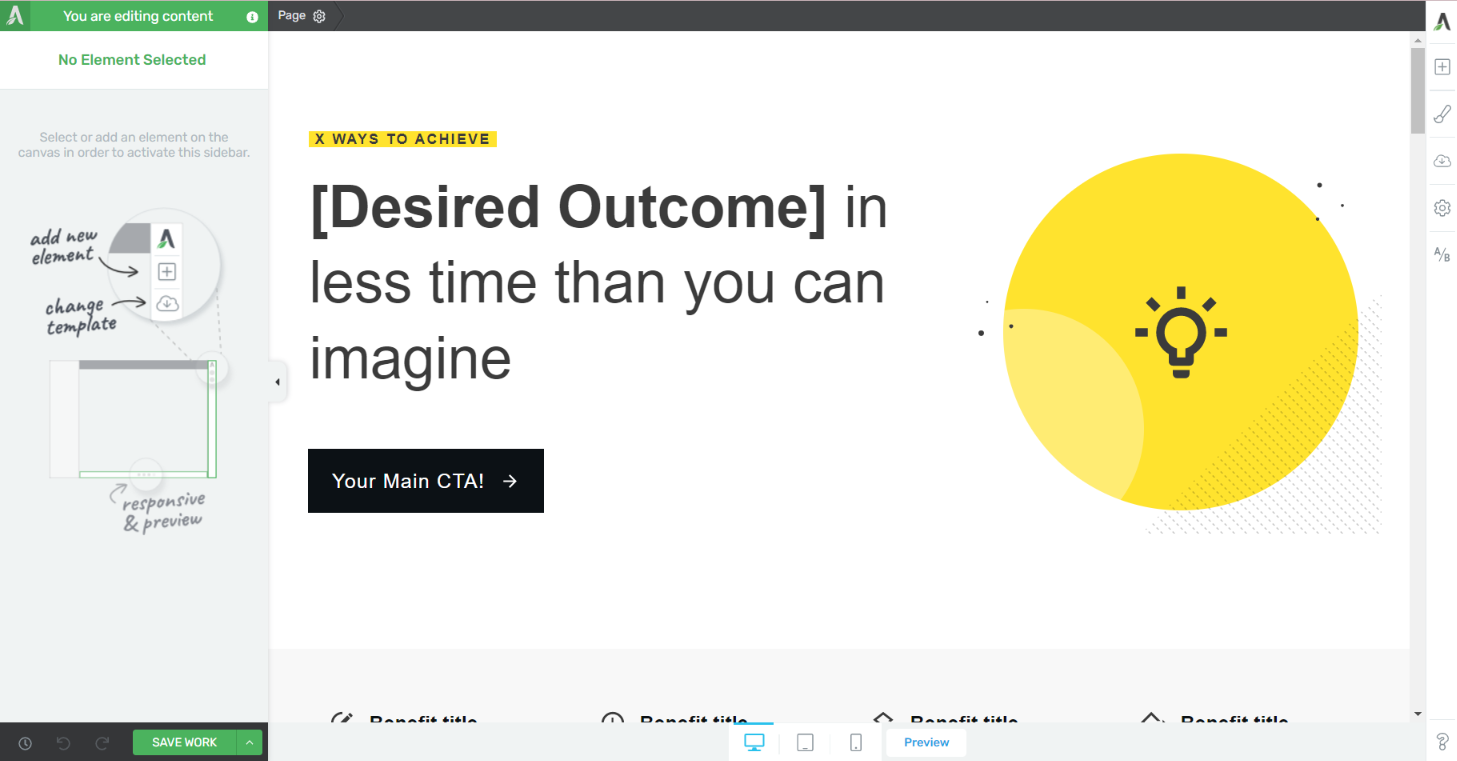
Create your sales funnels without any technical headaches! Thrive Architect's intuitive drag-and-drop editor makes it a breeze for any business owner to design a page that perfectly shows off their offers, even with zero coding experience.
Save Time and Effort with High-Quality Templates
Jumpstart your landing page creation process with Thrive Architect's library of professionally designed, conversion-focused templates.
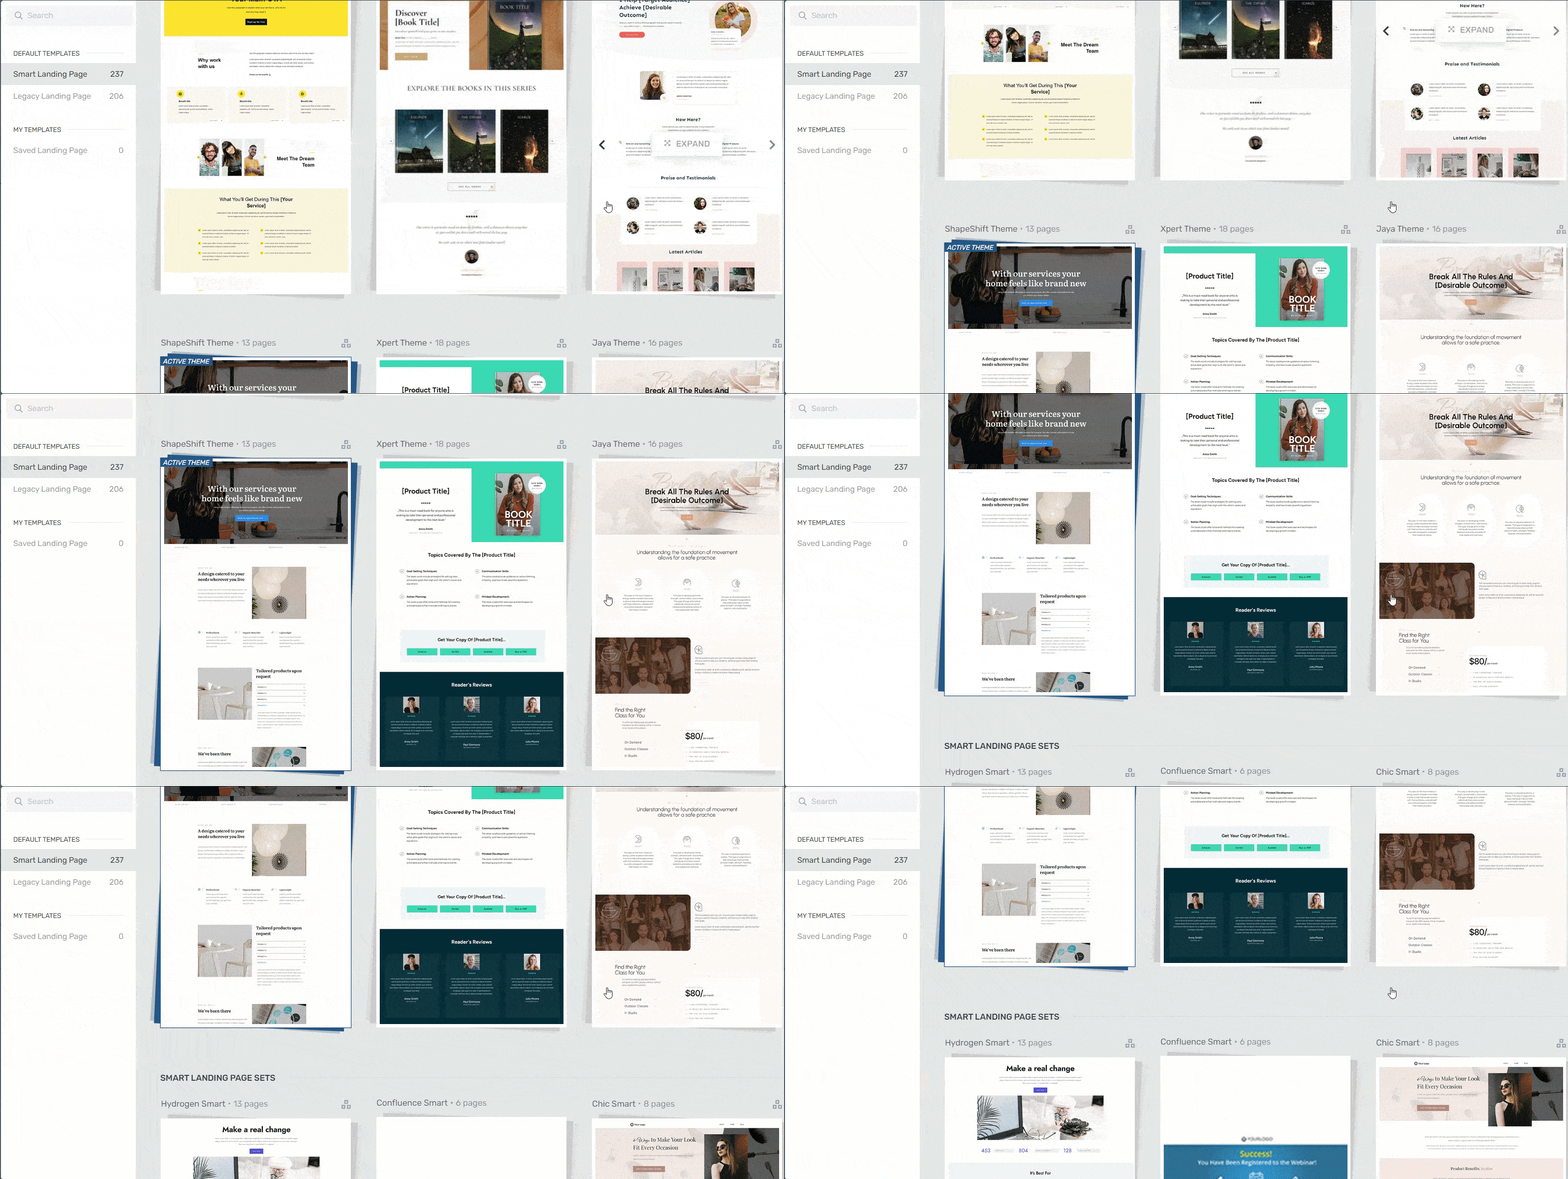
Landing page template sets in Thrive Architect
These templates are tailored to various niches and purposes (from generating leads, to facilitating webinar registrations, and landing sales).
And, did we mention they’re SEO-friendly and mobile-optimized?
Your pages will look great on all devices and make it easier for people to find you through search engines.
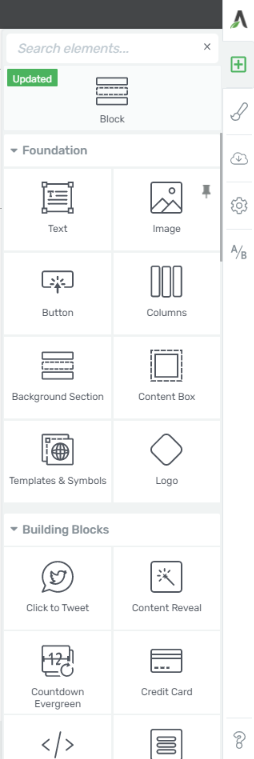
Boost Conversions with Powerful Elements
Engage visitors, build trust, and grow your client base with Thrive Architect's wide range of conversion-boosting elements. From countdown timers to testimonial blocks and signup forms, you'll have all the tools you need to convert website visitors into paying customers.
Get Your Value for Money
Enjoy access to a comprehensive set of tools and features at an affordable price. Say goodbye to expensive bloated tools and hello to unbeatable value, excellent customer support, and regular updates that keep your landing page optimized for success.
Invest in Thrive Architect today and create a high-converting landing page that will take your sales to new heights.
With its intuitive editor, proven templates, powerful conversion elements, seamless integration with WordPress and other eCommerce & CRM tools, and unbeatable value, Thrive Architect is the ultimate tool for consultants and startups who want results.
Step 2: Select a Sales Page Template in Thrive Architect
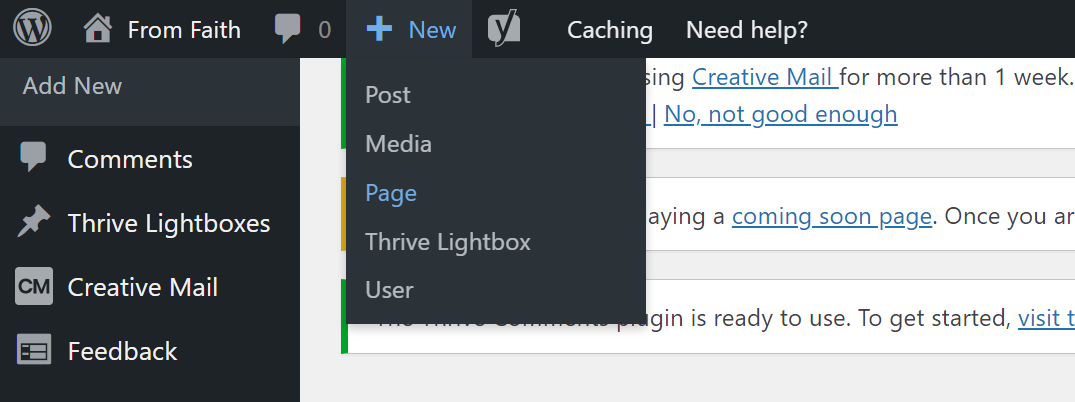
In the WordPress dashboard, click “Add New” and select “Page”.
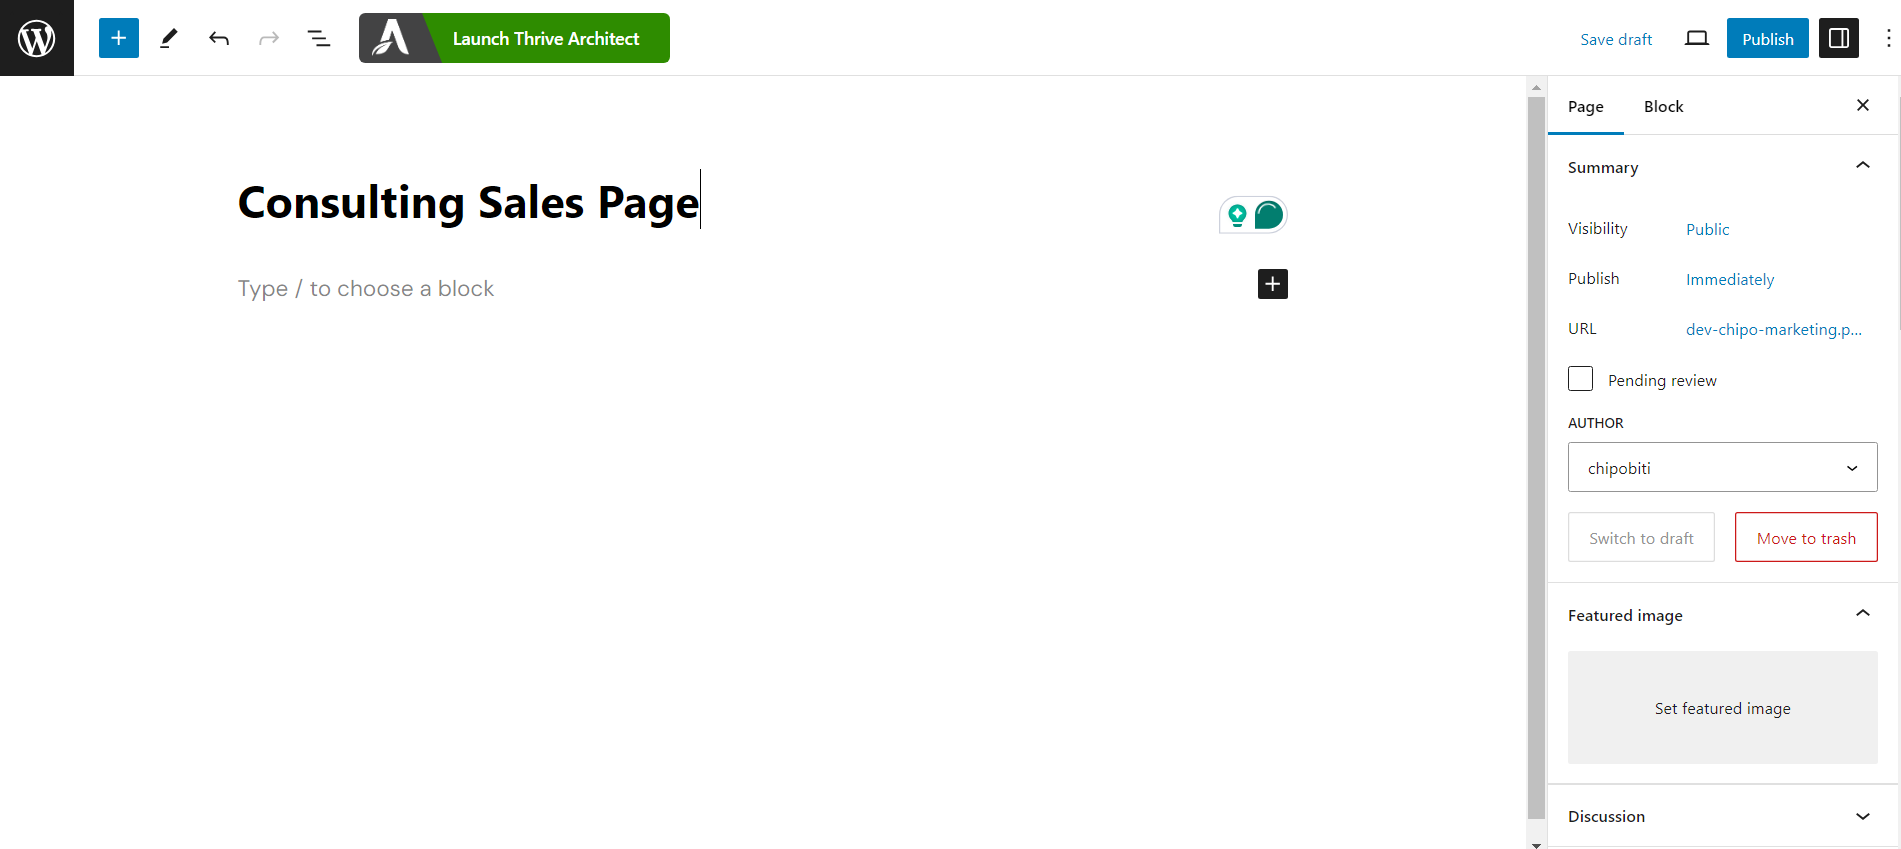
Thrive Architect will provide you with four options:
1. Normal Page
2. Blank Page with Header and Footer
3. Completely Blank Page
4. Pre-built Landing Pages
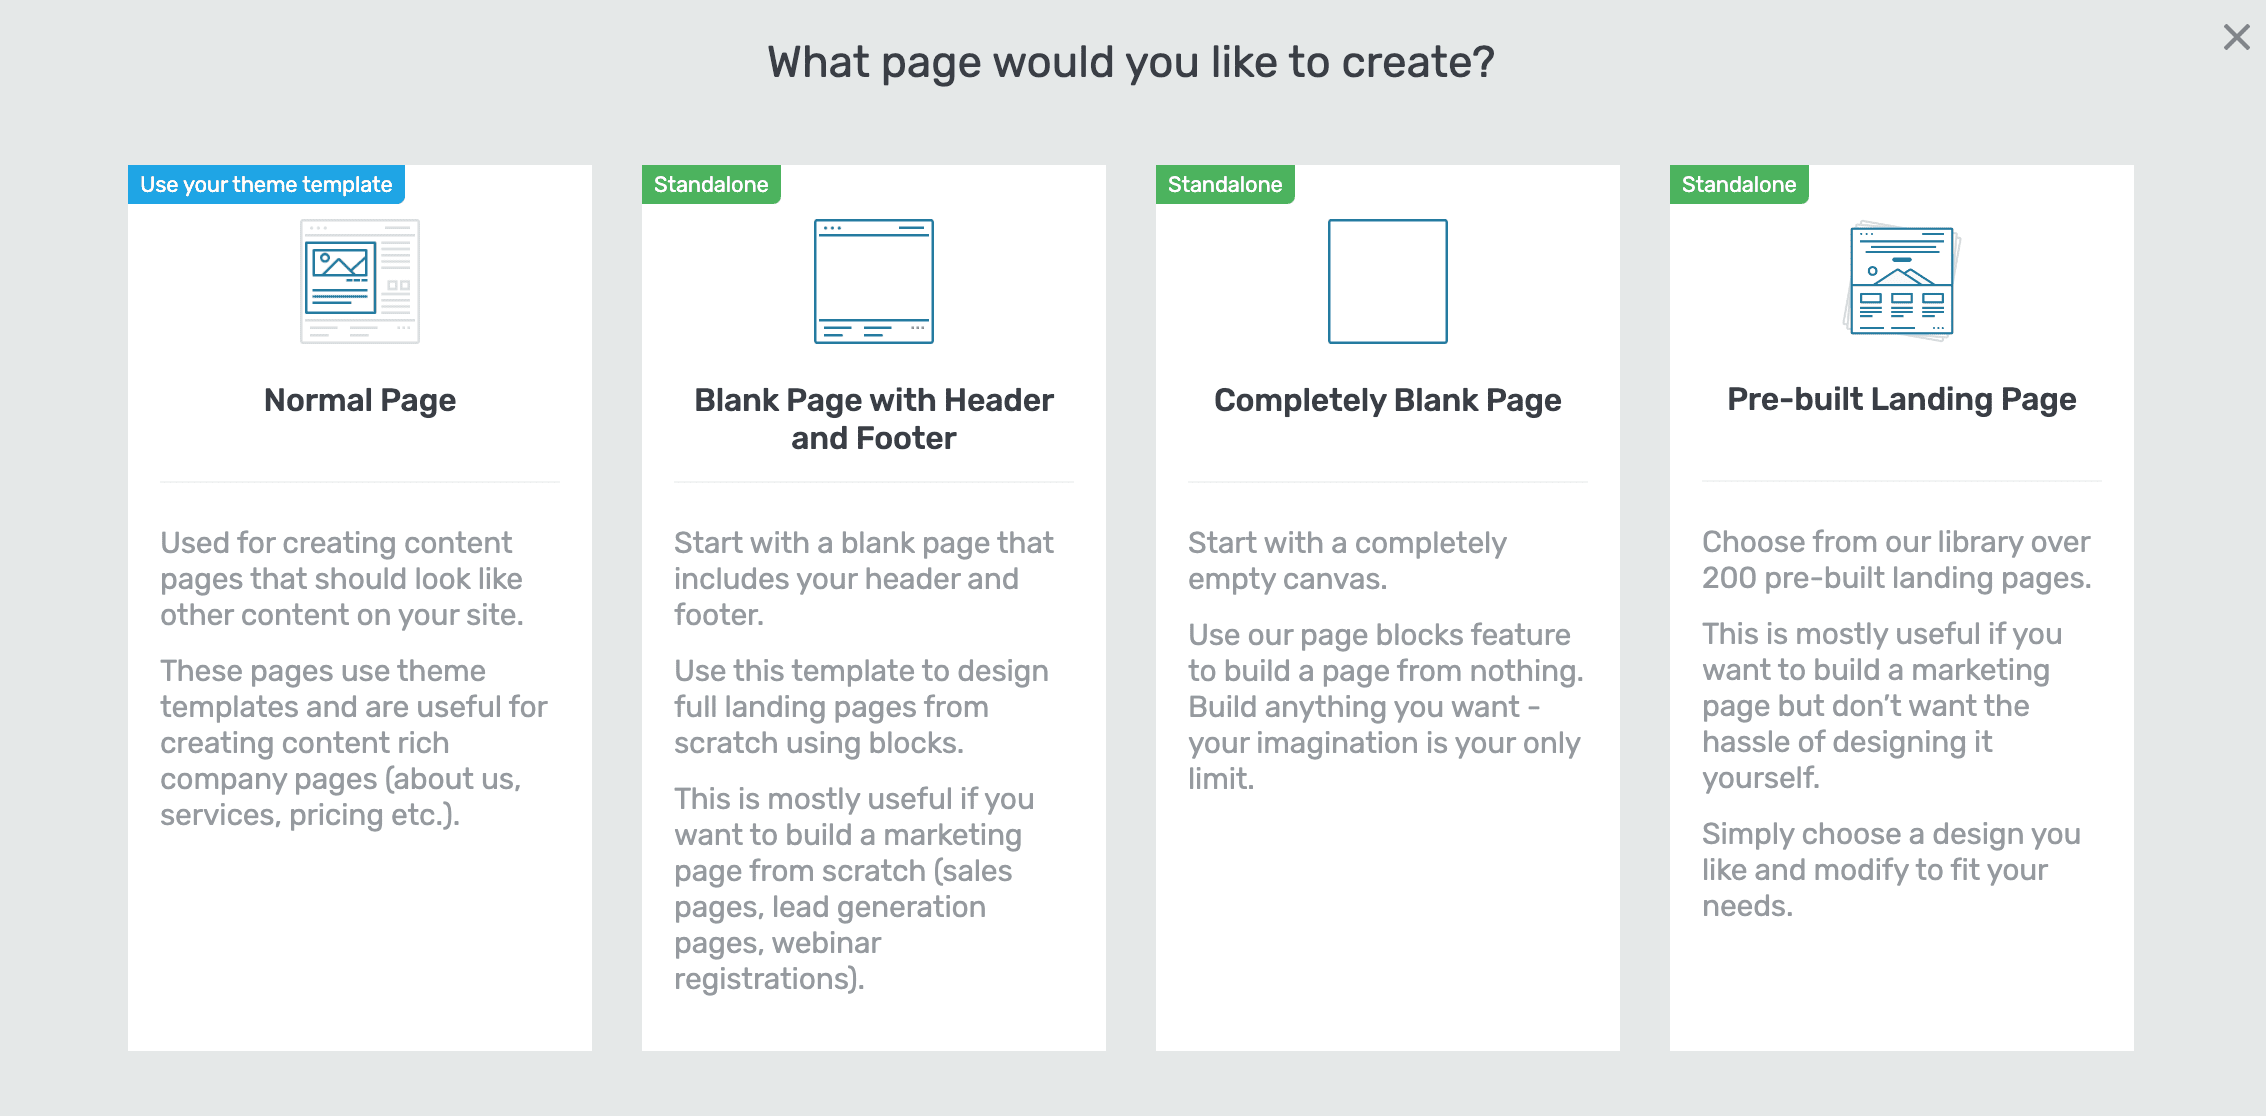
We recommend choosing the "Pre-built Landing Page" option.
In the Landing Page Library, browse through our template sets.
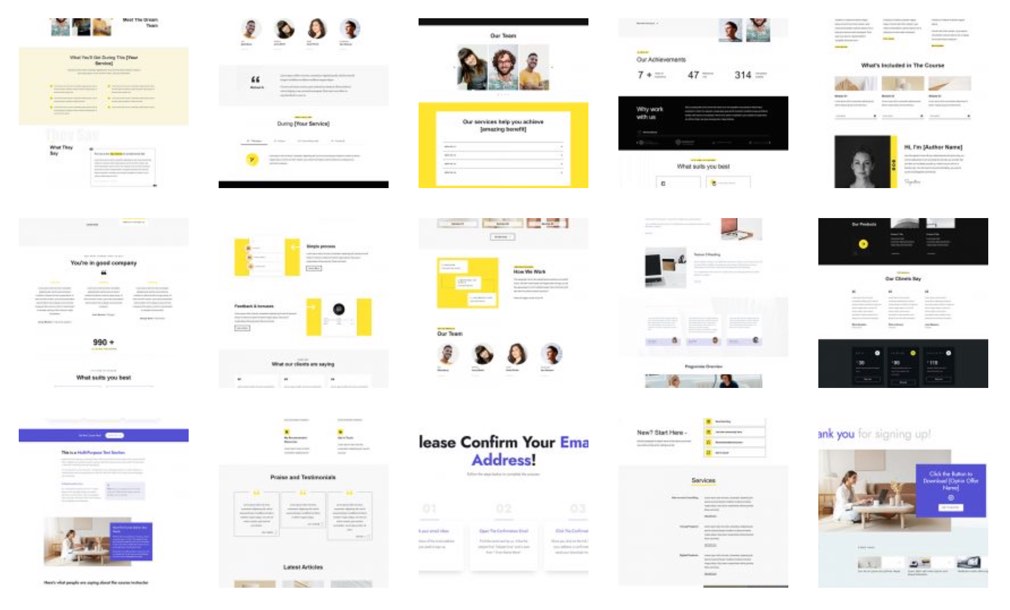
Landing page templates in Thrive Architect
Each set comes with page templates that serve specific purposes. Find a template that best suits what you’re looking for and click it.
We’ll be customizing a sales page template from “Kwik”, one of our landing page sets.
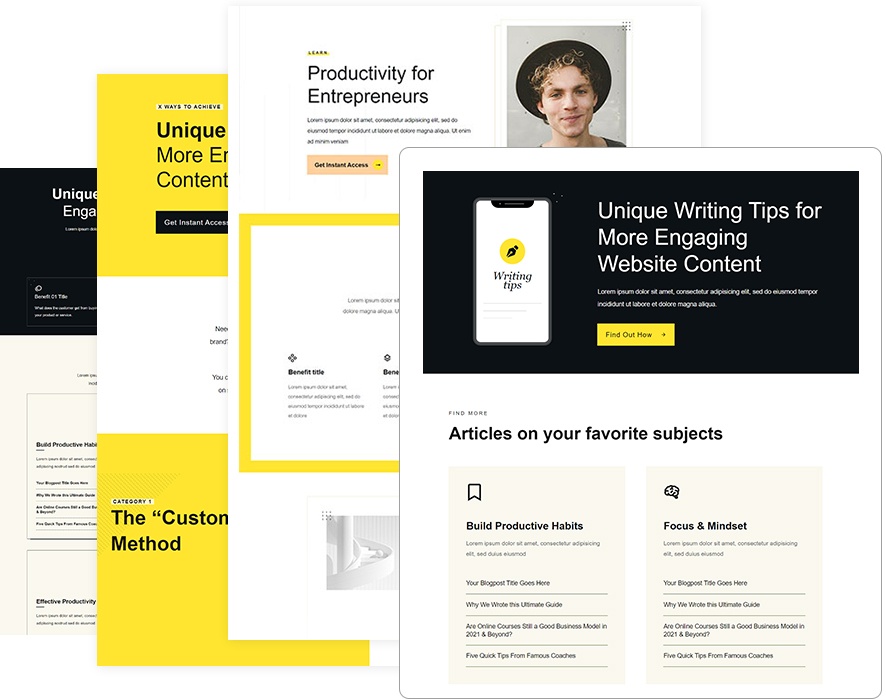
All our landing page templates have everything you need to effectively promote your sales offer.
Step 3: Customize Your Sales Page
Once you’ve selected your template, the fun begins. It’s time to turn your template into a unique sales page for your business.
Let’s get started.
Hero Section
The hero section is the first thing people will notice when they come to your webpage. It's right at the top, so it's important to make it stand out.
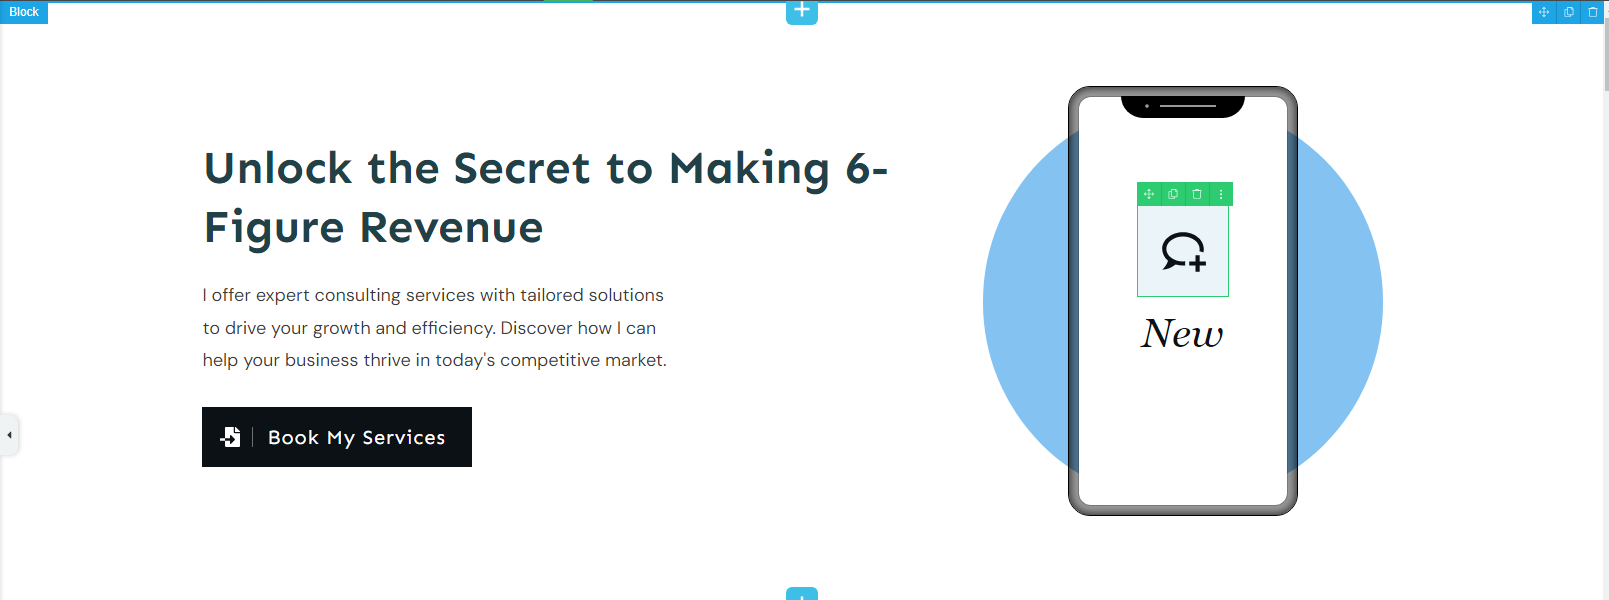
Use attention-grabbing visuals, like a big image or video, and write a clear, compelling headline that makes people want to keep reading.
The hero section should give visitors a quick idea of what your page is about and why it's worth their time. If it's done well, it will encourage people to scroll down and explore the rest of your content – or even convert immediately.
Multi-Purpose Text Section to Address Pain Points
Now you have your audience’s attention, you need to connect with them and show them you relate to their problems.
Use a multipurpose text section (like the one in the image below), to address your audience’s needs and hint at a solution (to build more interest).
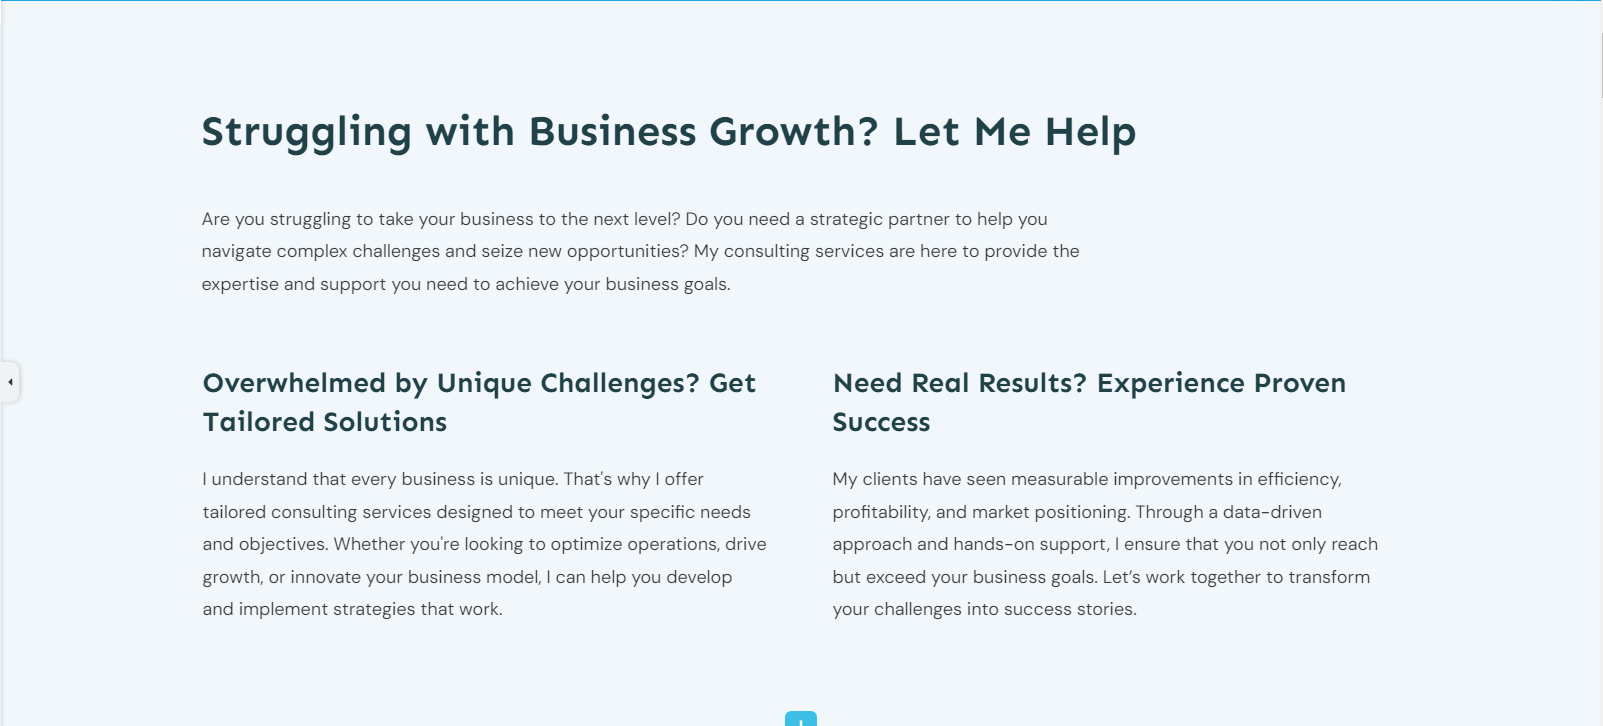
Use an engaging structure to guide the reader through the section:
Create attention-grabbing headlines and subheadings
Break up the text into digestible paragraphs or bullet points
Use subheadings to organize the content
Incorporate persuasive elements to build trust and encourage action:
Include social proof, such as testimonials or case studies
Create a sense of urgency or scarcity
Use a strong call-to-action (CTA) to guide the reader to the next step
Thrive Tip: Need help improving your copywriting skills so you can create copy that inspires your audience to convert? Check out this guide to learn several simple hacks.
Benefits Section
Next up, the benefits section. This is where you show your potential clients how their lives will change after they’ve signed up for your services.
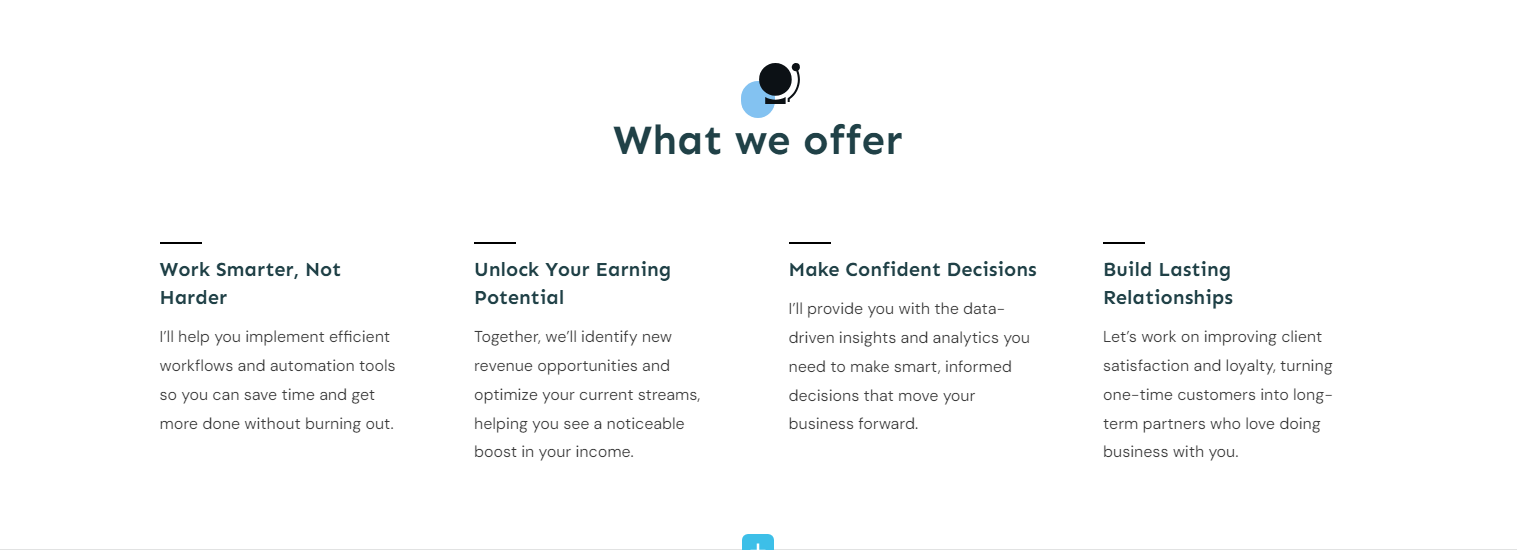
To create an effective benefits section, start by identifying your product or service's key features and unique selling points. Translate these features into clear, tangible benefits that solve your customers' problems or enhance their lives.
Use concise, straightforward language to communicate the value. Organize the benefits in order of importance, and consider using bullet points or subheadings for better readability.
Add persuasive elements like testimonials or quantifiable results to reinforce your value proposition. Make sure the benefits section aligns with your overall messaging and naturally leads to a strong call-to-action. Keep the tone active and engaging throughout.
Product + CTA Section
By now, your audience is ready to know what exactly your product is. This is where you introduce your offering in a clear, benefits-focused way.
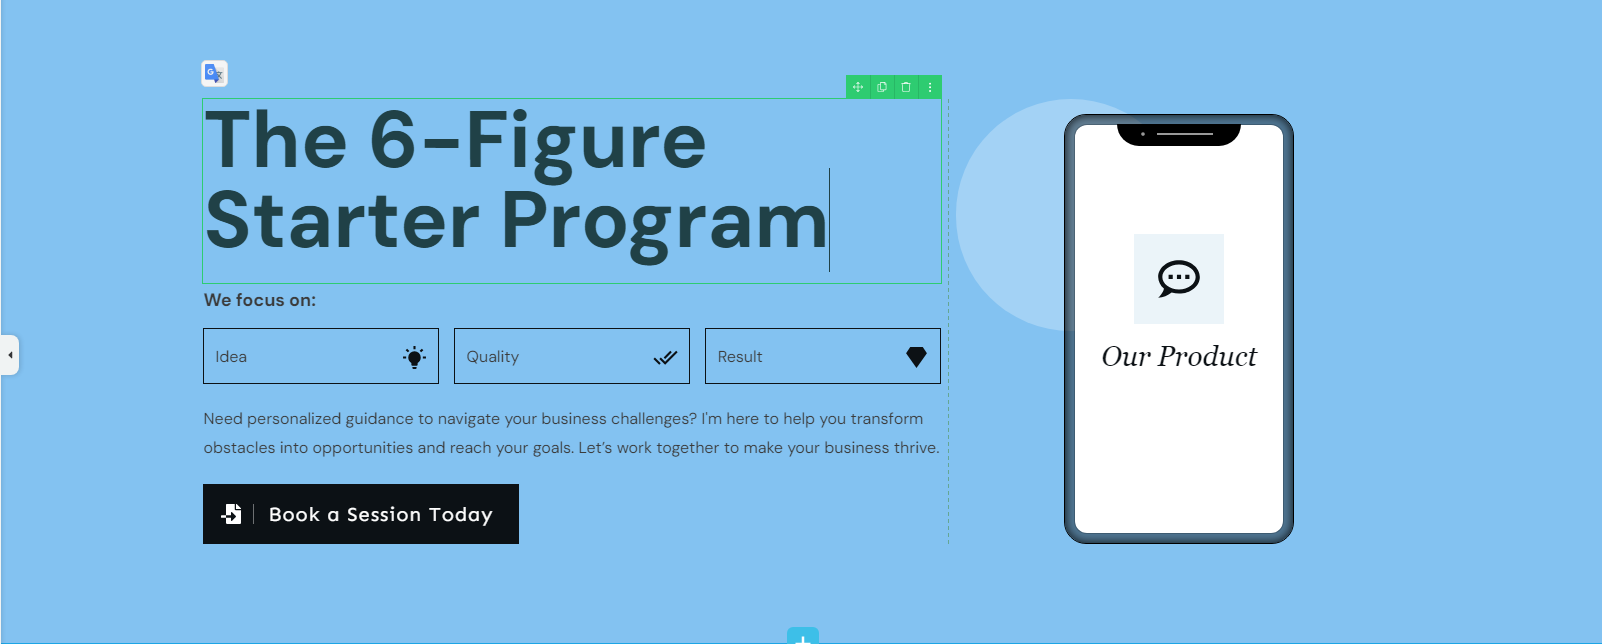
To do this:
Create a catchy heading for this section
Add a bit of context on what your offering entails
Include a high-quality visual related to your services (e.g. an image of you speaking with a client)
Don’t forget to add a clear call to action button as well.
About Us Section
You’ve told your potential clients what you can offer and if they’re still scrolling through your page, it means they’re keen to learn more about you and your business.
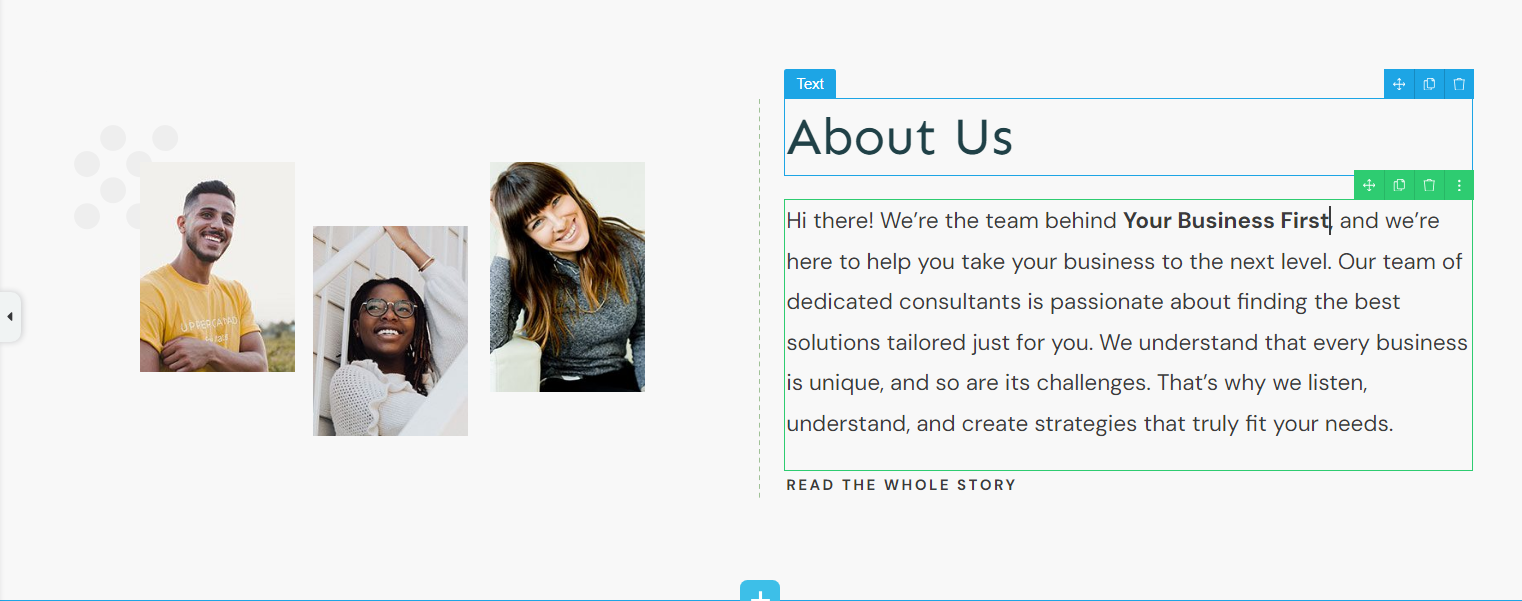
Add an “About Us” section to introduce your company to your audience and outline why you’re dedicated to helping them.
This section is a key part of your sales page because it builds trust. People rarely purchase from faceless companies.
Share your story, highlight your team’s expertise, and showcase your company’s values. This personal touch can turn interested visitors into loyal clients.
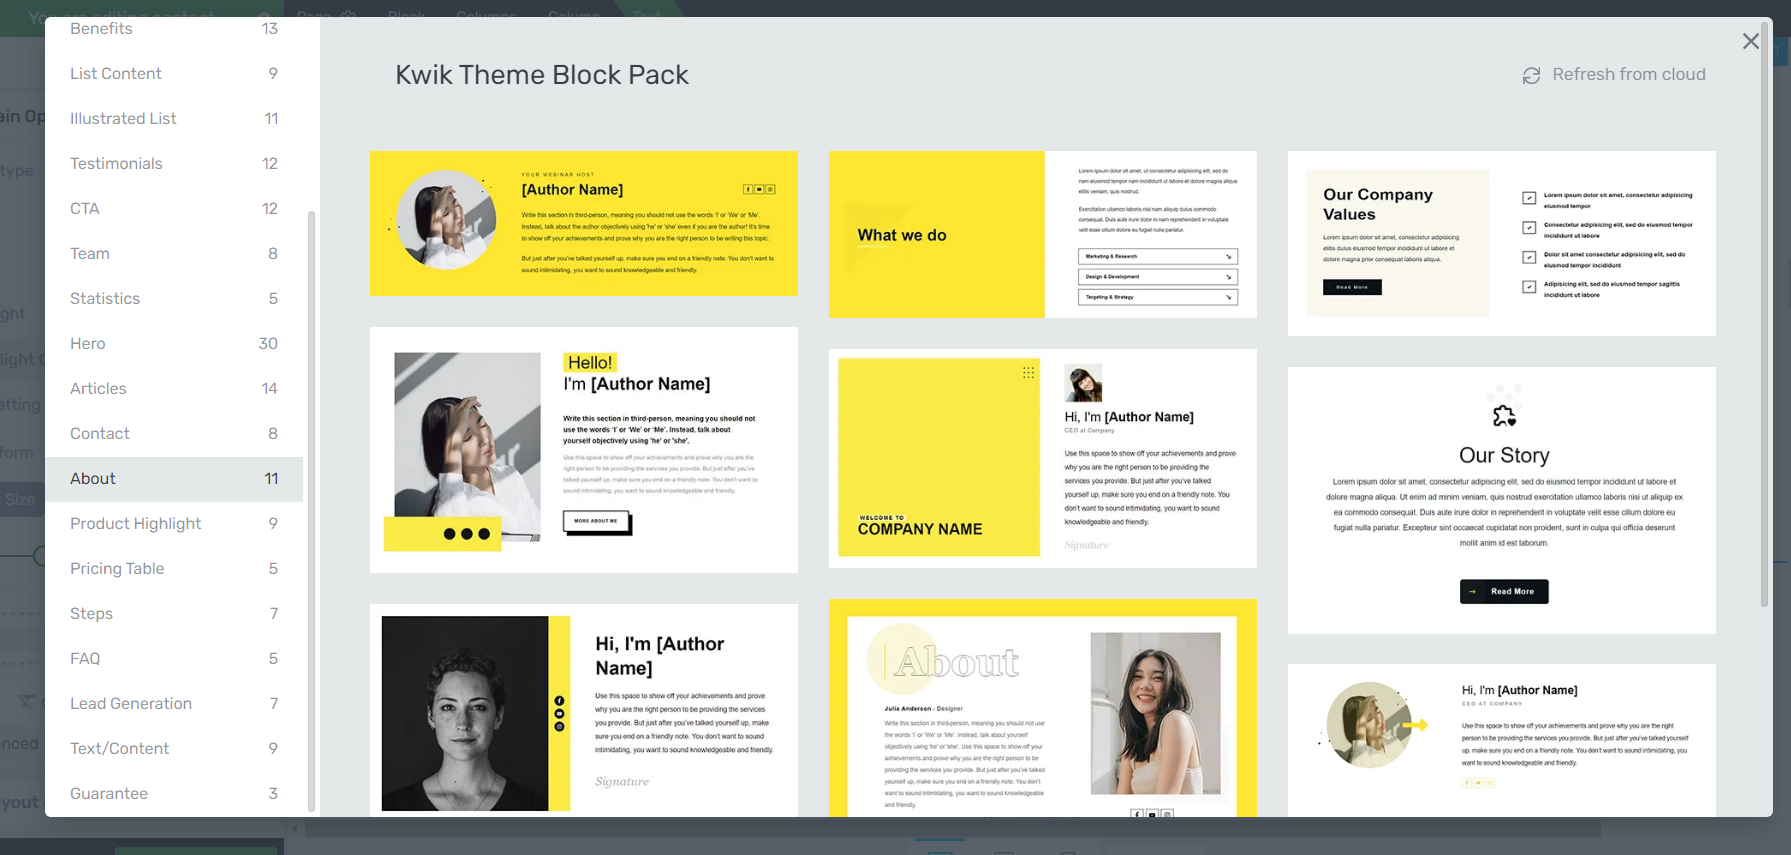
And if you’re flying solo in your business and there’s no “Us”, no problem! You can delete this block and replace it with a better fitting one from Thrive Architect’s Block Template Library.
Testimonial Section
Solidify the trust you’ve built with a dazzling testimonial from one of your current or previous clients.
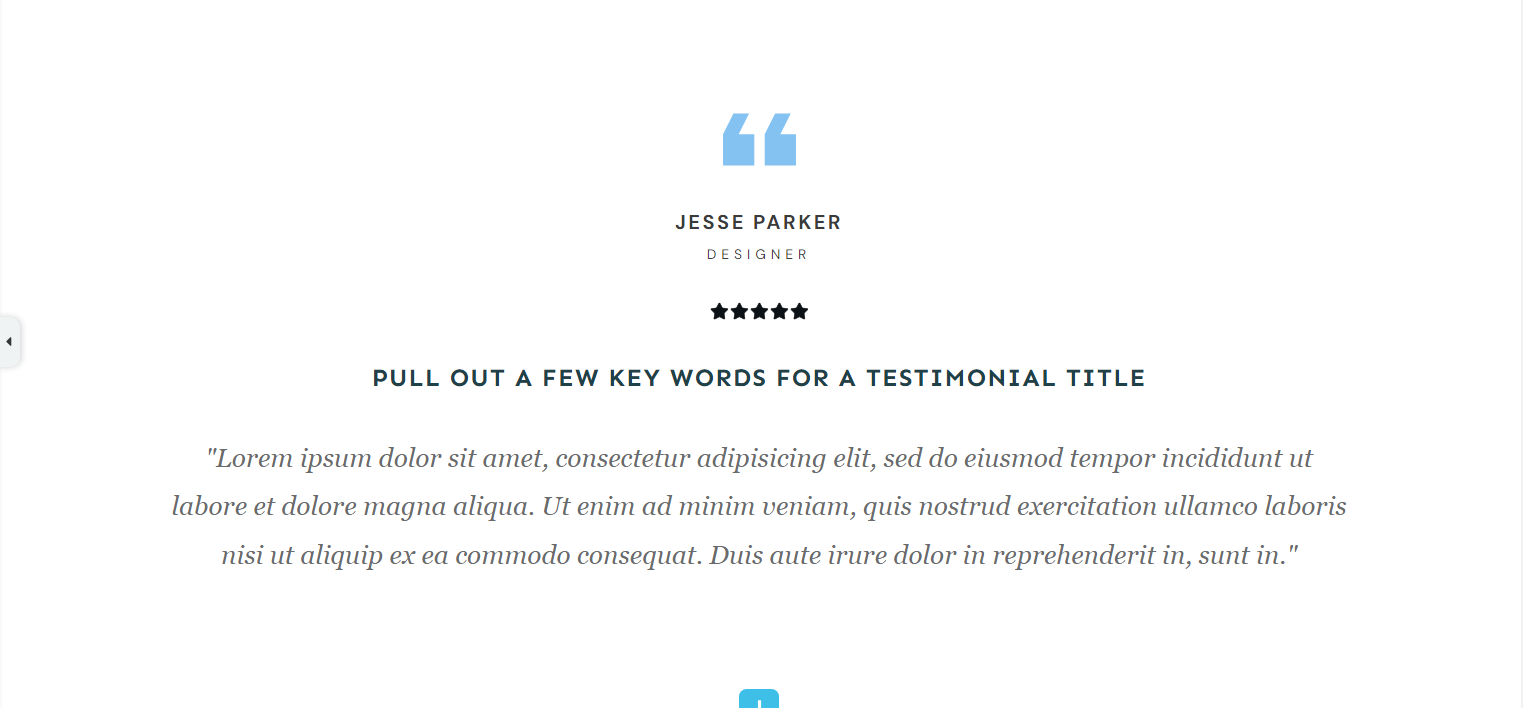
Testimonials are important for a sales page because they:
- Build Trust and Credibility: When potential clients see that others have had positive experiences, it reassures them about choosing your product or service.
- Offer Social Proof: They show that real people have benefited from what you offer, making your claims more believable.
- Highlight Benefits and Results: Happy customers often share specific improvements or outcomes they’ve experienced, helping others see the value.
- Address Concerns and Objections: Real stories from past clients can help ease worries and answer common questions.
- Humanize Your Brand: Featuring real people and their stories makes your brand more relatable and trustworthy.
- Engage Visitors: Interesting testimonials can capture attention and keep visitors on your page longer, making them more likely to take action.
Include testimonials to make your sales page more convincing and help connect with potential clients on a personal level.
Thrive Tip: Struggling to collect testimonials from your clients? Check out this handy guide to learn a few tips.
Second Benefits Section
Adding a second benefits section to your sales page can make a big difference in converting visitors.
Think of it this way: reinforcing the main advantages of your product helps make them stick in people’s minds. By addressing different pain points, you can connect with a wider audience, ensuring you speak to various needs and concerns.
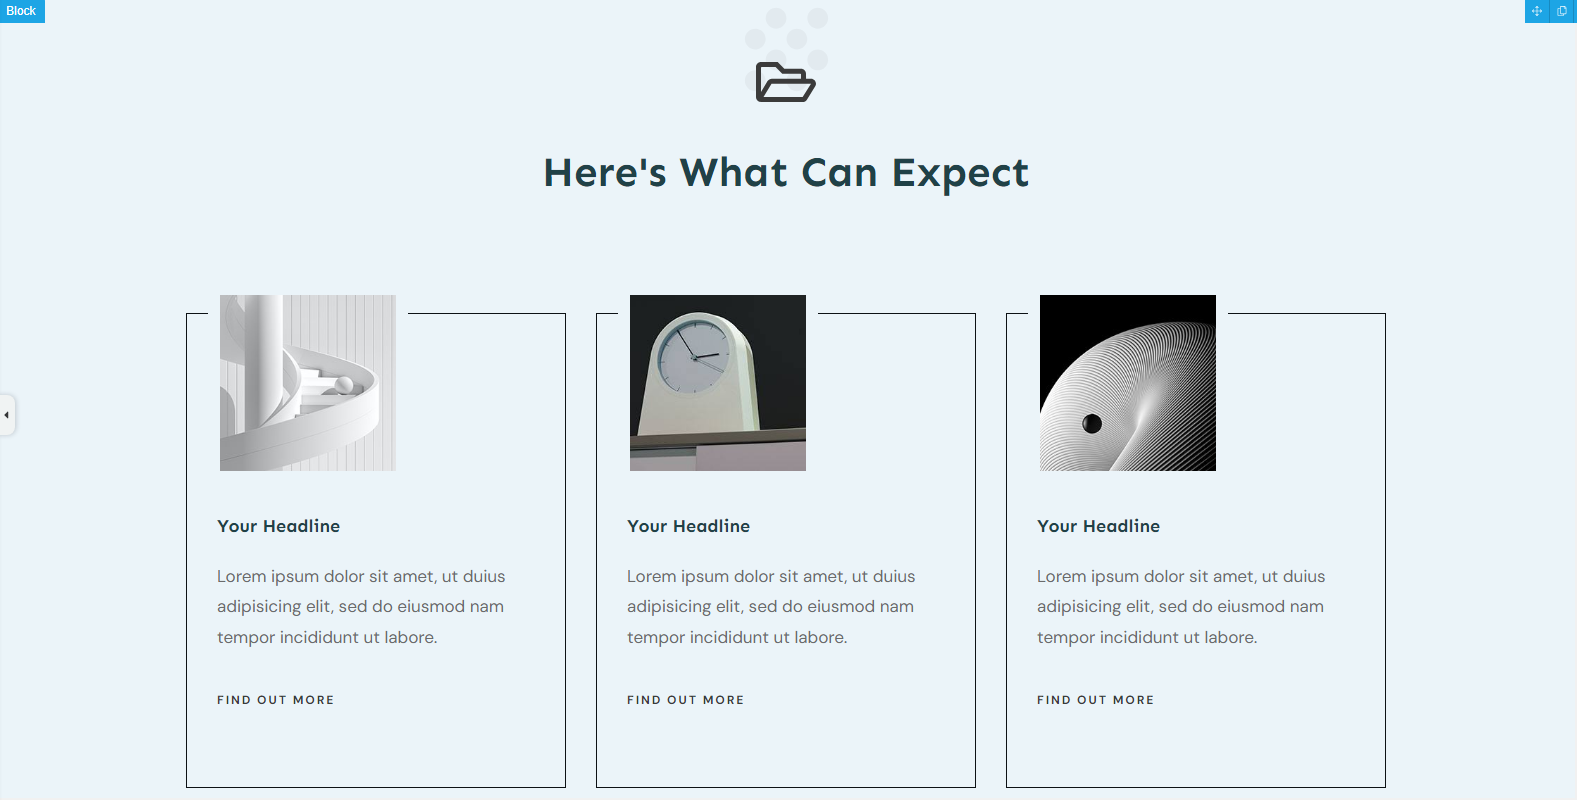
This extra section also keeps your page interesting and engaging, preventing reader fatigue.
Plus, providing more reasons to choose your product makes your offer more persuasive, helping to convince those who are on the fence.
It’s also a great way to highlight what makes you unique and stand out from the competition.
Second Testimonials Section
Adding a second testimonial section to your sales page is a smart move. It helps reinforce trust and credibility by showing more success stories from satisfied customers, reassuring new visitors that your product or service consistently delivers value.
Plus, each testimonial can highlight different features, benefits, or results, giving a well-rounded view of what clients can expect and resonating with various audience segments.
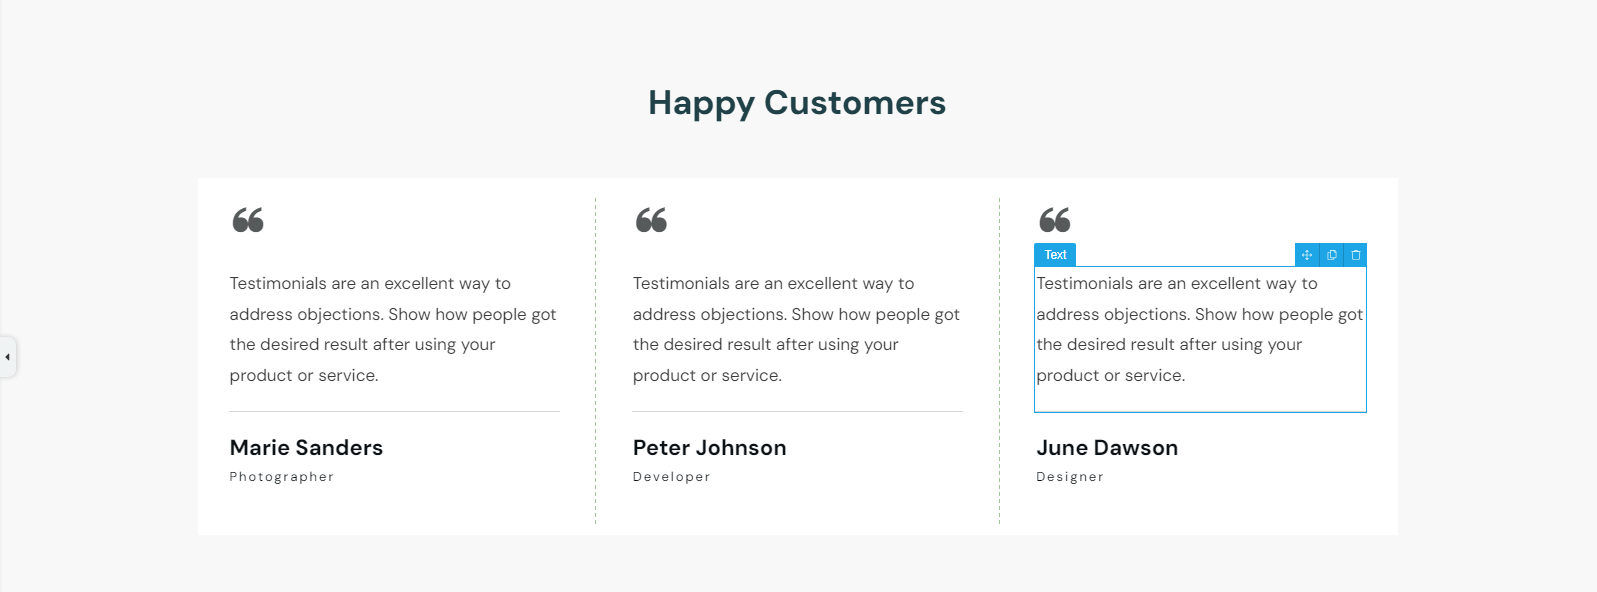
Another perk is that it keeps your page dynamic and engaging. Real-life success stories break up the text and make the content more relatable and interesting, keeping readers hooked on learning more about your product or service.
Pricing Table
Before your customer hits the buy button, they’ll want to know how much your offer costs.
Cue the pricing table, ready to provide clear, concise information.
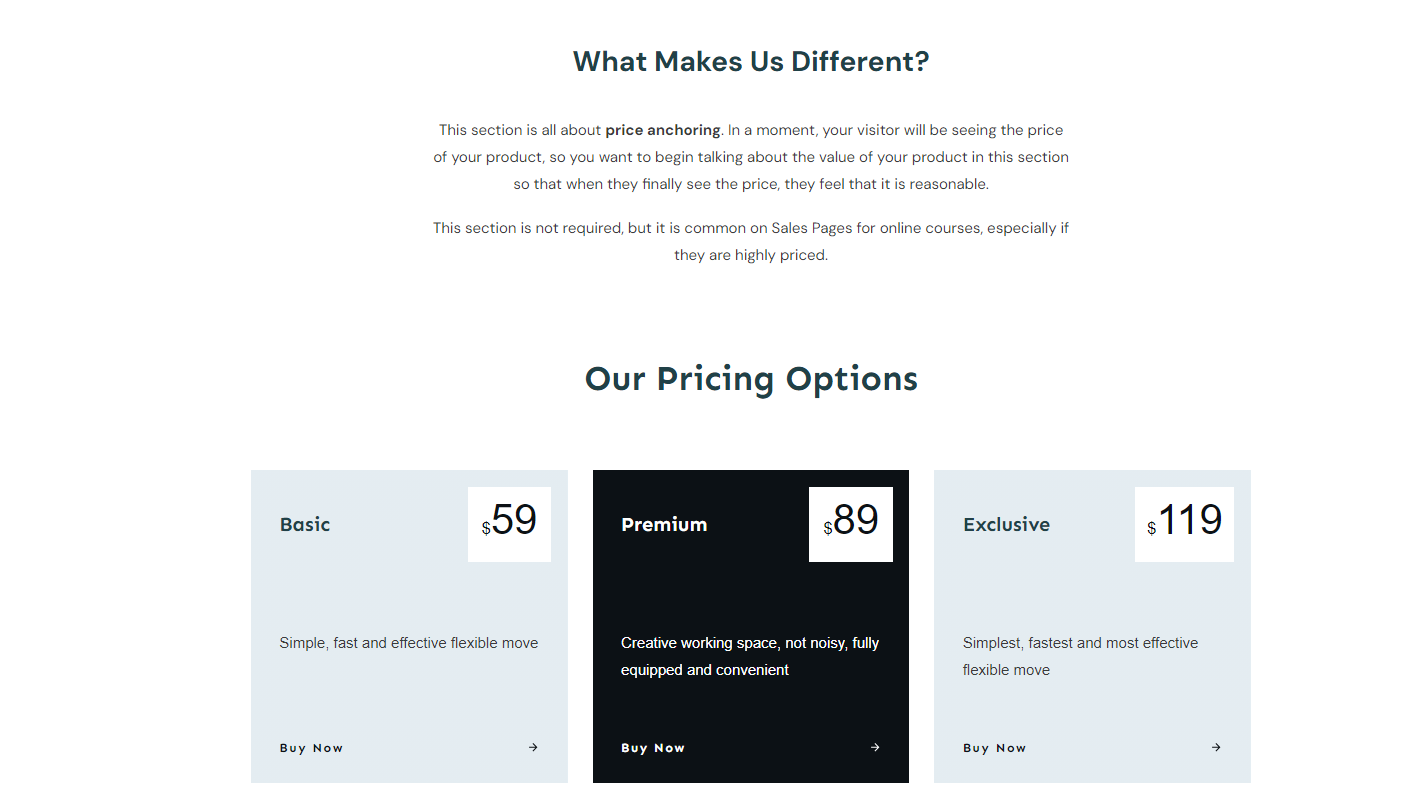
Adding a pricing table to your sales page is a great way to be transparent and reinforce trust with your potential customers.
By laying out the options side by side, you give your prospects a chance to weigh their choices, compare features, and see exactly what fits within their budget and needs.
When it comes to parting with hard-earned money, surprises are the last thing your potential customers want.
A well-organized pricing table removes the guesswork, answering the critical "Can I afford this?" and "Is this worth my investment?" questions in a straightforward, easy-to-digest format.
FAQ Section
Before your potential clients decide to take action, they might have a few questions.
Take a proactive step to answer these questions through a clearly placed FAQ section.

Uncertainty can really throw a wrench in the decision-making process. That’s where your FAQ section comes in, ready to clear the path one answer at a time. By addressing common concerns and questions, you can ease your visitors’ doubts and make their journey to purchase much smoother.
Lead Generation Form
Sometimes, your prospects might not be ready to buy, but they still want to learn more about your business.
That’s where a lead-generation form comes in.

If you can’t get a sale just yet, you can get their contact information and keep in touch with them through email marketing.
But don’t just paste a form on your page. Give your prospects an enticing offer they’ll find value in, in exchange for their email addresses.
This could be a free consultation, a chapter of your latest book, or free access to one of your best-performing webinars.
We recommend adding this form towards the end of your page, so it doesn’t interfere with your sales message. But if you’re worried a few visitors will leave your sales page before reaching the end, think of adding a popup to your landing page.
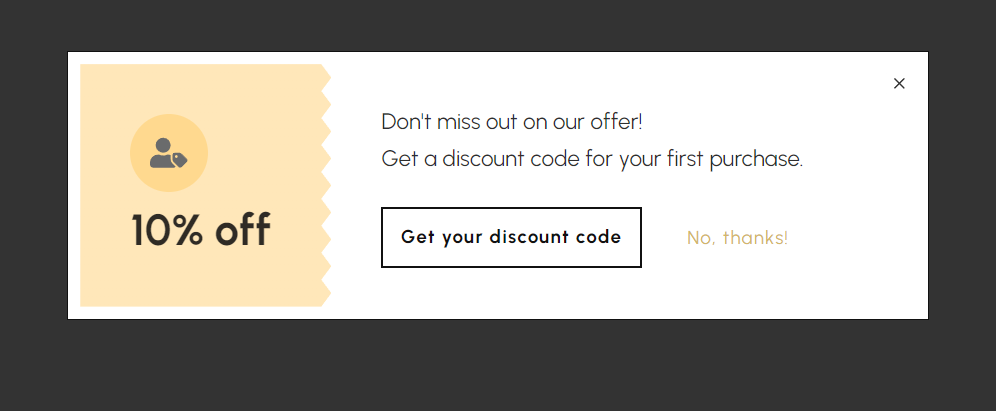
Example of an exit-intent popup
Configure it to appear just as someone is about to exit the page, to encourage them to opt-in before leaving completely.
Step 4: Connect Your Email Marketing Service to Your Page
Connect your email service through the Thrive API. You will only need to do this once for the first opt-in form you set up.
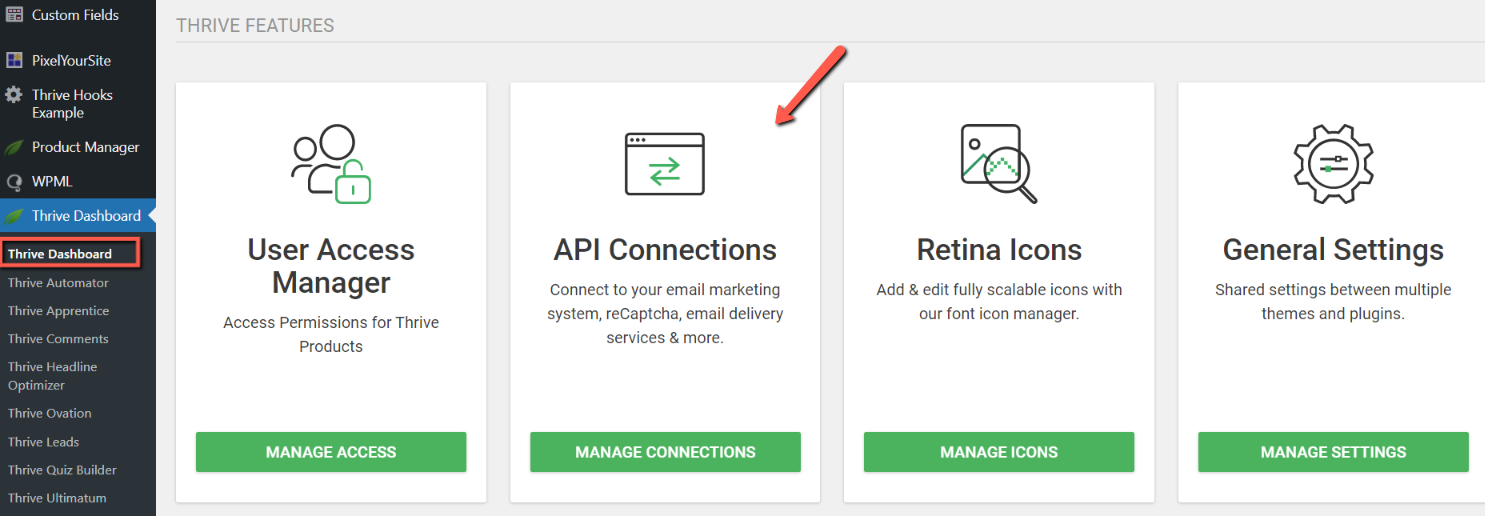
You can find tutorials for all major email providers (Drip, HubSpot, ActiveCampaign, etc.) here.
Go to your landing page and click on the WordPress form. In the sidebar, click on "Connect form with service" follow the setup wizard.
Step 5: Create a Pre-Sale Email Flow to Drive People Through Your Funnel
A pre-sale email flow is a must-have for getting the most out of your product launches – especially if you already have an email list filled with interested leads.
Designed to nurture leads (and convert them), this sequence of emails builds anticipation, educates your audience, and drives them towards purchasing when your offering goes live.
To create an effective pre-sale email flow:
- Tease something exciting coming soon to build curiosity.
- Introduce the problem your target audience faces.
- Unveil your product or service as the solution.
- Showcase the key benefits and features using storytelling and testimonials.
- Create urgency with scarcity tactics like countdown timers.
- Announce the launch and provide clear purchase instructions.
- Follow up with buyers and non-buyers after the launch.
The key is to provide value, build trust, and generate excitement around your upcoming offering.
Step 6: Create Your Checkout Page
Your checkout process will depend on your payment plugin of choice.
For a simple sales process, choose a payment gateway plugin that supports Stripe, PayPal, debit/credit cards, and even Apple or Amazon Pay, offering multiple payment options.
If you’re using WooCommerce to sell your products, you can use Thrive Theme Builder and Thrive Architect to customize the default WooCommerce checkout page and connect your order form to your email marketing service, too.
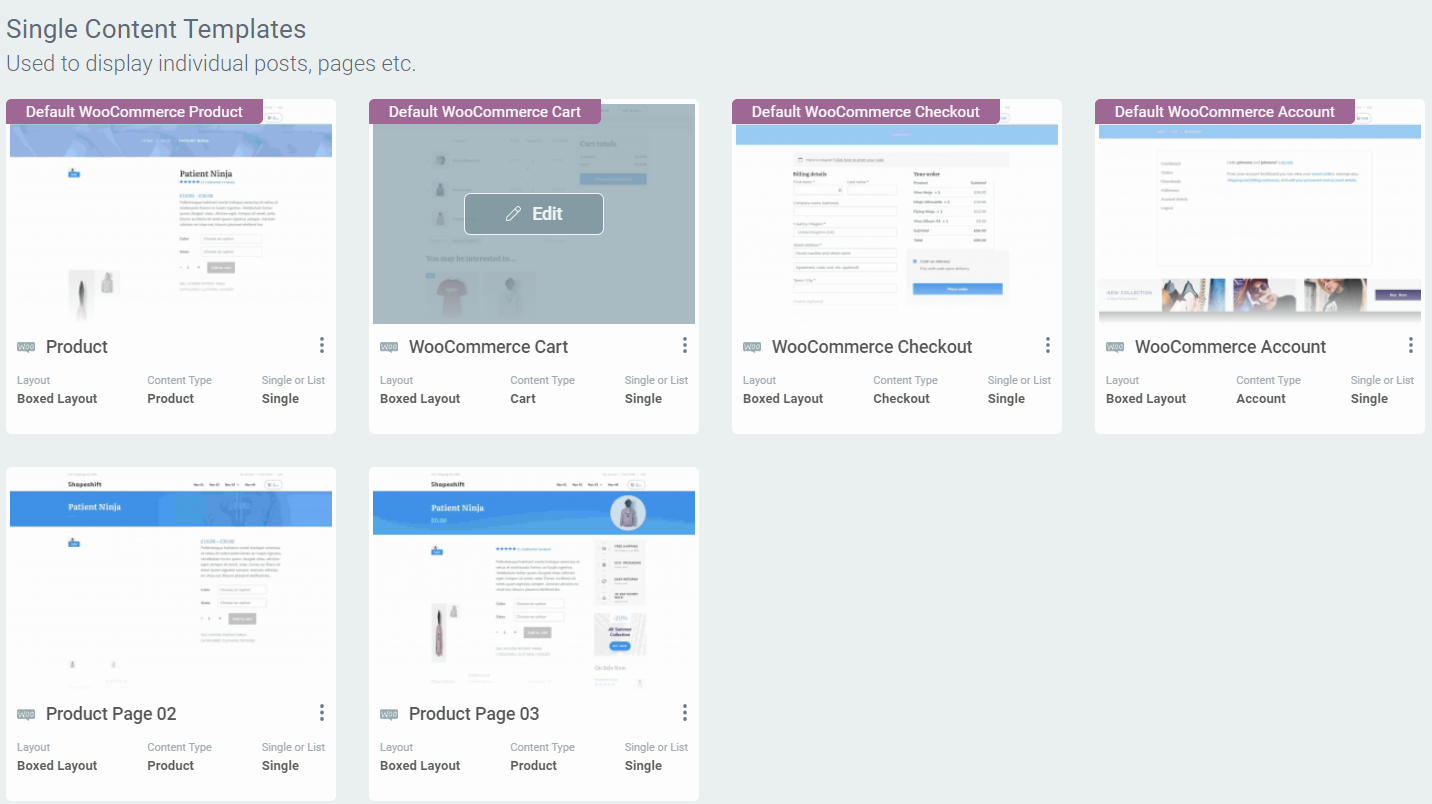
WooCommerce Templates in Thrive Theme Builder
Thrive Tip: If you want to get the most out of every order, consider adding upsells, cross-sells, or downsells to your funnel.
Step 7: Create Your Thank You Page
A thank you page is important for your sales funnel because it shows appreciation to your customers, confirms their action was successful, and offers additional value.
It encourages further engagement with your brand, helps gather feedback, and allows you to track conversions. This small step enhances customer satisfaction and improves your sales funnel’s effectiveness.
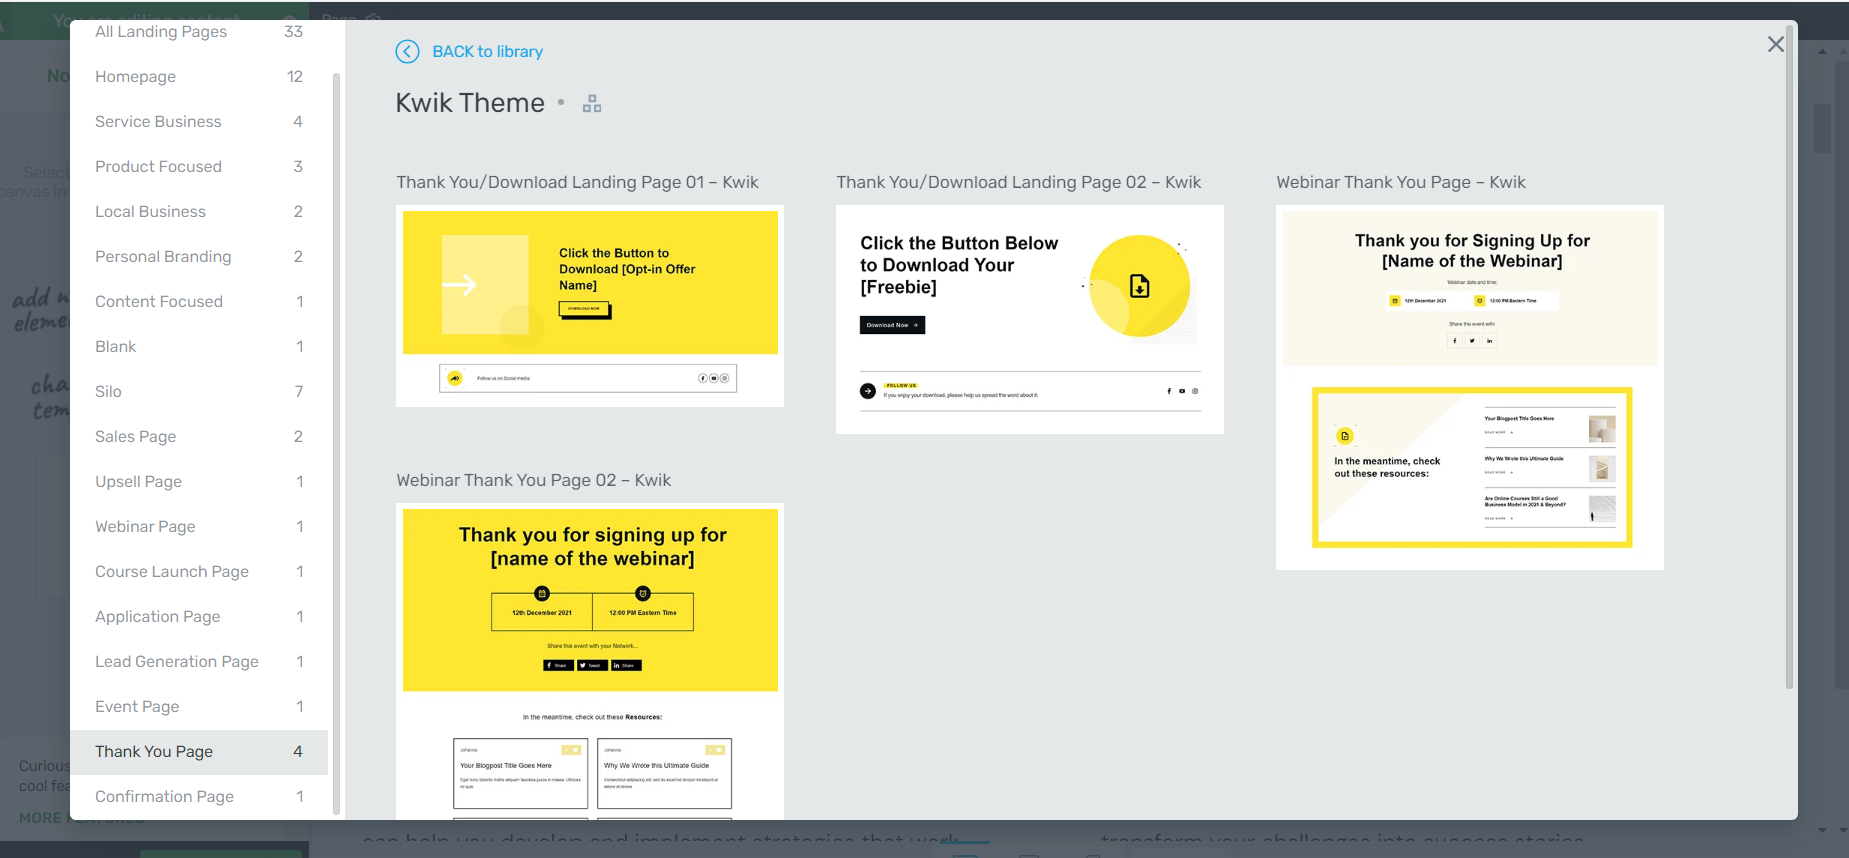
You can set one up in a few seconds by selecting a template in the Landing Page Library and customizing the placeholder text and visuals.
Step 8: Set Up Your Post Purchase Email Flow
Don’t forget to follow up with new customers after their purchase.
The best way to do this is through email automation.
Set up an automated email sequence. Include engaging content like thank-you emails, satisfaction surveys, and relevant additional product offers.
You could also encourage repeat business (and improve retention) by offering existing customers loyalty programs, discounts on future purchases, or referral benefits.
Step 9: Test and Optimize Your Funnel
Once you’ve connected all parts of your funnel, you should:
- Test the checkout process
- Ensure all links work as they should
- Ensure a confirmation email is sent after purchase and the customer is directed to the next stage correctly
We recommend running regular A/B tests to find the most conversion-focused version of your sales pages.
You should also install an analytics tool.
Using an analytics tool will help you understand how your funnel is performing through tracking user behavior and conversion rates.
These insights allow you to pinpoint where potential customers drop off and make accurate adjustments to your funnel's effectiveness. Our top recommendation for tracking your site's metrics is MonsterInsights.
Next Steps: Start Driving Traffic to Your New Funnel
Once you’ve set up your sales marketing funnel it’s time to get it in front of the right eyes.
As you share your sales page on social media platforms like Instagram and LinkedIn, through email, via SEO, PPC, and other outreach methods you need to make sure you’re targeting the right people
Here are 4 free resources to help you drive the right traffic to your website:
Ready to Launch Your Consulting Sales Funnel?
Now that you have the key steps to building an effective sales funnel for your consulting business, it’s time to start building.
With this tutorial, you can easily build your own sales funnels to turn your marketing efforts into profitable results — while providing a smooth customer experience at the same time.
The best part? You don’t need an expert sales team to make this happen.
Thrive Architect is a powerful funnel-building tool that provides you with everything you need to create stunning landing pages.
All you need to do is purchase the plugin and start your sales-generating journey today.
So what are you waiting for?


