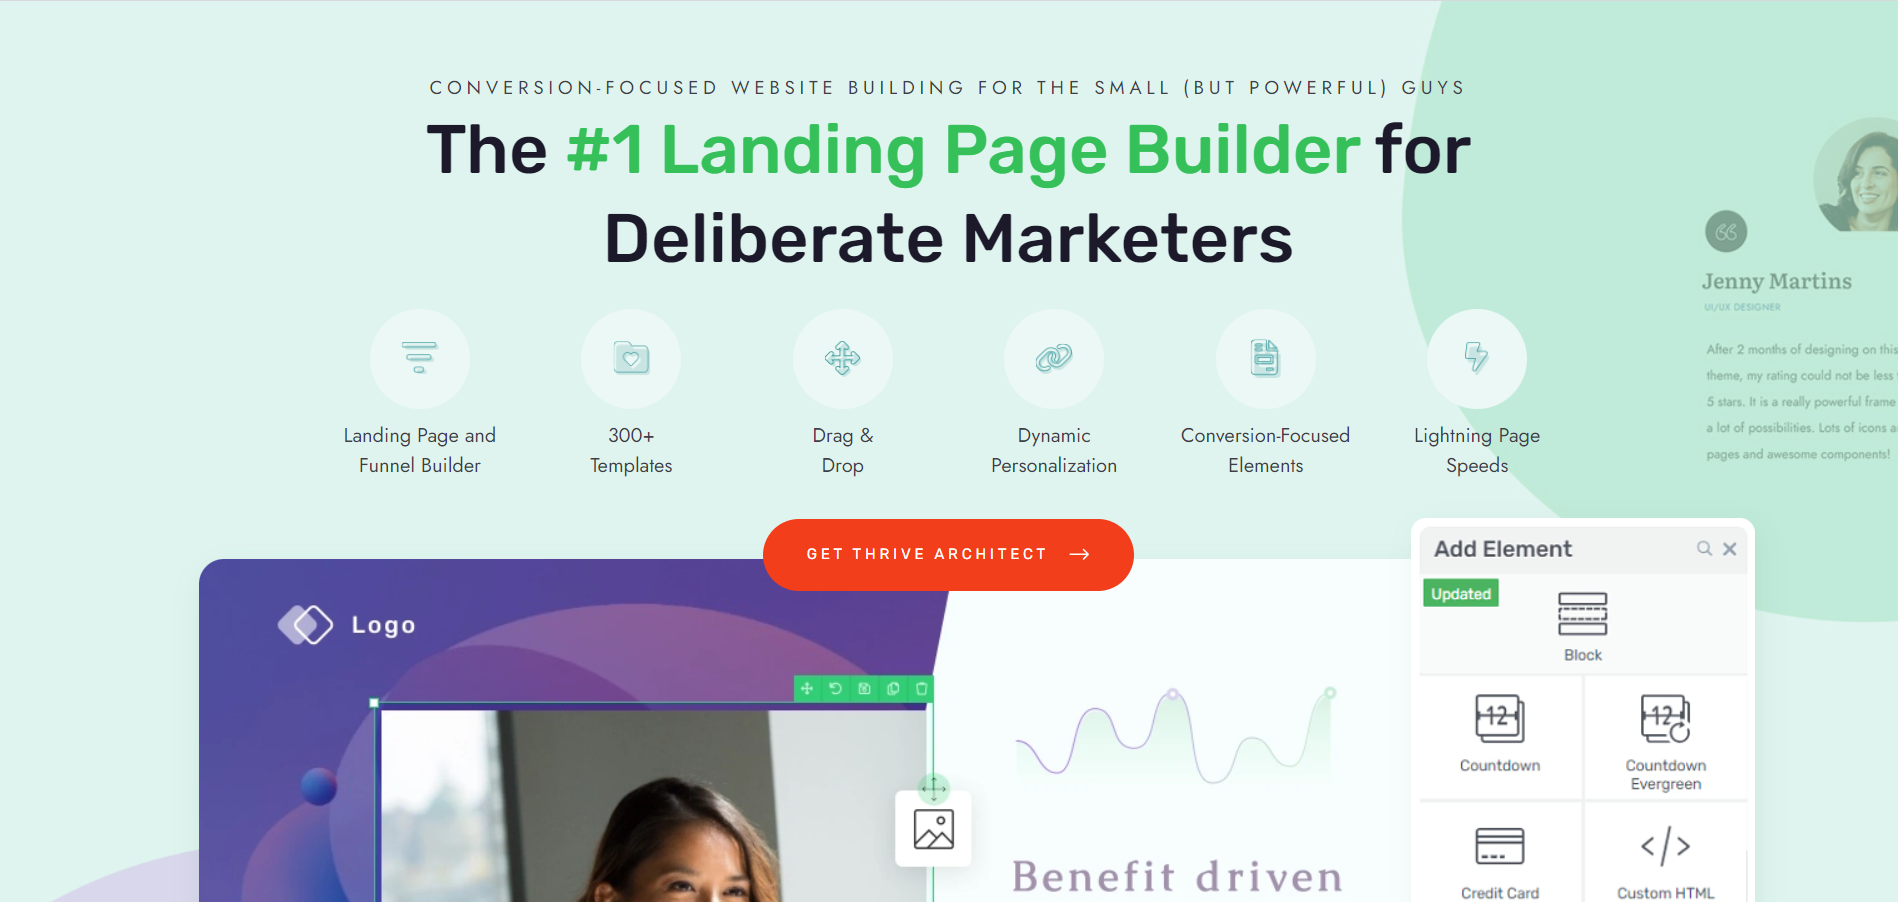
Do you want to learn how to create jump links and make your long web pages easier to navigate? Or maybe you’re tired of seeing visitors leave your site because they can’t quickly find what they’re looking for?
This blog post is here to help.
Improving your website’s navigation isn’t just a nice-to-have; it’s essential for keeping visitors engaged and ensuring they have a positive experience.
Jump links, also known as anchor links, are a powerful tool to guide your users smoothly through your content. They let users quickly jump to the sections they’re interested in, without the need for endless scrolling.
But you’ll need a little more than just this feature to solve your site’s navigation woes.
We’ll dive into that part in a bit.
For now, sit back and get ready to go through this straightforward guide we’ve put together to show you exactly how to create jump links and ensure a smooth, memorable user experience.
Let’s make your content more accessible and your visitors happier.
The Easy-Peasy Way to Create Jump Links with the WordPress Block Editor (Step-by-Step)
The WordPress Block Editor lets you create anchor links (jump links) without needing to tamper with HTML code — which is great if you’re a beginner.
You can easily point to a specific part of a page with these few steps:
First, open your page or post in the Block Editor.
Place your cursor where you want to create the anchor point that the jump link will target. This is typically a heading or specific section of your content.
Click on the "Advanced" tab in the Block settings on the right side of the editor.
In the "HTML ANCHOR" field, enter a unique name for your anchor without spaces. This will be used to identify the target location. For example, "Creating-Buyer-Personas".

Now, place your cursor where you want to add the jump link that will take users to the anchor point — this is typically at the top of the page or heading section.

Select the text and click on the link icon in the toolbar (it looks like a chain).
In the link field, instead of entering a URL for a hyperlink (or internal link), type a hashtag (#) followed by the anchor name you created in earlier. For example, "#Creating-Buyer-Personas"
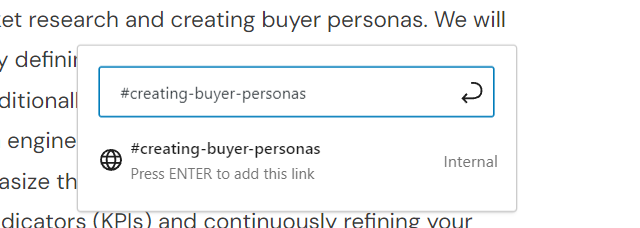
Click the "Apply" or "Enter" button to save the page jump link.
Now, when users click on the jump link, they will be smoothly scrolled down to the corresponding link’s destination on the same page.
!
The Problem with This Method…
While this method will help you create a jump link, if you need to create several links on one page, things could get messy quickly.
A few cons of using the WordPress Block Editor to get this done include:
- Limited flexibility: While the Block Editor allows you to create jump links, it may not offer as much flexibility or customization options as manually coding the links using HTML.
- Potential for broken links: If you change the anchor name or remove the target section without updating the corresponding jump link, it will result in a broken link that doesn't function properly.
- Overuse can be distracting: If you include too many jump links on a page, it can clutter the content and distract users from reading the main text.
How the Pros Guide People To the Right Information with a Seamless User Experience (And You Can Too)
Jump links are a good solution if you’re looking for a quick fix for your long pages and posts.
But this feature won’t create a smooth experience for your readers. In fact, using too many jump links can create a negative experience for your audience – and hamper your search engine optimization (SEO) efforts.
A long, clunky page with jump links all over the place will make your brand look less professional and cause your website visitors to lose confidence in your business.
If you want to market like a pro, you need to build and manage your site like a pro.
“Well, what are the pros doing?” you ask.
The pros are focused on creating seamless navigation and a cohesive user experience. They understand that while jump links are useful, they must be part of a broader strategy that includes intuitive design, easy navigation, and professional aesthetics. And to achieve this, you need the right tool.
And we know the best one to get the job done…
Use a Page Builder to Create High-Quality Pages That Are Easy to Navigate
Think of it like this: jump links are like a band-aid solution for a broken leg. Sure, they might help you get from point A to point B, but they're not going to heal the underlying problem.
That's where Thrive Architect comes in.
Thrive Architect is a powerful WordPress plugin that makes creating beautiful, user-friendly pages a breeze.
It helps you effortlessly guide visitors to the information they need, keeping them engaged and interested in exploring more.
Plug-And-Play Templates Built the Right Way
With this landing page plugin, you can create a visual hierarchy that guides your readers through your content in a way that feels natural and intuitive. No more endless scrolling or clicking on jump links that lead to nowhere – just a seamless, engaging experience that keeps your audience hooked from start to finish.
Thrive Architect’s landing page library is one of its main winning features, boasting hundreds of templates you can use to create all kinds of pages to promote your offers, secure leads, and convert visitors into customers.
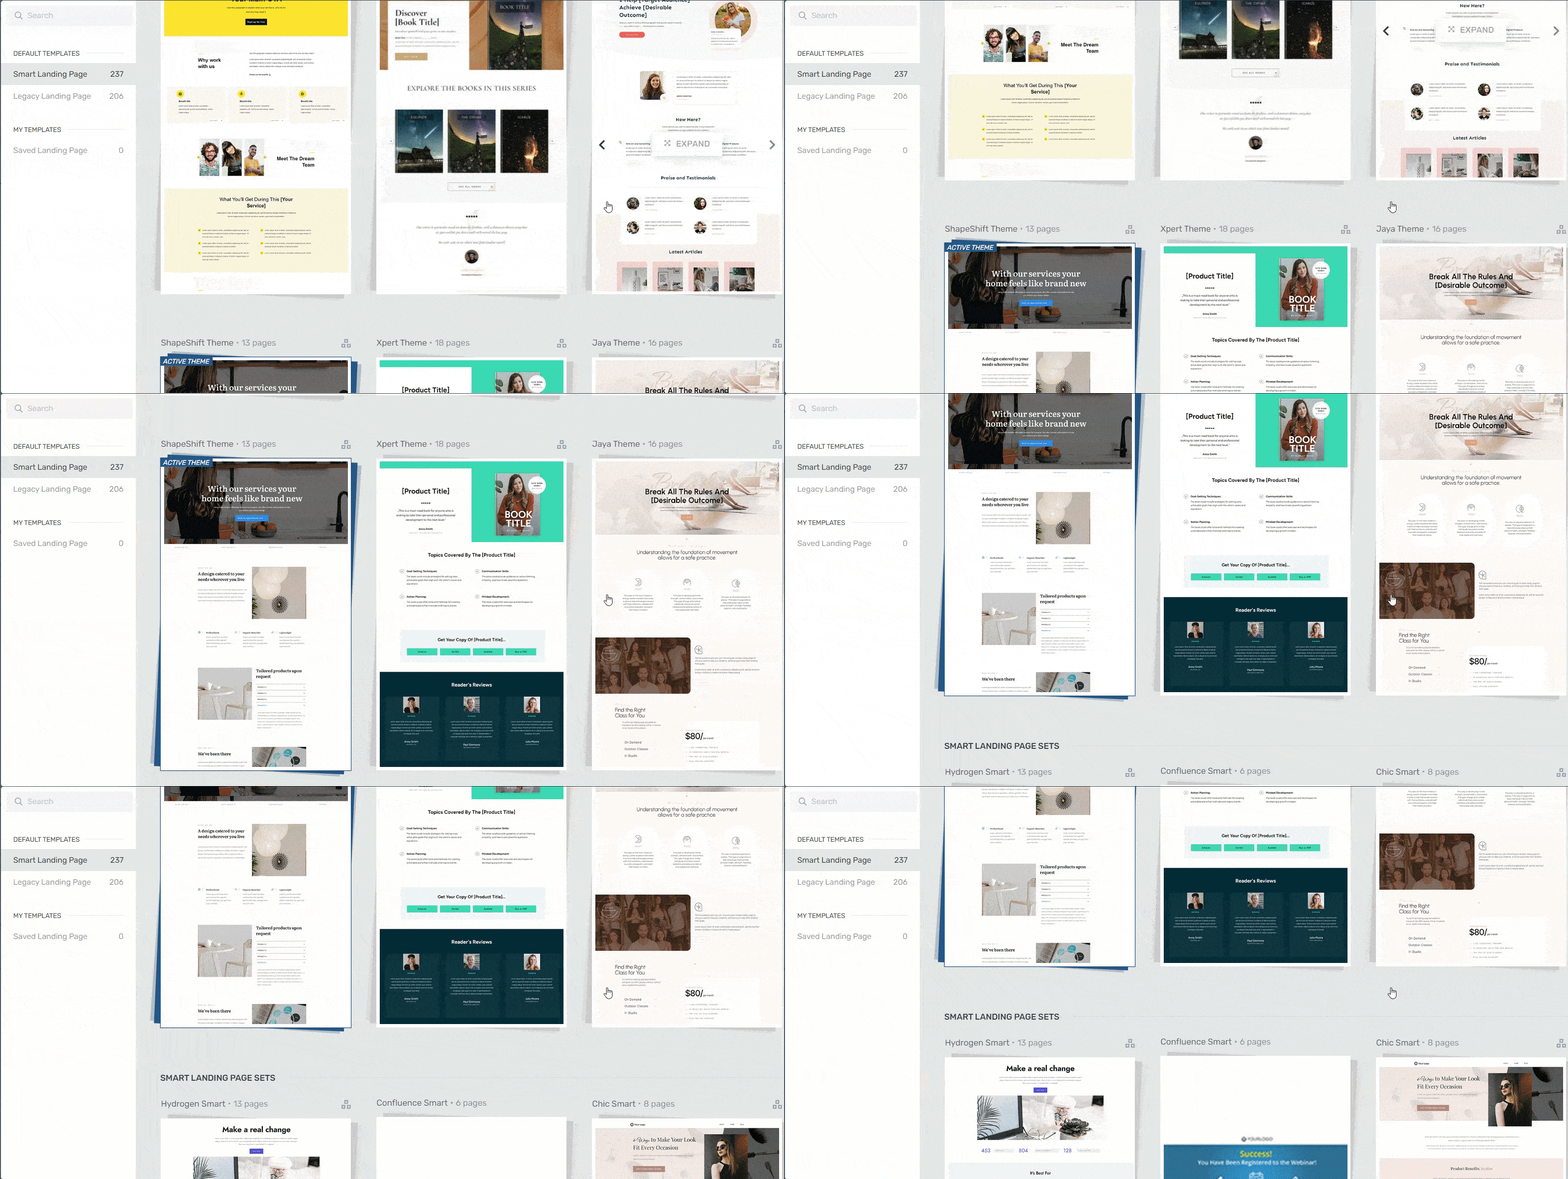
Landing page template sets in Thrive Architect
Conversion-Focused So You Get RESULTS
And let's talk about those conversion-focused elements – they're like the secret sauce that takes your pages from "meh" to "oh yeah!"
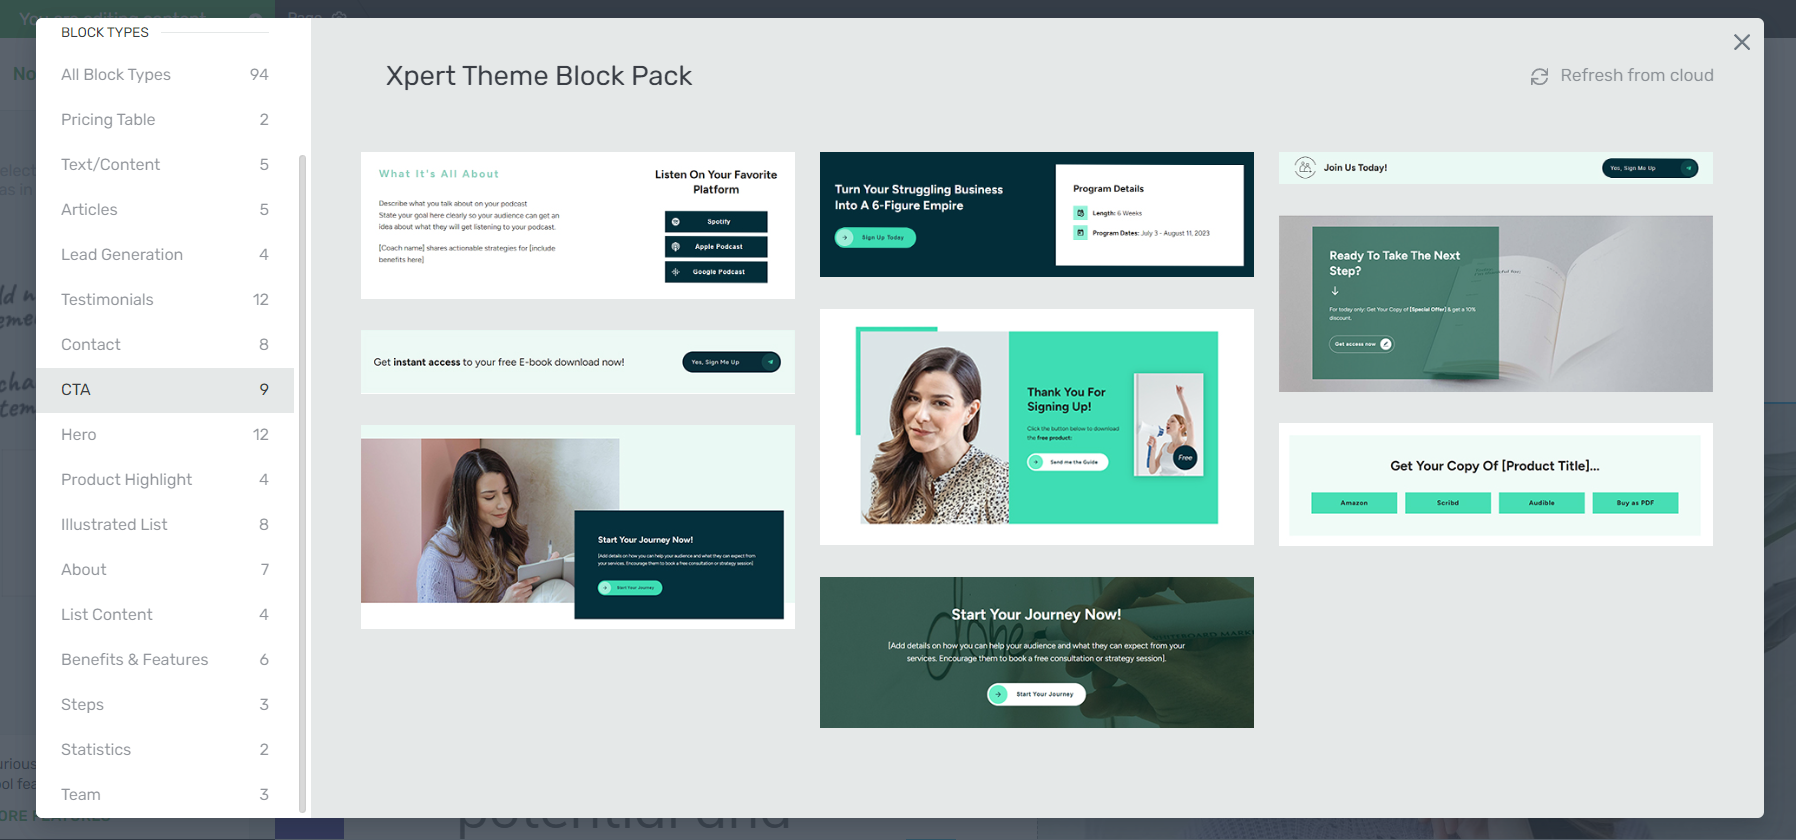
Some of our CTA Sections in Thrive Architect
Imagine being able to strategically place call-to-action buttons, testimonials, and countdown timers exactly where they'll have the most impact. Think of it as having a marketing genie at your fingertips, ready to grant your every wish (okay, maybe not every wish, but you get the idea).
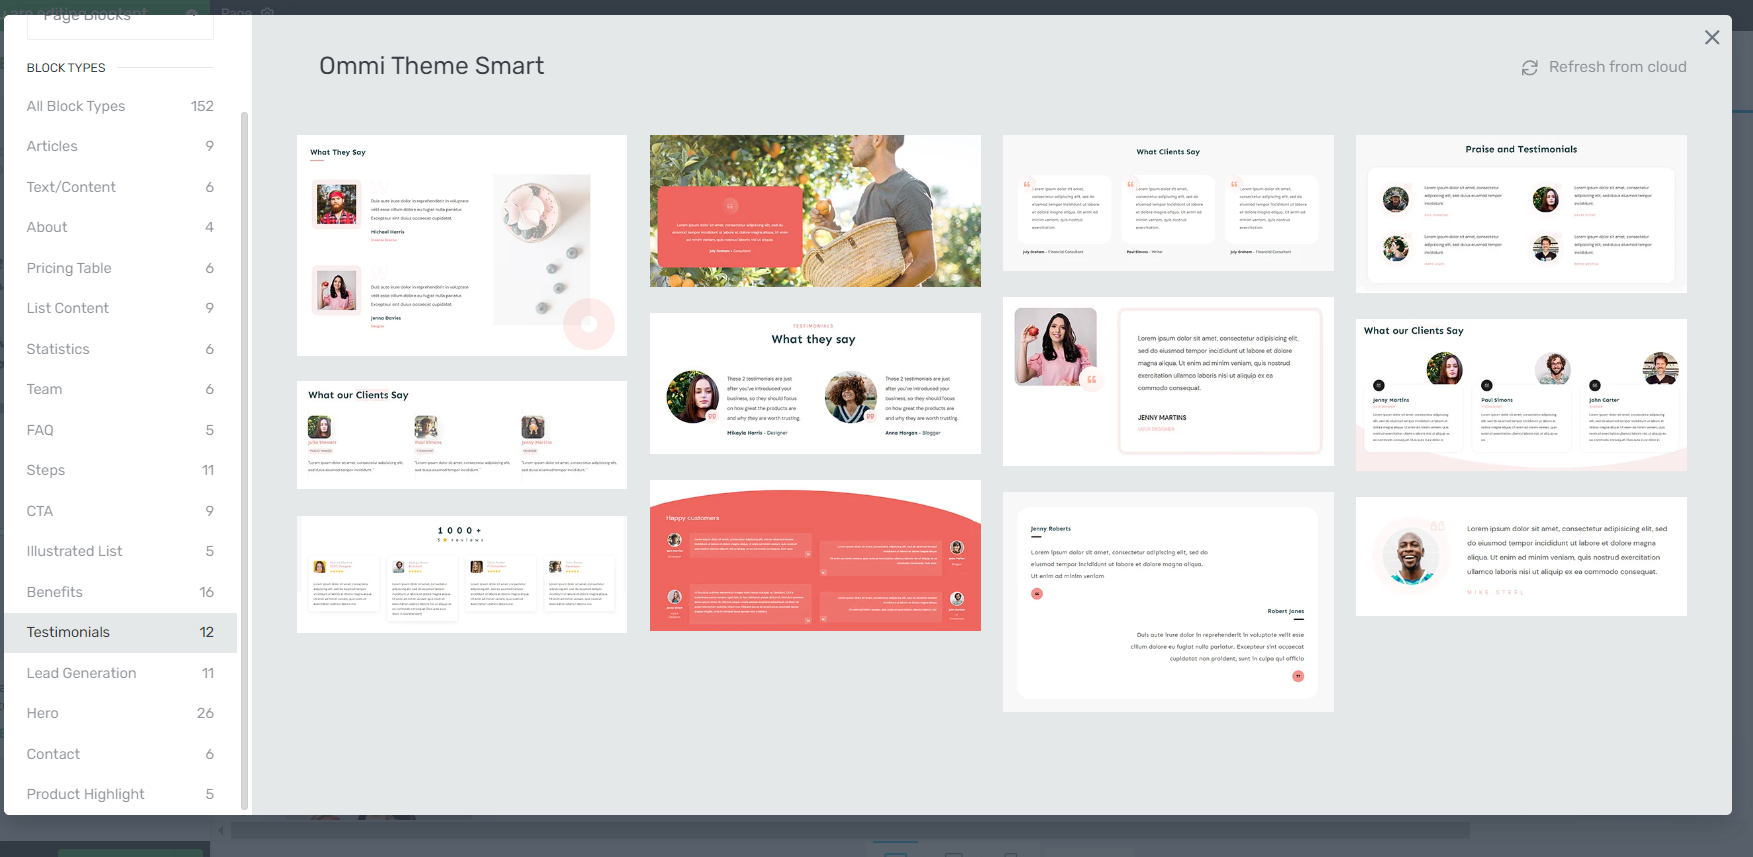
Testimonial Templates in Thrive Architect
But perhaps the best part about using a tool like Thrive Architect is that it empowers you to create professional, polished landing pages that reflect the quality of your brand.
No more settling for clunky, disjointed pages that make your business look like an amateur hour – with Thrive Architect, you can build a site that screams "I know what I'm doing, and I'm darn good at it!"
Conditional Display: The Best Way to Show Different Content to Different Visitors on the Same Page
Have you ever wished you could customize your website's content for different visitors? Maybe you want to show a special offer to returning customers or hide certain elements from first-time visitors. That's where Thrive Architect's Conditional Display feature comes in!
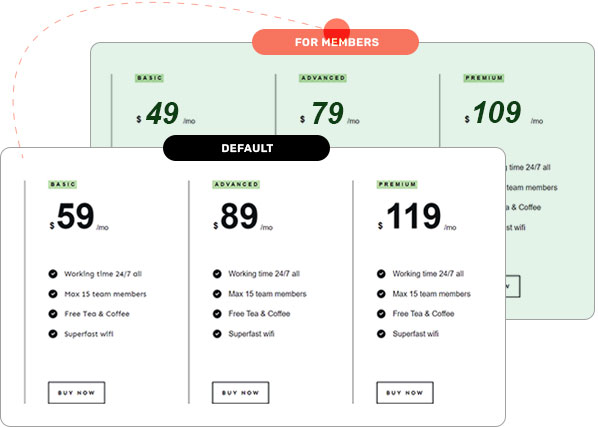
The concept of Conditional Display is simple: Show specific content based on certain display criteria.
Show or hide specific elements on your pages based on conditions like:
User behavior: Display different content to returning visitors, logged-in users, or previous customers.
Referral source: Customize messages based on where visitors came from, like specific websites or social media platforms.
User preferences: Adapt content to a specific time, date, etc.
Targeted lead generation: Show different form fields or questions based on user interactions or profile information.
… and so much more.
See this powerful tool in action right here:
This is just a taste of the powerful features you get when you buy Thrive Architect. Landing page
templates, Conditional Display, pricing tables, call to action blocks, carousels, table of contents, search bars, and so much more.
You'd need to install at least 5 to 8 separate premium plugins to make this happen…
Which could end up costing you north of $500+ – without the guarantee that all these tools will work together without slowing down your website.
Why go through all that hassle when you can grow your business faster (and easily) with this powerful plugin?
… And If You Still Need to Create a Jump Link
If you’re still thinking “This is great but I’d still like to be able to create jump links in Thrive Architect”, no worries.
One of the ways to do this automatically, on a page that has many “chapters” you want to link to, is by using the “Table of Contents” element.
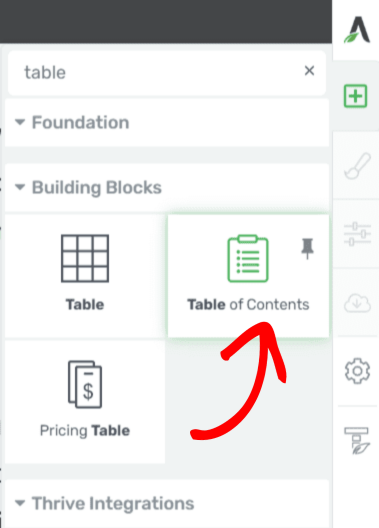
Just drag and drop the element onto your page and select a pre-designed template.
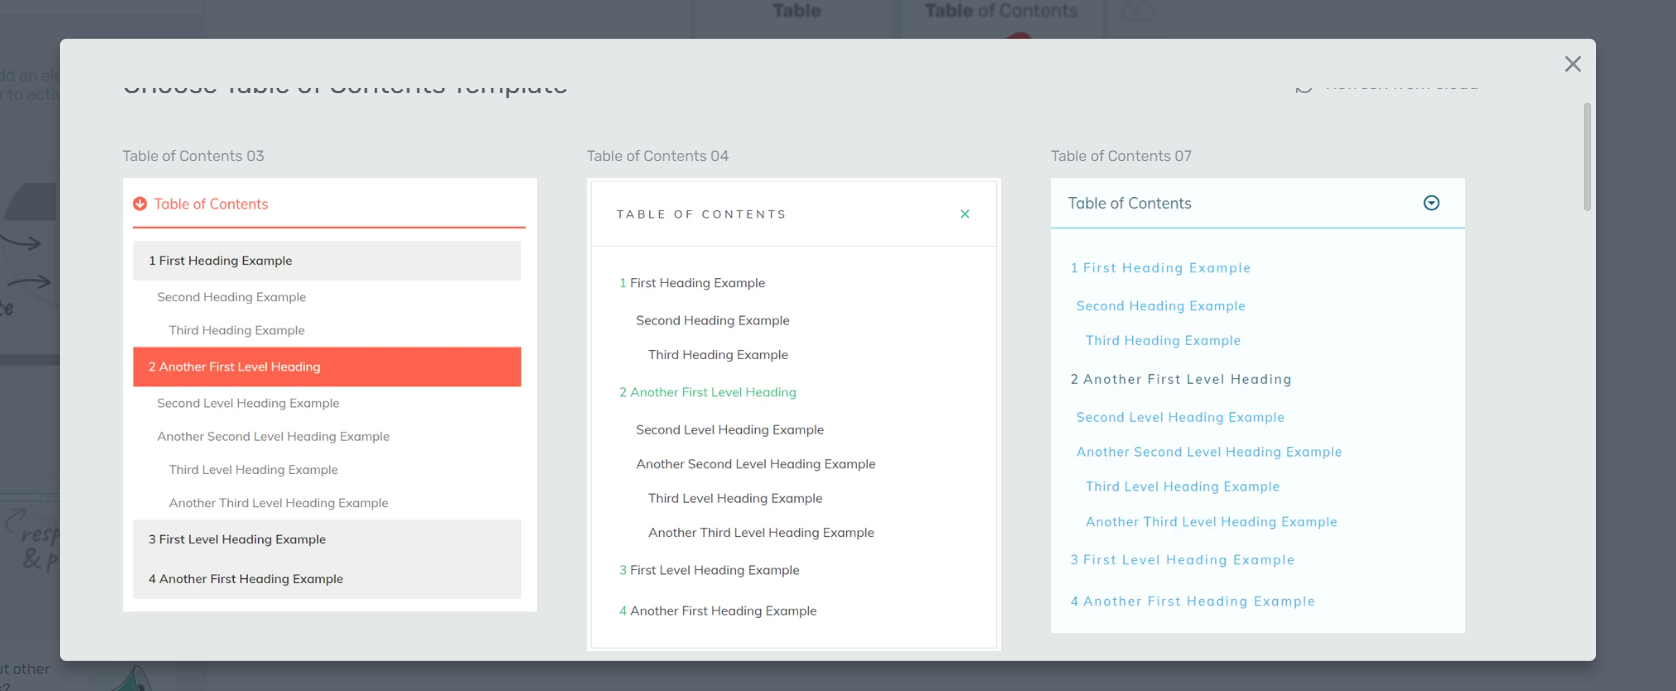
This table will automatically pull and display the headings on your page. You can use the settings in the left sidebar of the Thrive Architect editor to change what is shown on the list.
But if you want to add individual jump links to different parts of your page, follow these instructions:
Open Your Page or Post in Thrive Architect

Highlight the text you want to link from and select the link option (chain icon) from the “Panel Options” that appeared on the upper-center part of the editor:
This will open the drop-down with the linking options for the text. This drop-down has two sections: the “Static” and the “JumpLink” section. The “Static” section is selected by default, so you will have to click on/select the “JumpLink” option to access the options you need.
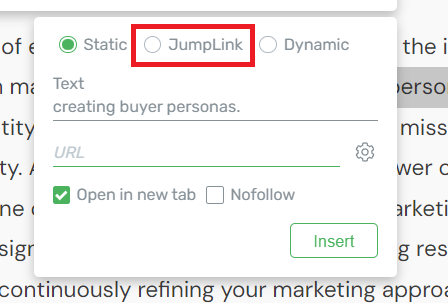
The next step is to select your target element from the page. To do that, click on the “Select Target” button from the linking options drop-down:
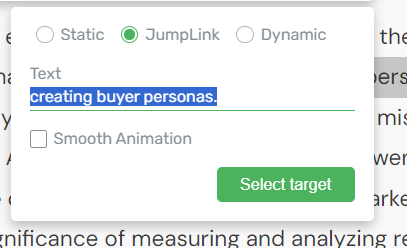
This will activate the “Select Target” mode on the page, which is represented by the orange borders.
Look for the element on the page that you want the jump link to point to. You can scroll up or down the page to find this target element. This can be any kind of element that can be on your page.
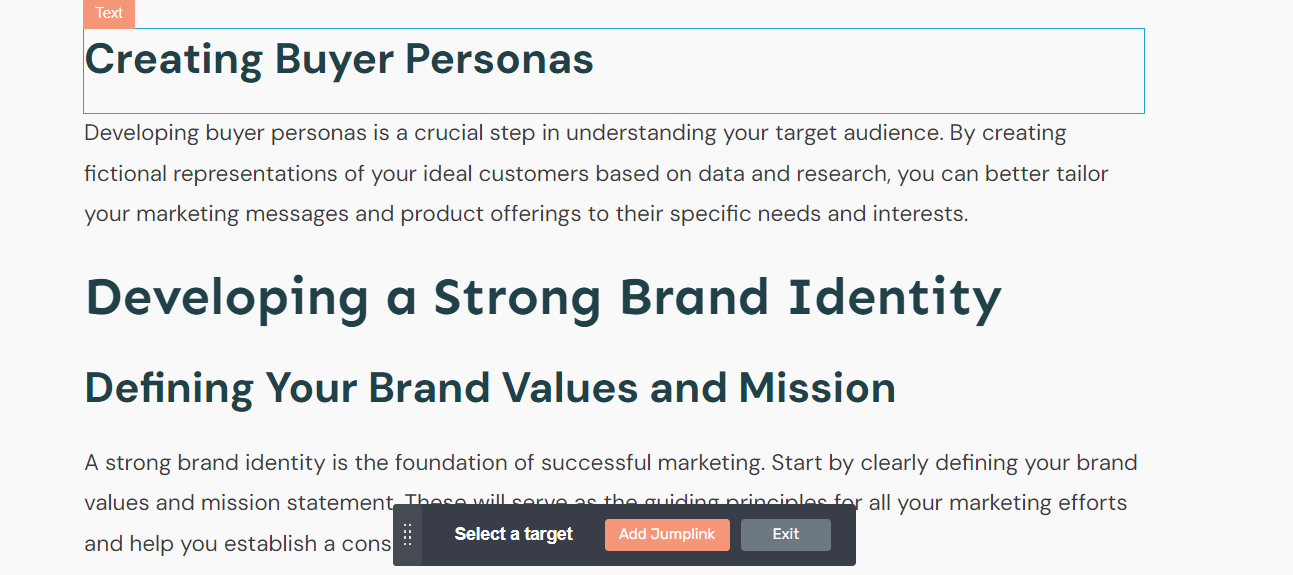
Once you have found it, click on it to select it. After you select the target element, an orange dashed border will be displayed around it and the “Add JumpLink” button (in the bottom-center part of the page) will become orange as well.
All you have left to do is click on the “Add JumpLink” button and the jump link will be inserted into the text successfully.
Quick, easy, and much simpler than using the WordPress Block Editor.
Pro Tip
Please remember that jump links can only be applied on the same page.
You can’t use jump links to link to elements placed on a different page.
If you’re looking for a way to create a hyperlink that leads to an element from another page, you can use the “HTML Attributes” section.
Next Steps: Work on Your Site's Navigation
As we said before, creating a smooth scrolling and user experience for your WordPress website visitors goes beyond adding or removing individual elements.
You need to see how every component contributes to your website’s overall navigation. From your headers and footers, to the content in between.
Can your site visitors go through your homepage and easily understand where to find your offers, contact pages, opt-in forms, etc.?
Or do they need to spend a lot of time trying to find their way around?
Here are four WordPress tutorials to help you answer these questions and identify areas on your website that need to be improved:
How to Create Jump Links: Final Words
This is just the start.
Now, it's time to think beyond jump links, so you can turn your current website into a memorable experience for your potential customers – and land more leads and sales.
But you can’t do that without Thrive Architect.
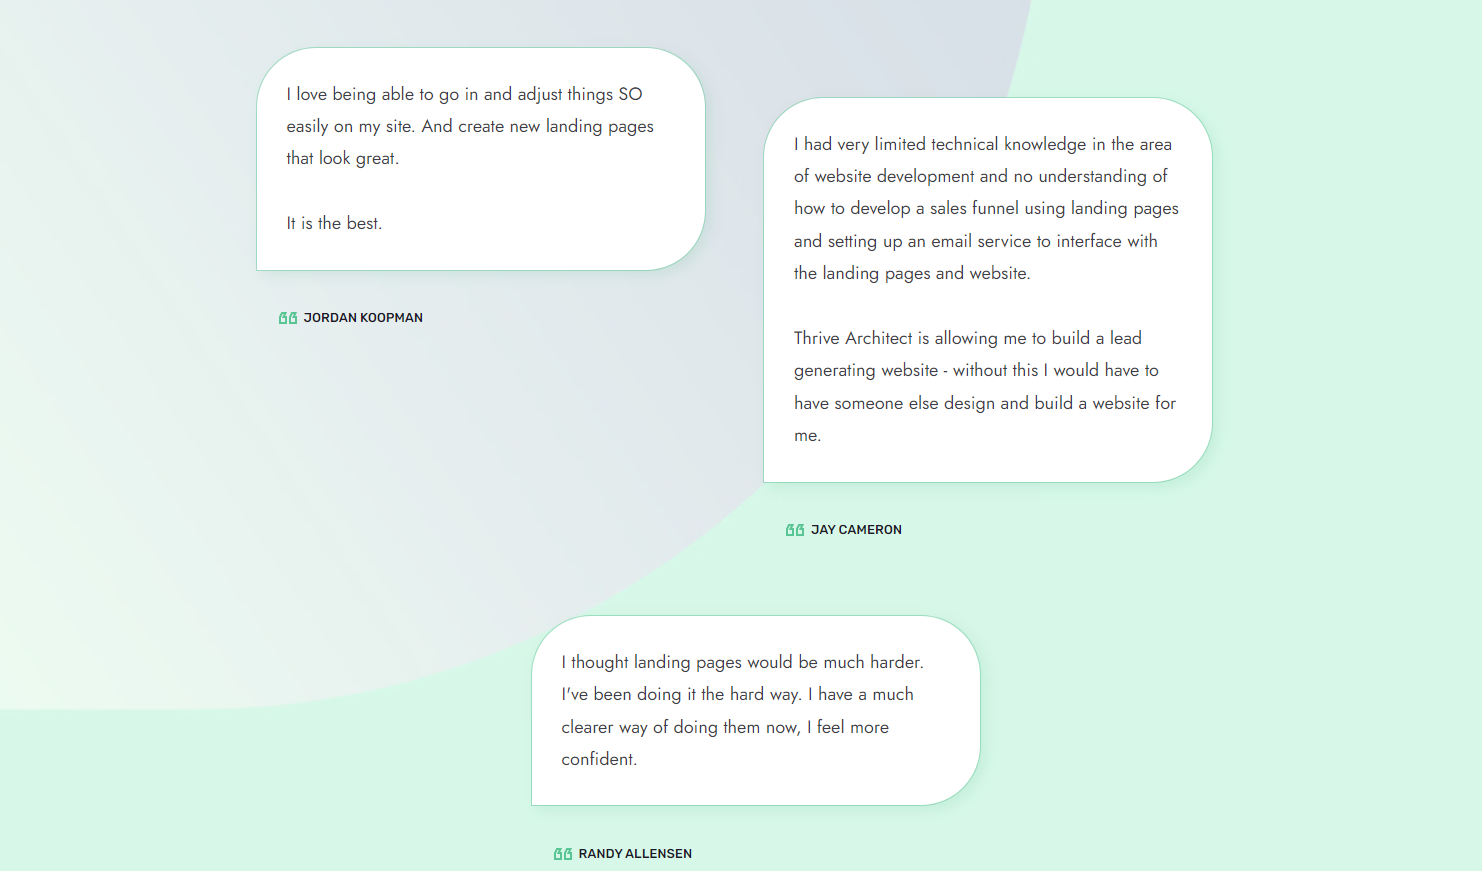
This tool is as good as we say it is. But don’t just take our word for it, see what a few of our customers have to say:
Think of how much easier your life will be when you can design your landing pages in minutes, not hours.
Think of how much time you'll save -- and who doesn't love free time?
If you're serious about changing your current strategy so you can see the results you really want, this is your chance.


