Want to learn how to create a content hub?.
This step-by-step tutorial is for you.
Read on to learn how to create a content hub that can make a big difference to your marketing strategy and help you secure more leads and even sales for your business.
What is a Content Hub?
A content hub (also known as a pillar page or topic cluster) is a page on your website that serves as a high-level, in-depth guide on a specific topic. On this page you'll find internal links to articles, videos, infographics and other types of existing content related to the same topic.
The goal of this content hub page is to create a topic-specific content library that proves your expertise in a particular topic, until you become the go-to guide for your audience; helping you build a loyal following of engaged users.
A content hub is also a great digital marketing tool and can help boost your website's ranking on search engines.
Think of it like this: By providing high-quality content that is relevant and useful to your target audience, you can attract more traffic to your website, alerting search engines that your content is useful and worth reading.
WPBeginner: Example of a Content Hub on WordPress
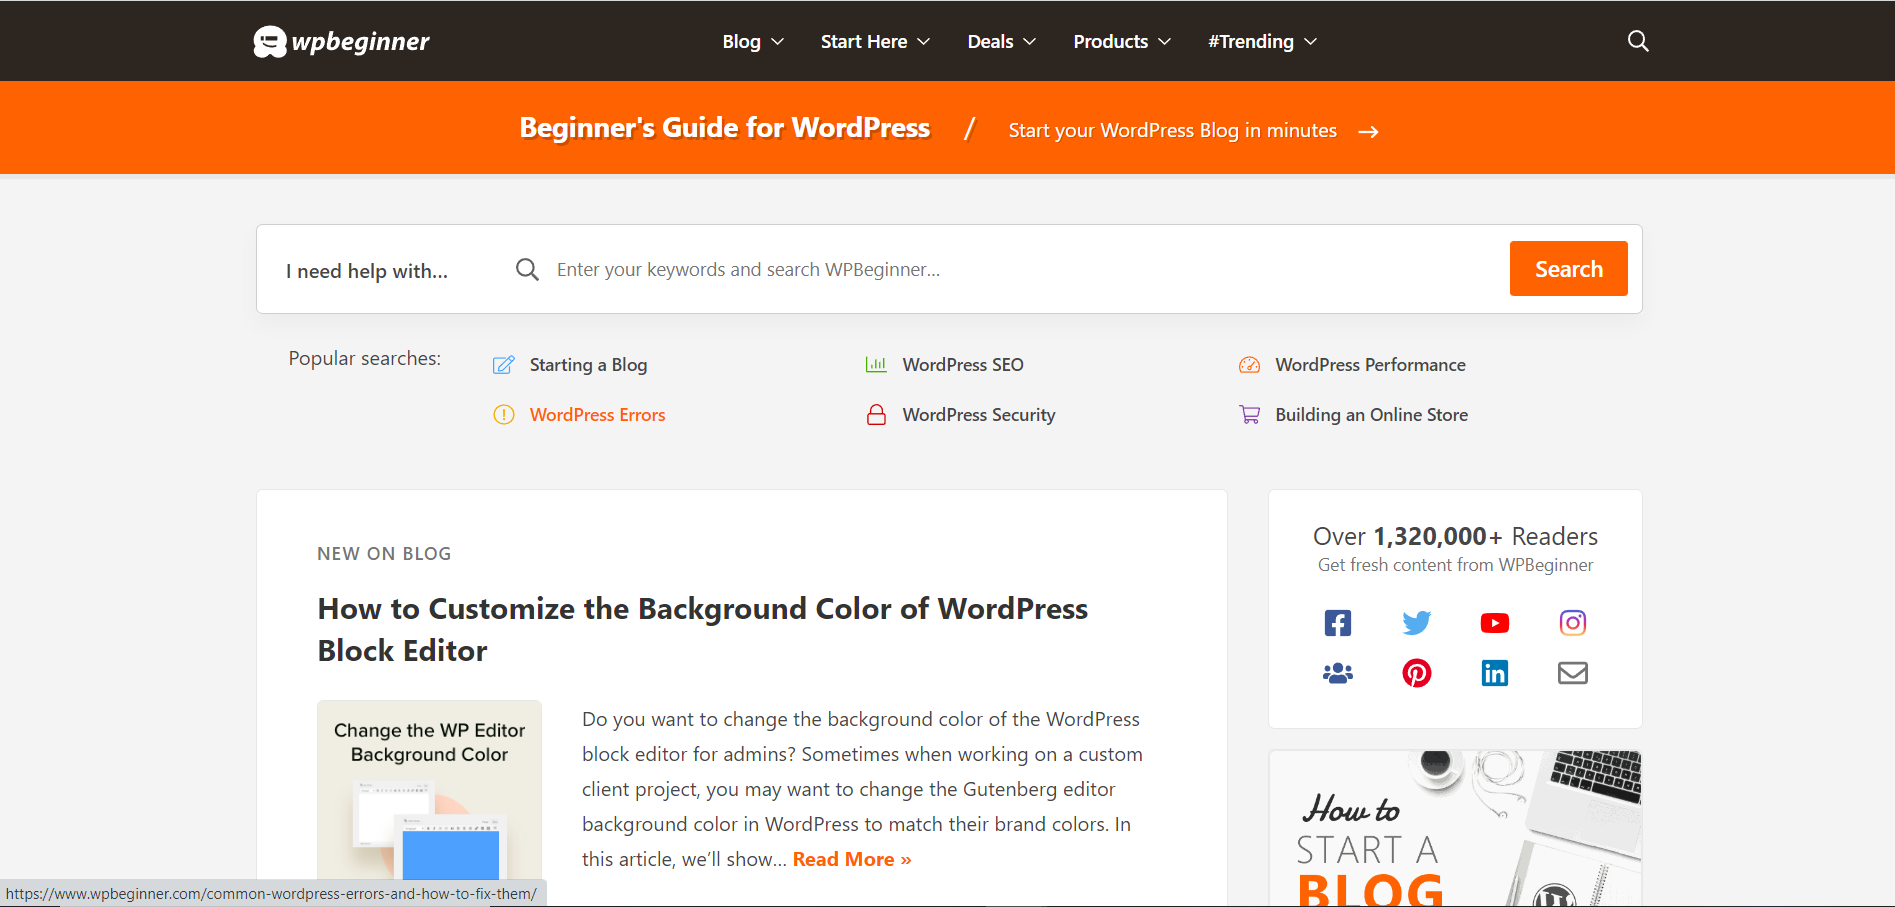
WPBeginner - The Beginner's Guide for WordPress
WPBeginner is a great example of a content hub because of how it has successfully managed to offer a comprehensive collection of content about WordPress.
This site houses a wide range of curated content - in different formats - that caters to WordPress users of all skill levels, from beginners to advanced users. And as a result, WPBeginner is now the go-to resource for anyone who has a question about WordPress.
From building a website, to selecting a hosting provider, or even learning how to use OpenAI on your WordPress website -- WPBeginner has a resource for you.
Benefits of a Content Hub
Content hubs are a great way to:
Key Features of a Content Hub on Your WordPress Website
- A strong H1 heading with relevant keywords
- An intro paragraph to hook the reader and answer frequently asked questions
- A table of contents to make the page user-friendly and allow readers to navigate through your page with ease
- Content sections with H2 headings linked to the main topic
- Links to your best content
- Banners to place between your content sections to make your page easier to read
How to Build a Simple Content Hub for Your WordPress Website
Content hubs can be powerful tools for your content marketing strategy, but there actually incredibly easy to make.
Here are the steps we're going to look at:
- Installing Thrive Architect
- Research your content cluster topics
- Creating the correct page type
- Outlining your intro section
- Creating your first content section
- Building out the rest of your page
- Adding an FAQ sections
- Finalizing your table of contents
Let's find out how to make a content hub!
1. Install Thrive Architect
Thrive Architect is the page building plugin you need to build a stunning content hub that's easy for your site visitors to navigate.
This is the ideal tool for bloggers and business owners who have little to no design or coding experience, but still want their webpages to look professionally designed.
Thrive Architect has a variety of powerful features to help you build any type of content hub (content management, whitepapers, case studies, e-commerce, and more):
- Simple drag-and-drop editing
- Flexible column layouts
- Total font customization
- Page block templates to help you quickly customize and optimize your pages
- Mobile responsive design -- instantly preview your page on different screen sizes
- ...and so much more
What this is going to allow you to do is build a content hub without the frustration.
Simply head over to the Thrive Architect pricing page and then install the plugin following this simple guide.
Once you've done that, then you're going to have everything you need to take control of your marketing strategies, including your content hub page.
2. Research Your Content Cluster Topics
Now that you've got your page builder installed, it's important you create an outline for what topics you want your content hubs to address.
Remember, content hubs are about balancing SEO and user experience and you want to remember this when brainstorming your ideas.
Start by thinking about the main pain points your reader personas (target audience) face. Can those be broken down into distinct categories?
If, so, then you've got a great starting point for your content hub.
Your content hub wants to be based on higher level problems, and then link out to lower level problems that help to solve the higher level problems. For example, your higher level problem might be "how to create online leads," which would be the title of the content page, but within your sections, you're going to mention more specific problems like "how to create an awesome lead magnet."
Once you've got a few ideas, that's when you might want to look at the data on how people search for answers to their problems (search intent). This is where you'll want to look at search volumes to find out more about the specific problems your target audience has.
When you have this information, you can then bring together existing content pieces as well as create new content to help people solve their pain points and position your brand as an authority.
Your content hubs can then become like content databases that are easily searchable and focused on helping people solve specific problems.
3. Select Your Page Type
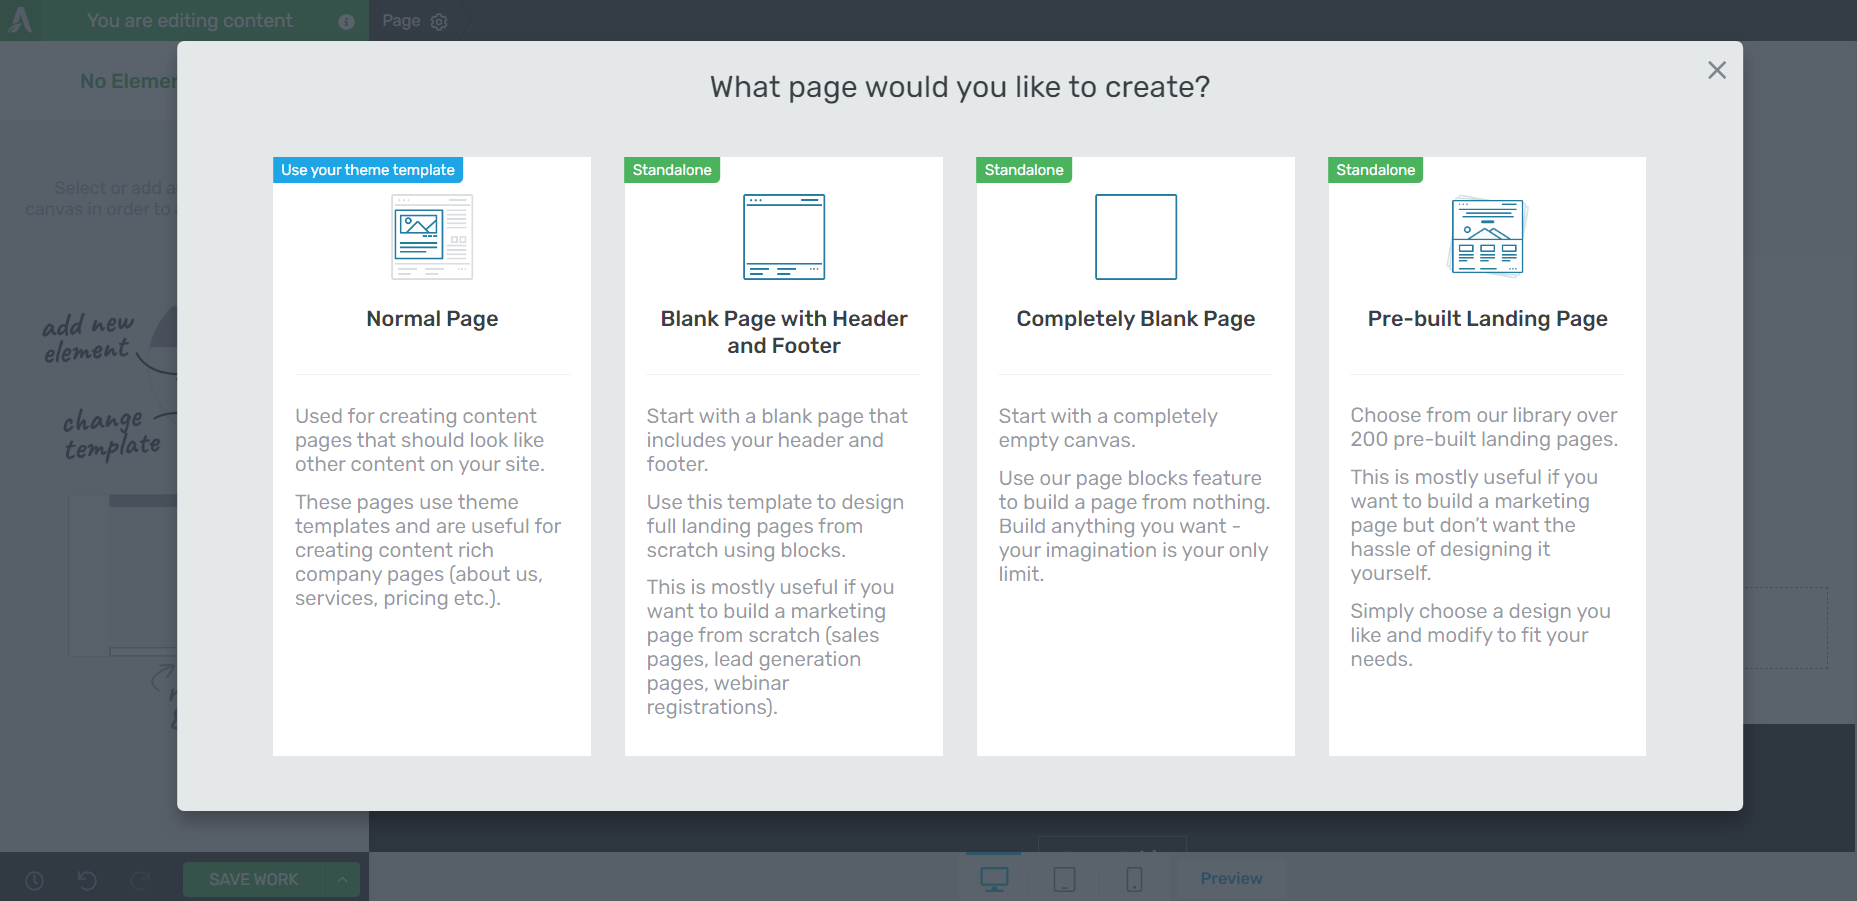
Page type options in Thrive Architect
Thrive Architect provide you with four page type options:
1. Normal Page
2. Blank Page with Header and Footer
3. Completely Blank Page
4. Pre-built Landing Pages
Since you're building a content hub from scratch, we recommend choosing the "Blank Page with Header and Footer".
Thrive Architect will automatically inherit your site's header and footer, so you won't have to build them all over again.
4. Outline Your Intro Section

Use your intro section to hook your readers' attention
Now it's time to create your intro section. You can create this in a few minutes with Thrive Architect's drag-and-drop editor:
- 1Add the Columns element to your page and select the 1/2 option
- 2Add a Text element to the Left Column
- 3Add a Table of Contents element to the Right Column and select one of our pre-designed templates
If you don't have text ready for your intro section, don't worry. Add a couple of lines in that section (notes on what that column should include) and come back to that part later.
It can look like this:
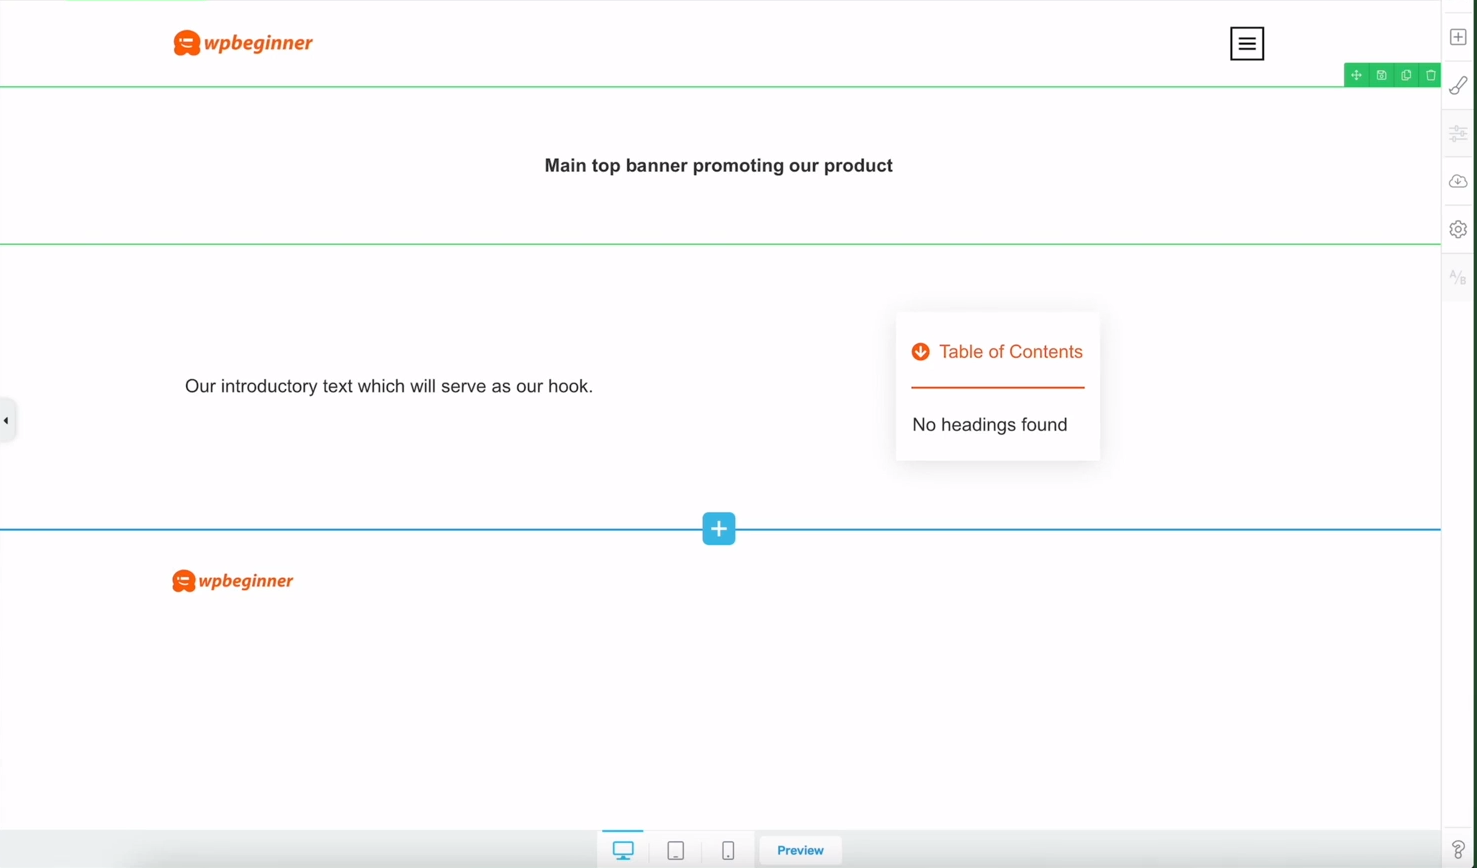
Creating your content hub's intro section
5. Create Your First Content Section
Now for the main part of your content hub.
Here's a very simple example of a content section Tony created in his tutorial:
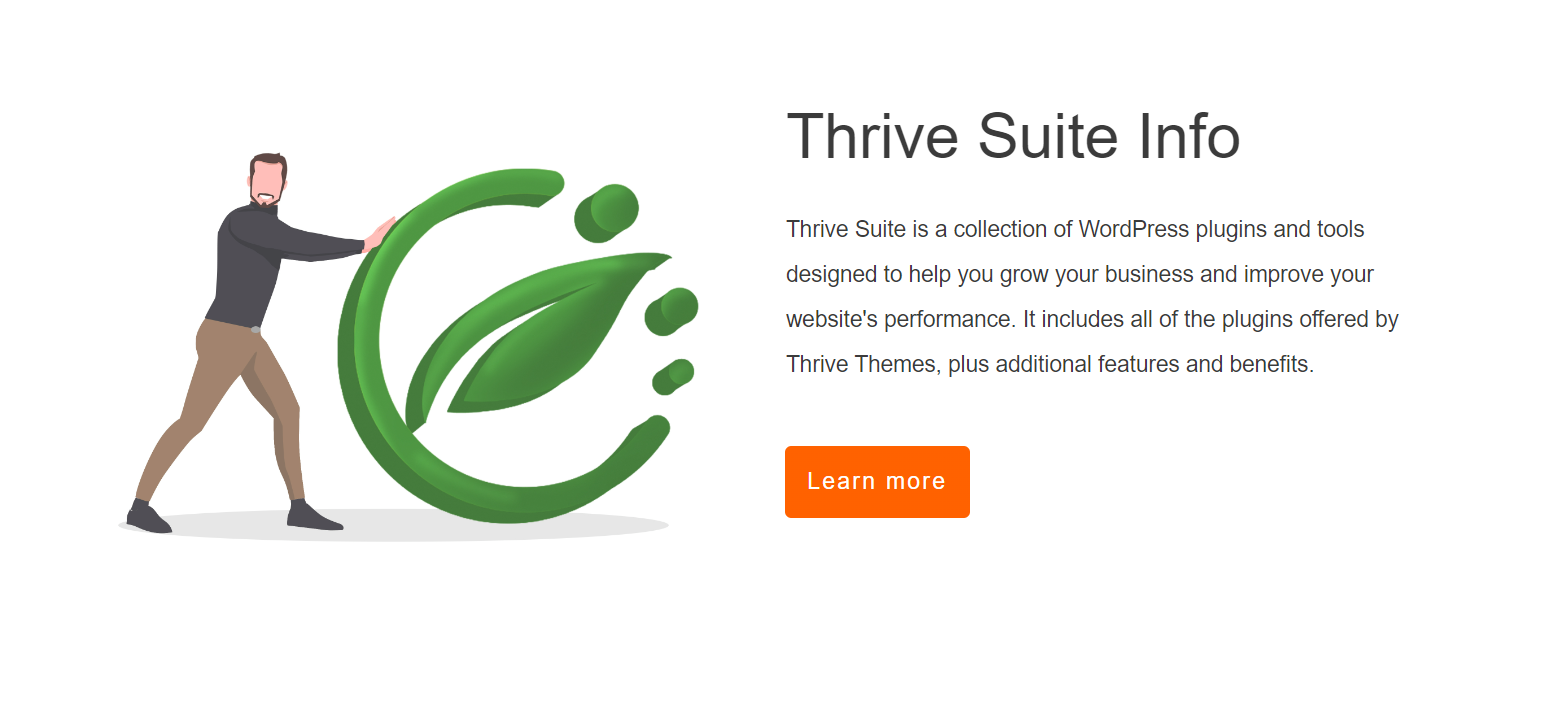
Example of a content section for a content hub page
To create something similar for your page:
- 1Add the Columns element and select the 1/2 option
- 2Add an Image element to the Left Column and select an image of your choice
- 3Add a Text element to the column on the right
- 4Create an H2 heading that includes a sub-topic related to the main subject of your content hub.
- 5Add a paragraph of text underneath the H2 heading to further explain the sub-topic
- 6Add a CTA button from Thrive Architect's table of elements and write a compelling call to action to guide your visitors to a relevant piece of content (e.g. Learn More)
Voila! You've created your first content section.
6. Clone Your Content Sections & Replace them With Different Text, Images, Etc.
Now you need to create the rest of your content sections.
The great thing about building a content hub in Thrive Architect is that once you've designed your first content section, you don't have to build a second one from scratch.
Simply clone your first content section as many times as you need to and proceed to swap out the text, images, videos, etc.
Keep doing this until you've created all the content sections you need for your page.
Tip: Since content hubs tend to be long pages with different types of content, you should add banners between your content sections. Take a look at what Tony did on his page:
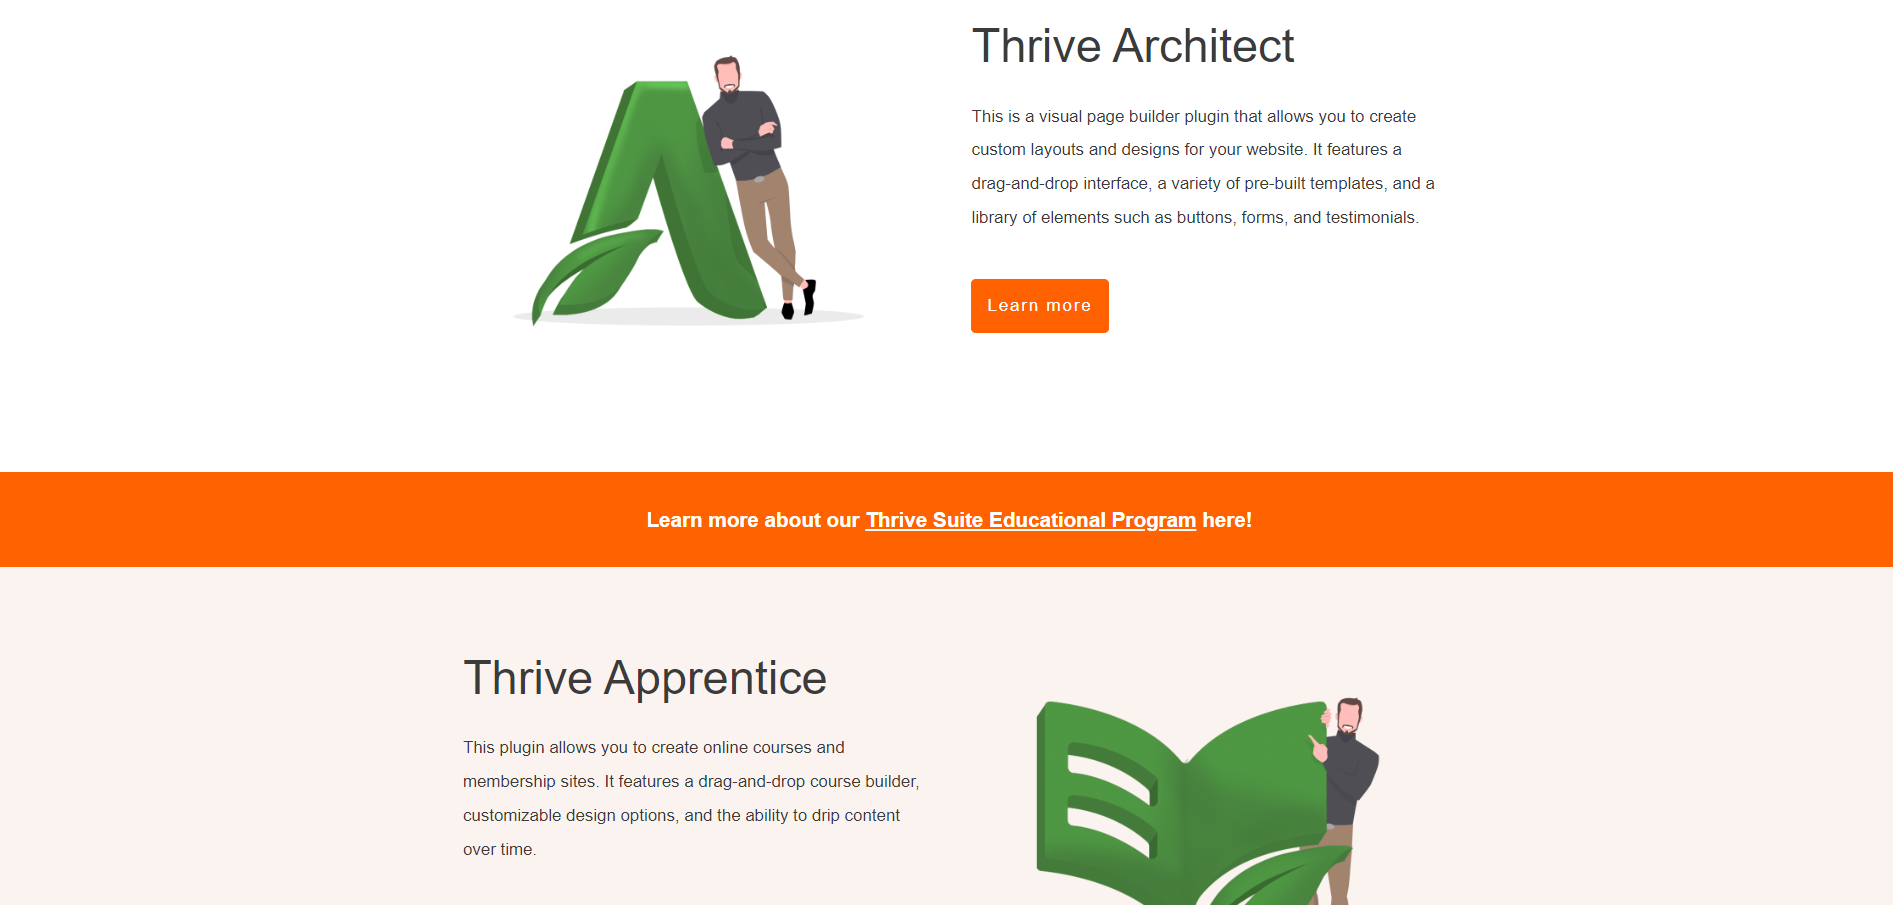
Use banners to separate your content sections
The orange rectangular block between the two content sections creates a clean break, makes it easier for the reader to scroll through the information, and also includes a neatly placed call to action -- "Learn more about our Thrive Suite Educational program here!"
You can create a similar banner with Thrive Architect by:
7. Add a FAQ Table

Don't forget to add FAQs to your content hub
Adding an FAQ table to your content hub page is super simple with Thrive Architect.
Select the "Block" element and place it on your page. Thrive Architect will then open its page and content block elements.
If you have Thrive Theme Builder, you'll be able to select an FAQ block from the "Theme Blocks" section. In the above screenshot, Tony used an FAQ block template from the Kwik theme.
8. Finalize Your Table of Contents
By now, you should have populated your page with H2 headings that point to content related to your content hub's main topic.
If you scroll back up to your content block, you'll notice that it now contains the titles of your H2 headings. If you don't see this, simply refresh the table of contents and the headings will appear.
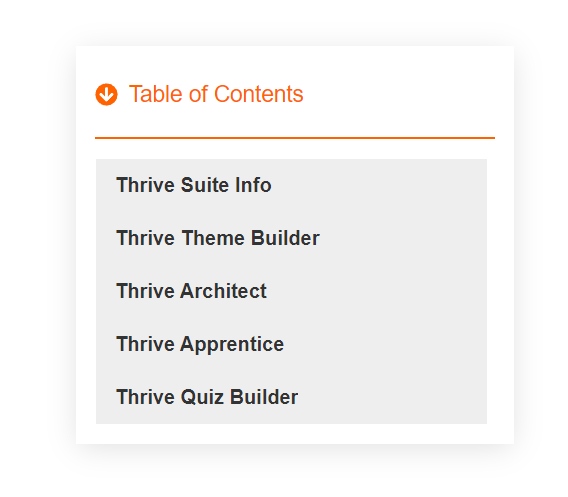
Your updated table of contents
Use this tutorial to learn how to customize your table of contents until you're happy with how it looks.
Next Steps: Generate Leads with Your Content Hub
Once you've drawn in your target audience to your content hub, you must encourage them to take action.
As your site visitors scroll through your content hub and their trust and interest in your brand grows, they're more like to fill in an opt-in form to join your mailing list or receive a free downloadable offer (lead magnet).
If you want to wow your audience with an impressive opt-in form and convince them to give you their email addresses, you should install Thrive Leads.
Thrive Leads houses over 450+ professionally designed, conversion-focused opt-in form templates that will turn your site visitors into excited leads.
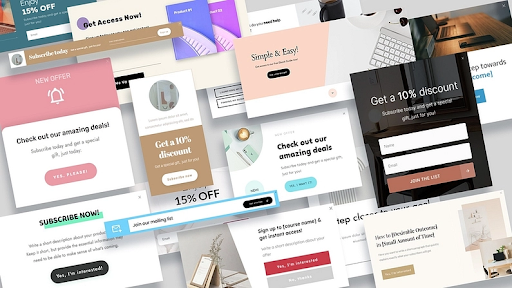
Pick from over 450 professionally designed opt-in form templates in Thrive Leads
You can access Thrive Architect and Thrive Leads when you purchase Thrive Suite, the all-in-one toolbox you need to build a thriving online business.
And There You Go... That's How to Create a Content Hub in WordPress
Now you know how to create stunning, conversion-focused content hub pages that will impress your site visitors, boost their trust in your business, and help you build a loyal community of subscribers and followers.
Want even more free resources to improve your online marketing? We've got you covered!
- Build Your Email List Faster with Gated Content
- 10 Remarkable Reasons Why Thrive Leads Helps Build Email Lists Faster
- How To Boost Reader Engagement By Adding Progress Indicators to Your Blog Posts
- 9 QUICK WIN Lead Magnet Ideas That You Can Knock Out in Less Than an Hour
What are you waiting for?
Start building your content hub with Thrive Architect today.


