Want to know how to create an FAQ section in WordPress? You're in the right place. Adding a great-looking FAQ to your site can help draw attention, and it's simpler than you might expect. In this guide, we'll walk you through two straightforward methods.
An FAQ section helps make your site more user-friendly, in turn potentially improving your SEO. Whether you're running an online store, a blog, or a business site, a good FAQ section can help your visitors find the information they need quickly.
In this tutorial, I’ll cover two different methods: a quick and easy method for those who want to get their FAQs up and running fast, and a more customizable option for those who want to fine-tune every detail. By the end of this tutorial, you'll be ready to design an FAQ section that informs your visitors and enhances your entire WordPress site.
So, let's dive in and start making your website more helpful and user-friendly with a great FAQ section!
How to Answer Your Customers’ Questions – Before They Even Ask Them
Often, when someone goes through your site, they have questions. Maybe they're wondering about your product features, your pricing, or your shipping policy. If they can't find answers quickly, they might leave your site – and you could lose a potential customer.
An space dedicated to frequently asked questions (FAQs) solves this problem by providing immediate answers to common questions. It serves as a mini knowledge base -- keeping visitors on your site longer, building trust by addressing concerns upfront, and even boosting conversions by clearing up doubts.
Beyond improving user experience, can FAQ sections offer SEO benefits. They often match the way people search online, potentially helping your landing pages rank better in search results. FAQs can also lead to featured snippets in Google search, increasing your visibility and driving more traffic to your site.
By adding a well-crafted FAQ section to your website, you're improving user satisfaction, and boosting your search engine performance. In this guide, I'll show you how to create an FAQ section two different tools.
Option 1: Create Your WordPress FAQ Section in Thrive Architect
The best way to add an FAQ section in WordPress (that fits your landing pages and don’t require HTML, custom CSS, or shortcodes) is with a trusted page builder plugin.
These tools save you the stress of wrangling with code or Gutenberg (the Block Editor) to create a custom design.
This section shows you how to create stunning pricing tables with Thrive Architect.
1. Download and Install Thrive Architect
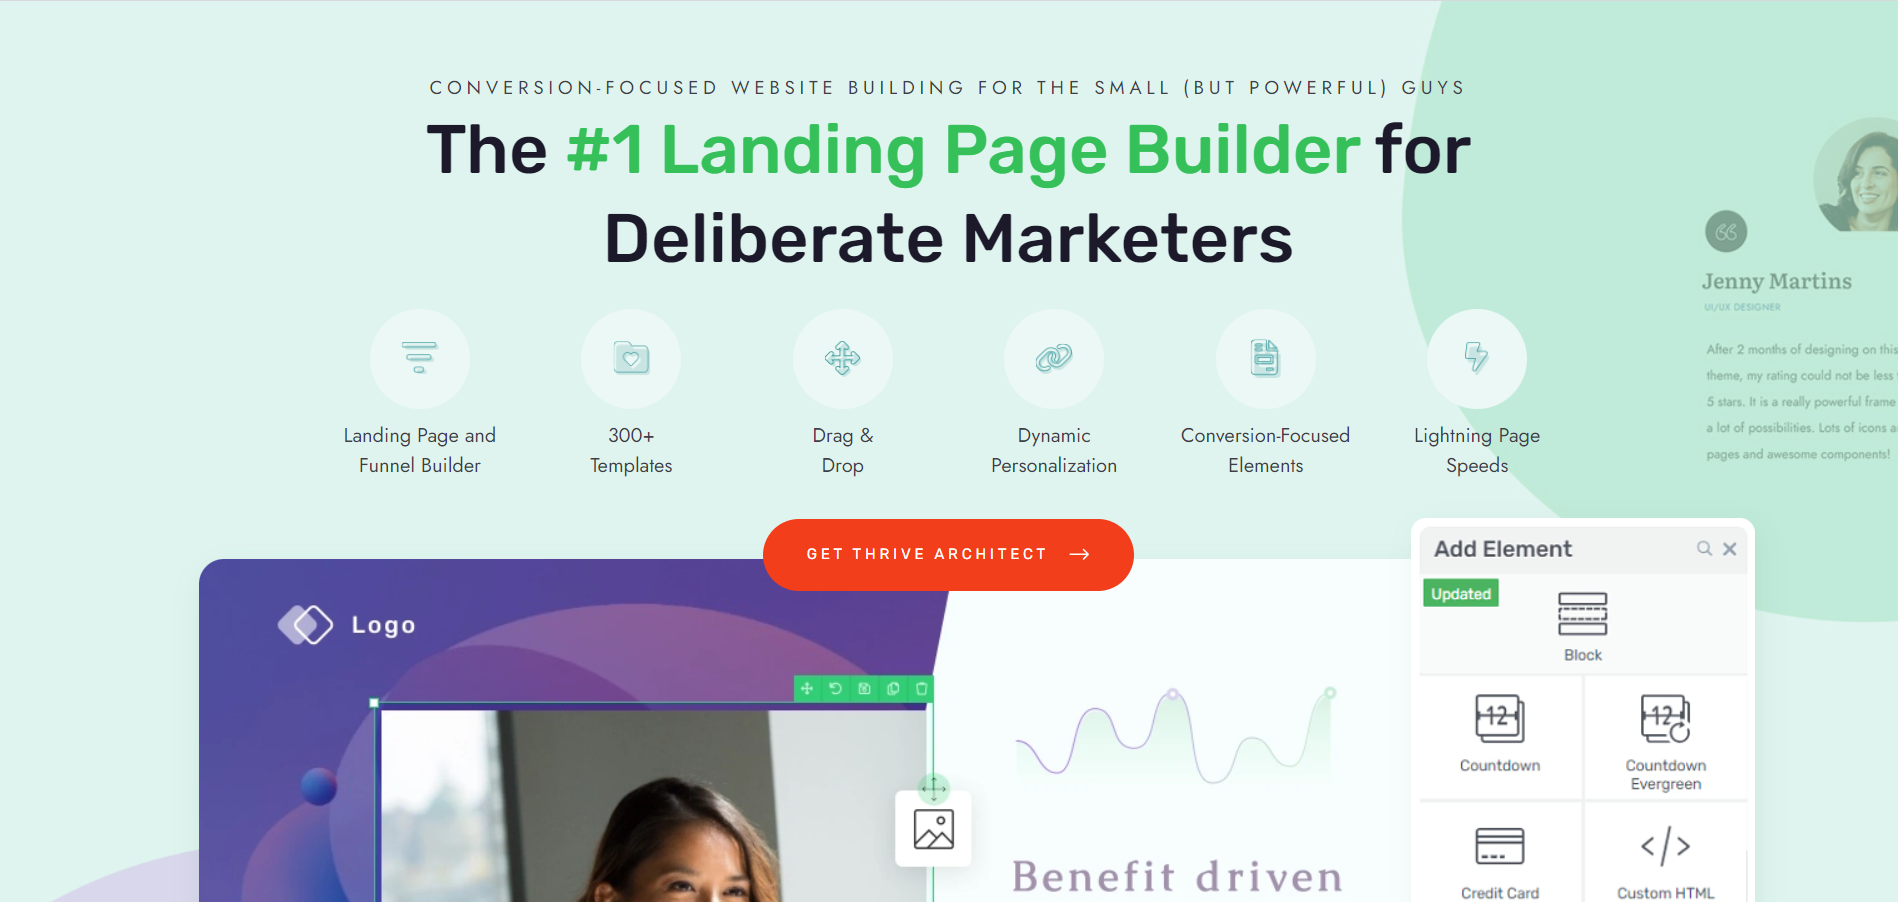
Thrive Architect provides you with all the design and customization options you need to create impressive pages and posts.
So, you don’t just get a tool that helps you add FAQ blocks for your posts. You get the freedom to design them the exact way you want, without worrying about code or conflicting plugins.
Thrive Architect makes web design easy – really easy. Saving you time in learning so you can focus on generating leads and sales for your business. This tool gives you access to hundreds of customizable templates to create stunning designs that leave your audience going “Wow. I want to buy from this business”.
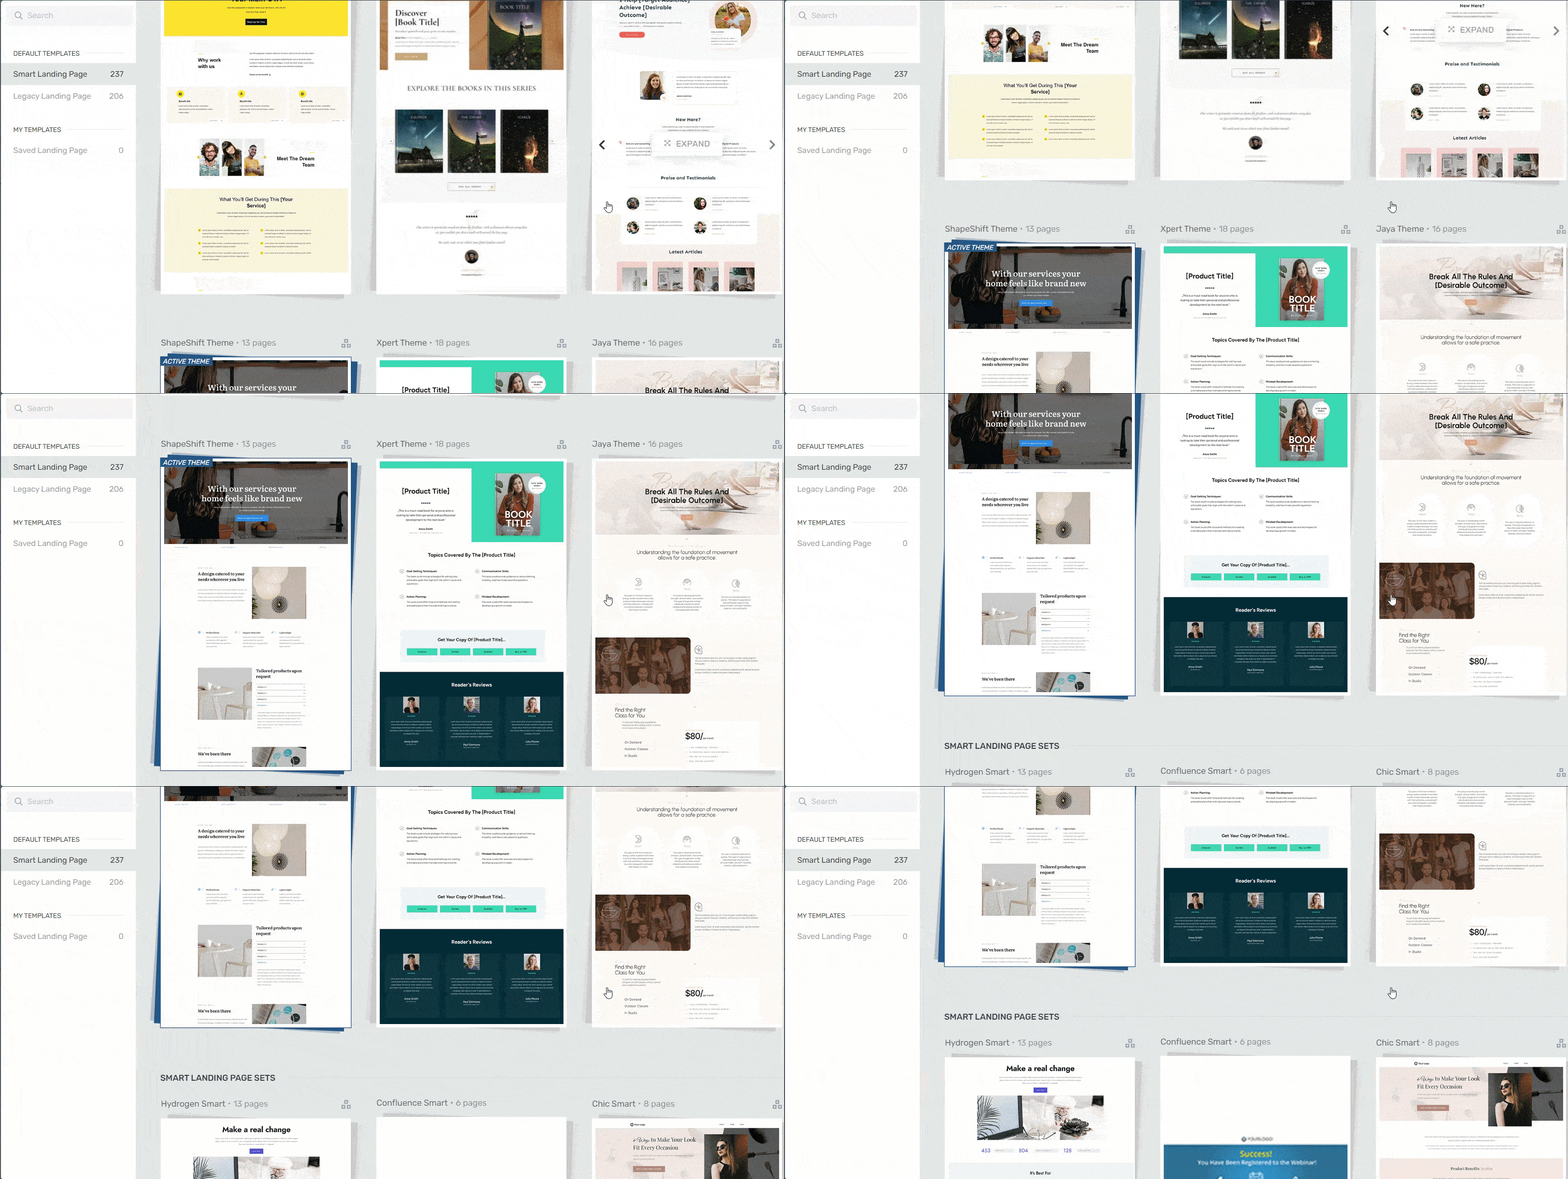
Landing page template sets in Thrive Architect
Every template was built with conversion generation in mind, so you’ll find all the crucial elements you need to guide your site visitors to buy or sign up.
For your FAQ section, Thrive Architect offers easy-to-use templates specifically designed for FAQs, customizable layouts to match your brand, toggle features for a clean, user-friendly interface, and SEO-friendly structure to boost your search engine visibility.
Want to make changes to a template or build a page from scratch? No problem.
The Thrive Architect editor comes with drag-and-drop functionality and a large selection of block templates and design elements you can easily place on your pages to create a custom design.
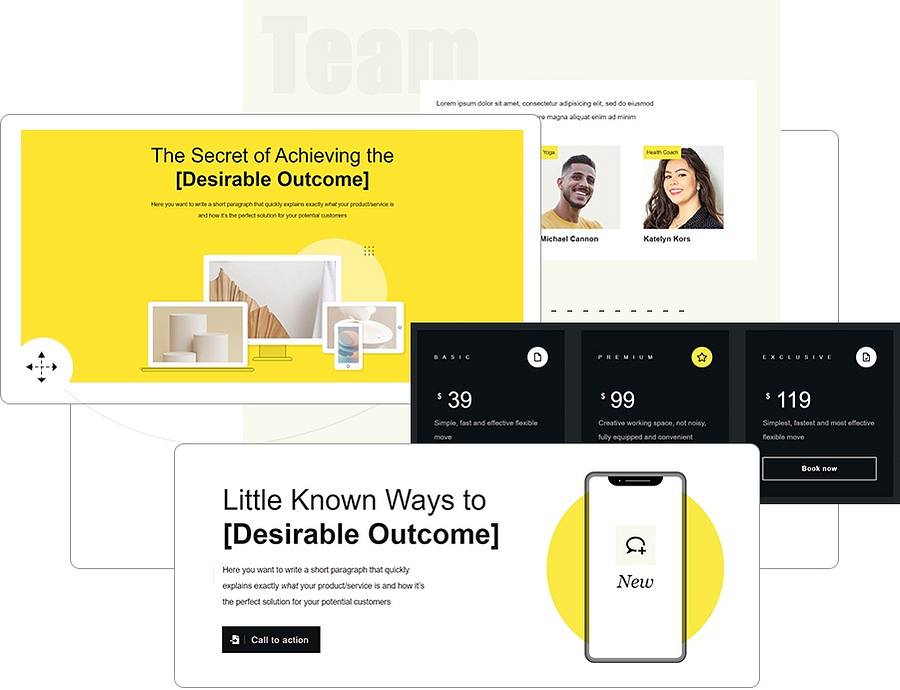
Like we said – easy building.
In terms of integrations, this tool works seamlessly with most Google analytics plugins and the best SEO tools to help you track your metrics and optimize your content for search engines.
You can also connect your site to your CRM (e.g. HubSpot), eCommerce, and automation tools in a few clicks.
When you buy Thrive Architect, you also get a 30-day money-back guarantee — allowing you to give this tool a try, risk-free.
2. Open Your Page in Thrive Architect
In the WordPress Dashboard, select “ Add New” (+New) in the top drop-down menu and choose “Page”
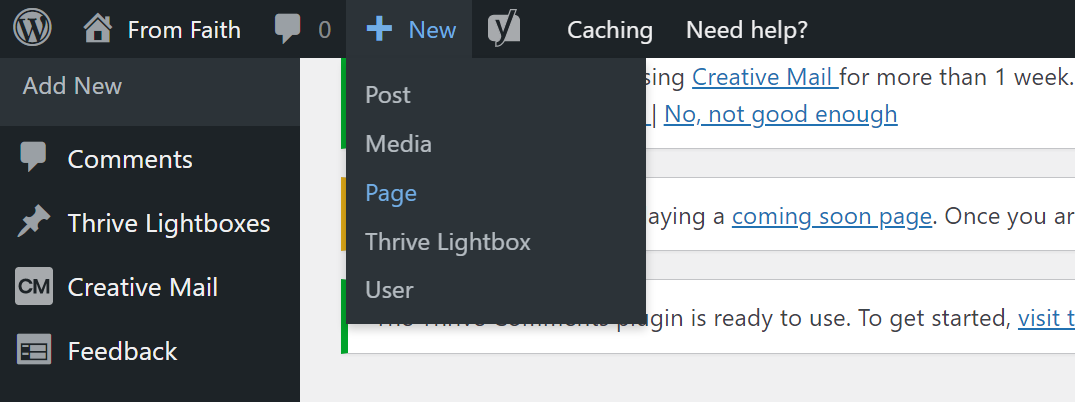
In the Classic Editor, name your page and click the “Launch Thrive Architect” button.

Thrive Architect will give you four options:
1. Normal Page
2. Blank Page with Header and Footer
3. Completely Blank Page
4. Pre-built Landing Pages
For easier and faster building, we recommend choosing the “Pre-built landing page” option.
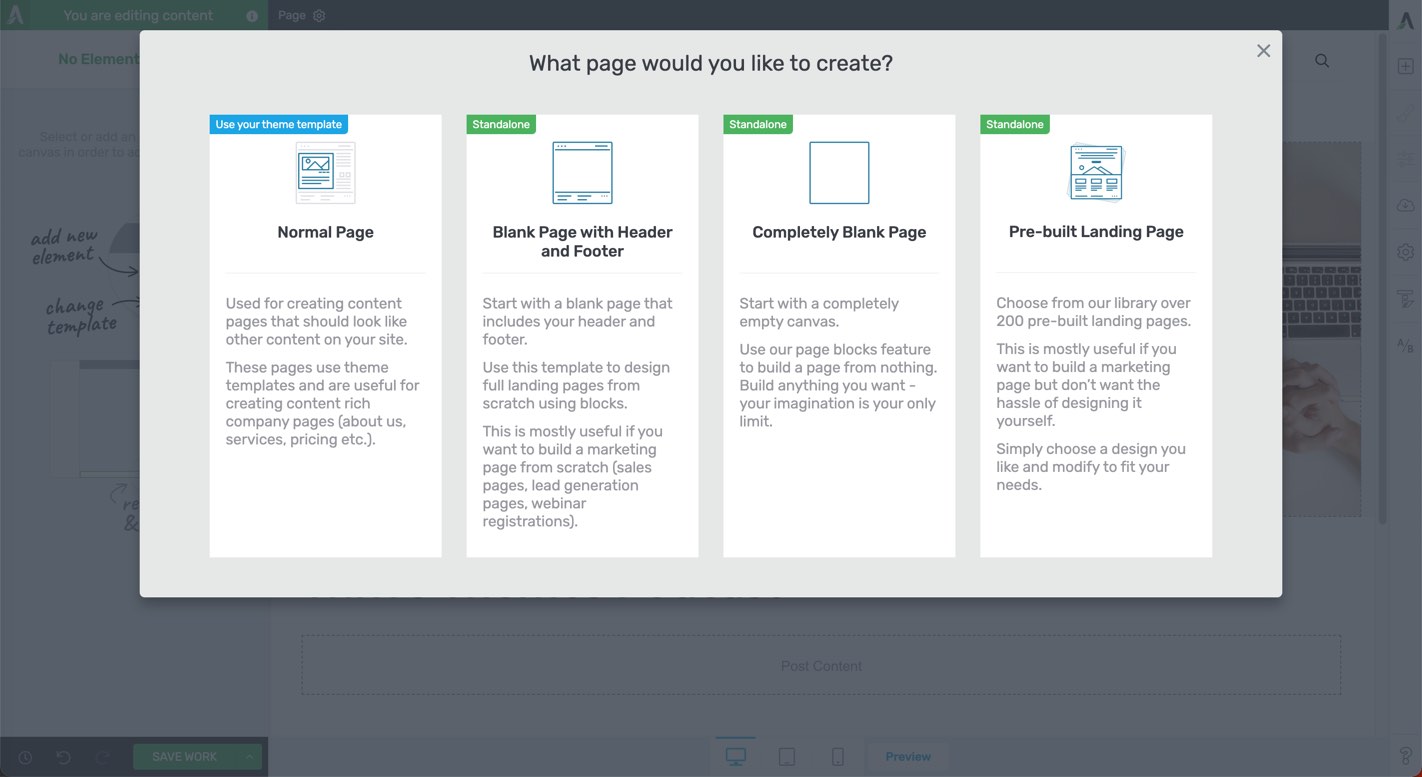
When you’ve found the right template, click on it and it should load.
3. Drag and Drop the Toggle Element onto Your Page
In Thrive Architect, search for the “Toggle” element in the sidebar on the right to create a new menu.
What is a Toggle Element?
A toggle element is a design feature that allows content to be shown or hidden with a simple click. Think of it like a light switch for information on a webpage. When you flip a light switch, the light turns on or off. Similarly, when you click a toggle element, it reveals or hides content.
In the context of FAQs (Frequently Asked Questions), a toggle element typically works like this:
- You see a list of questions on the page.
- Each question has a small icon next to it, often a plus (+) sign or an arrow.
- When you click on a question or its icon:
- If the answer was hidden, it slides down or fades in, becoming visible.
- The icon might change to a minus (-) sign or a downward-pointing arrow.
If you click the question again:
- The answer slides up or fades out, becoming hidden once more.
- The icon returns to its original state.
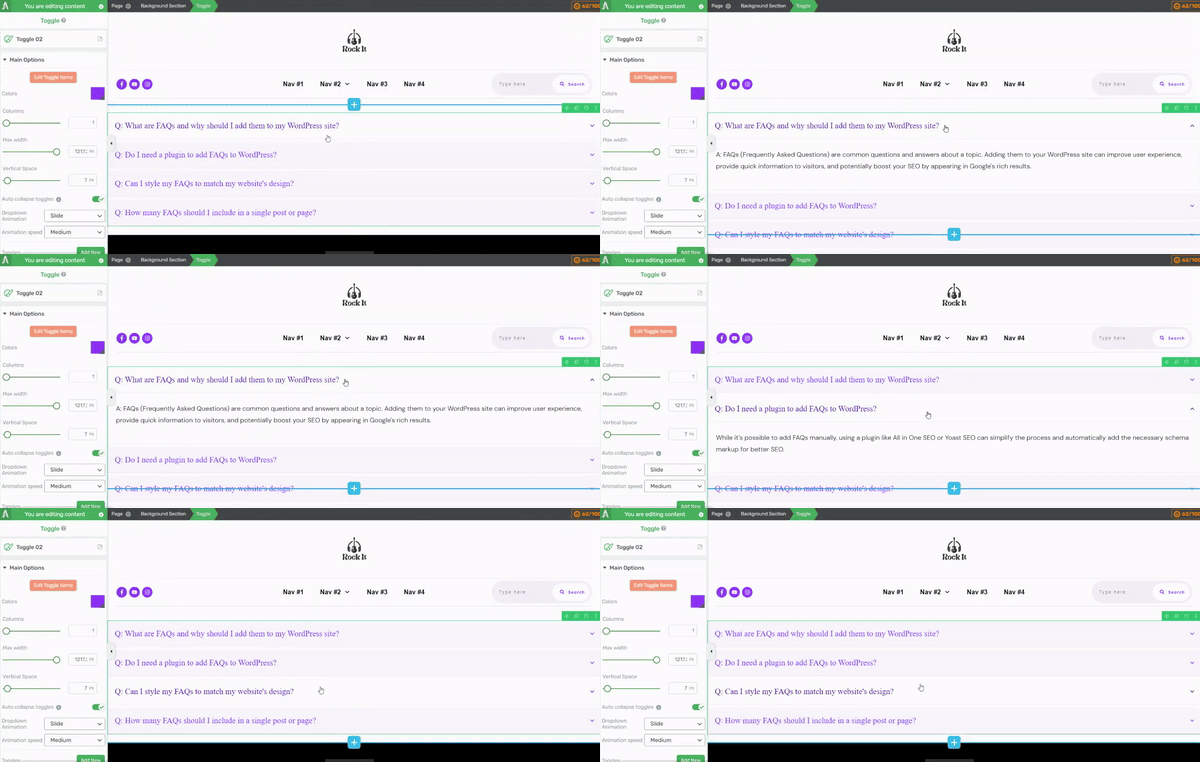
Drag and drop the element on your chosen display location on the page.

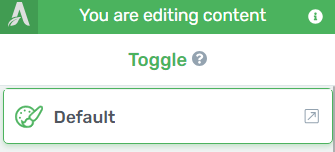
A pretty basic design will appear, but fear not. This isn’t the template you have to work with. If you take a look at the left sidebar, you’ll notice that a few new options have appeared:
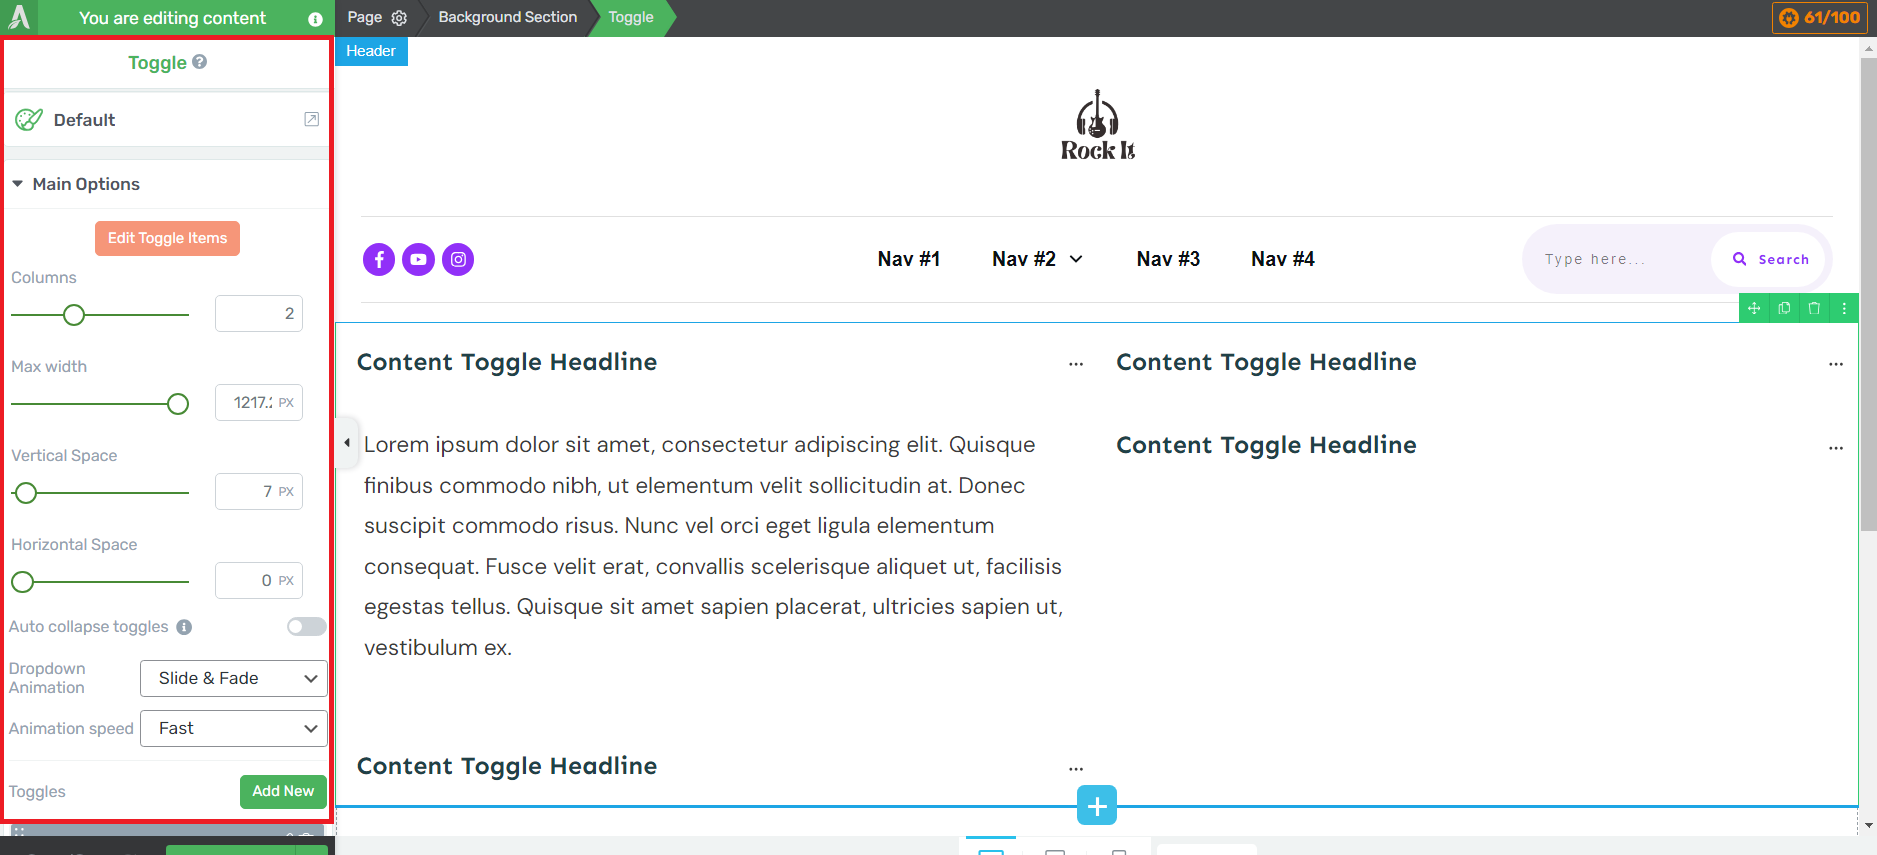
In the sidebar, click on the icon in the top right corner of the “Default” tab
A selection of toggle list templates will appear. Choose the one you feel best suits your page.
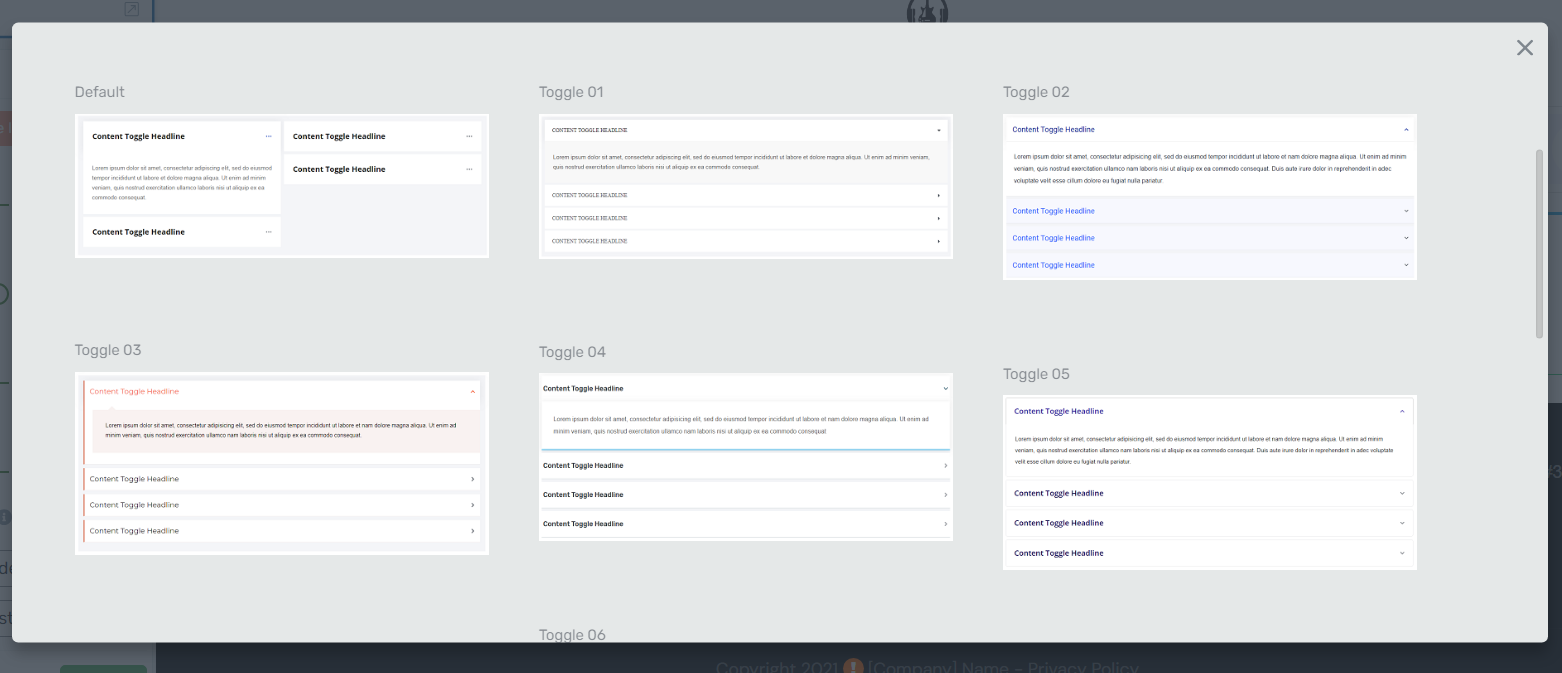
4. Customize Your Toggle Block
Now you have a much nicer template to work with.

As you can see, each heading in the list has default placeholder text. To change this text, highlight it and type or paste your FAQ questions. Don’t paste the answers yet.
Your new headings should look like this:

Next, click on one of the list items and look to the right of the tab. A green bar should appear with an “Expand” option.
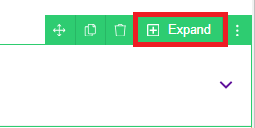
Click this button to expand the list item. You’ll find more placeholder text. This is where your answers should go.

To edit this text, look for the “Edit Toggle Items” button in the left sidebar.
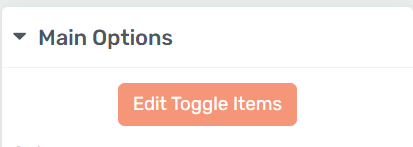
A new set of editing options will appear in the Thrive Architect editor.
Click on the section underneath one of the questions and input your answer. Repeat for each frequently asked question until your FAQs block looks like this:
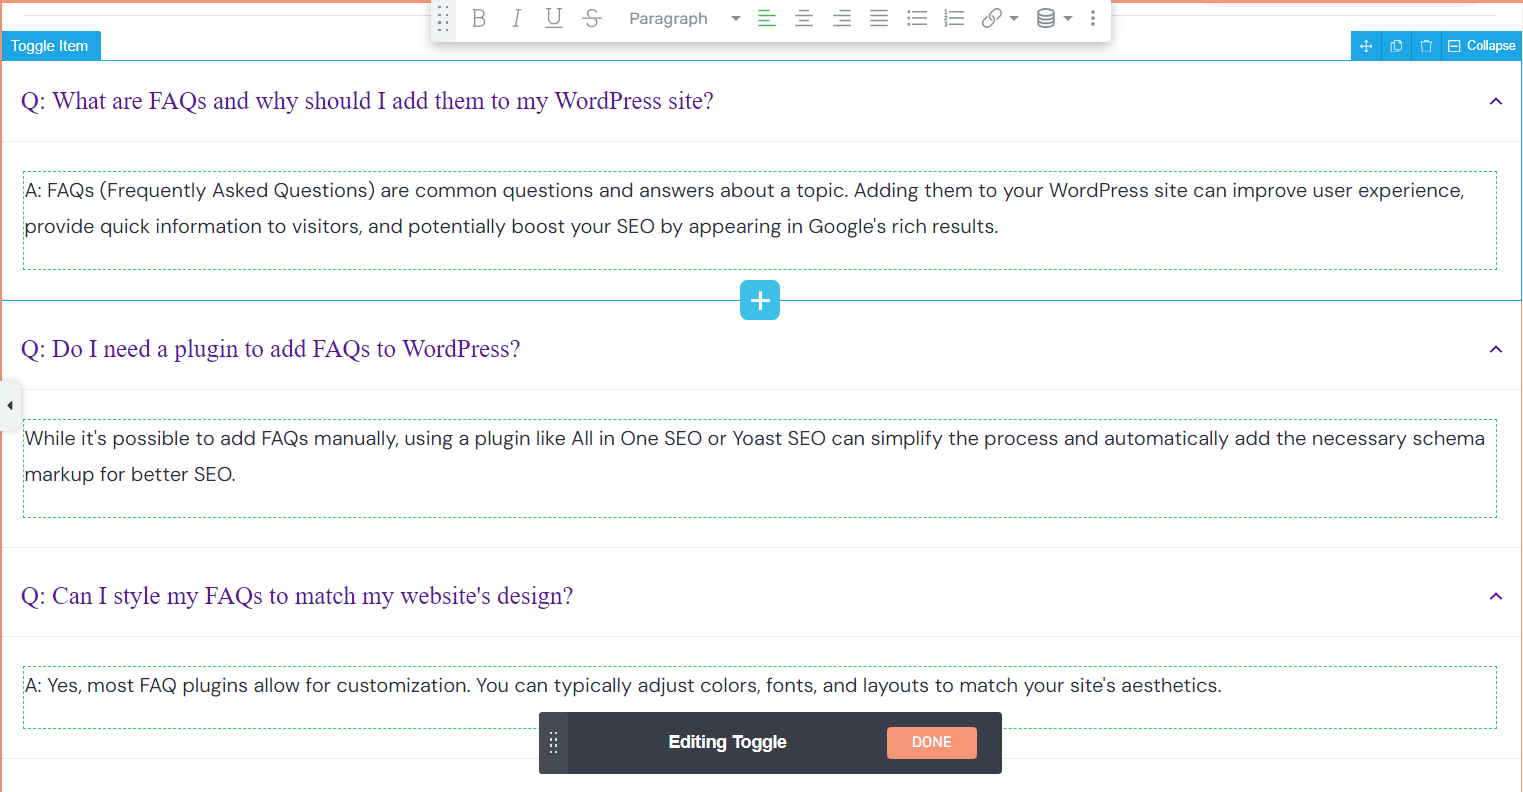
Hit “Done” when you’re finished and the “Editing Toggle” mode will disappear.
And voila. You now have a good-looking FAQ block that looks like this:

Extra Design Features to Customize Your FAQ Section
As I mentioned earlier, Thrive Architect gives you a variety of design features to customize your pages and make them as unique as possible.
The same goes for “small” design elements like a toggle feature. The templates you get are great, but if you want to customize them further, here are a few ways to do it:
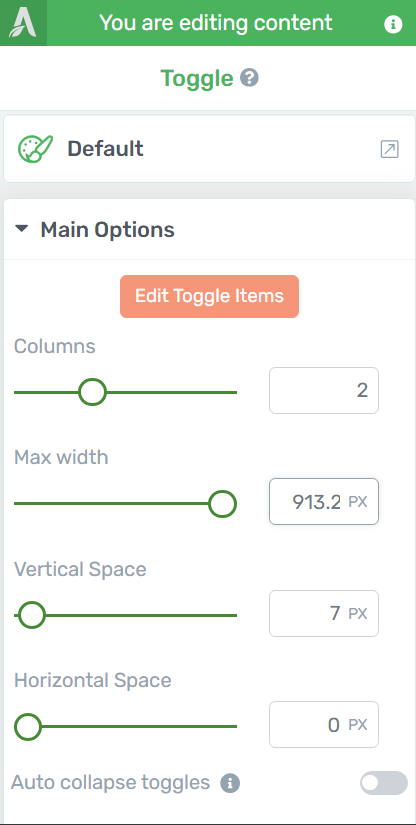
You can use the “Main Options” tab in the sidebar to:
- Add more columns to your list
- Increase or reduce its length and width
- Set an “auto-collapse” option to make your readers’ lives even easier
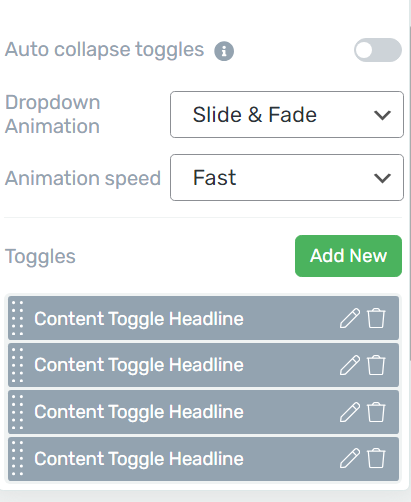
You can also add, remove, or change the heading text of your toggle elements:
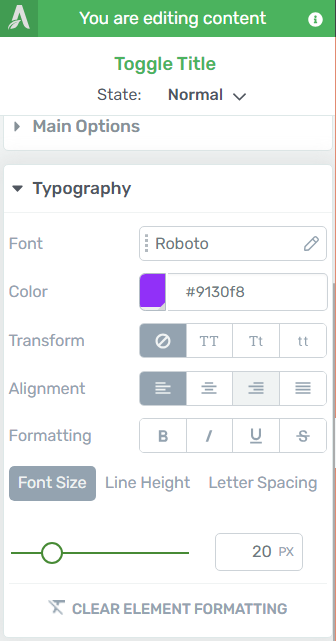
If you aren’t happy with your list’s font or color, head back to the “Editing Toggle” view and check out the sidebar. You can customize your list’s appearance with the following options:
And use the “Background Style” tab to change your list’s main color:
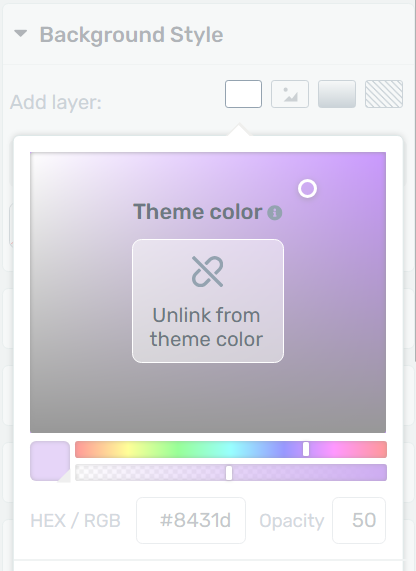
Honestly, this is just the tip of the iceberg. There is a lot you can do to customize your toggle elements. And the same goes for any aspect of your landing pages.
That’s why I’ve recommended using Thrive Architect to build your FAQ blocks and landing pages. You have all the design control and little to no friction in customizing each one’s appearance.
Option 2: Create Your FAQ Section with All in One SEO (AIOSEO)
But if you’re adamant about using a separate FAQ plugin, my recommendation would be All in One SEO.
I've found it easy to set up and use.
It's designed to be user-friendly, so you don't need to be a tech expert to use it. You simply enter your questions and answers.
This WordPress FAQ plugin doubles up as a top SEO tool for WordPress users, too. Whether you're new to WordPress or have been managing your site for a while, All in One SEO makes creating FAQs as easy as 1-2-3. It's a solid choice if you want to improve your site's SEO and provide clear information to your visitors.
Let’s dive into the process:
After you’ve installed and activated the plugin, open your page in the WordPress Block Editor.

Next, search for the AIOSEO FAQ block in the block library. Select the AIOSEO - FAQ block once you see it.
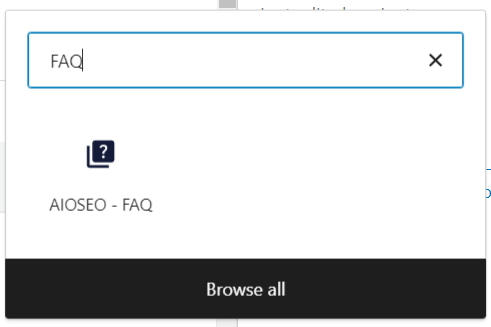
An FAQ block will appear:

For each question:
- Enter the question in the "Question" field
- Provide the answer in the "Answer" field
- You can add media or other blocks within the answer if needed
Repeat these steps until your FAQ block is complete.
It should look something like this, when you preview the final design:
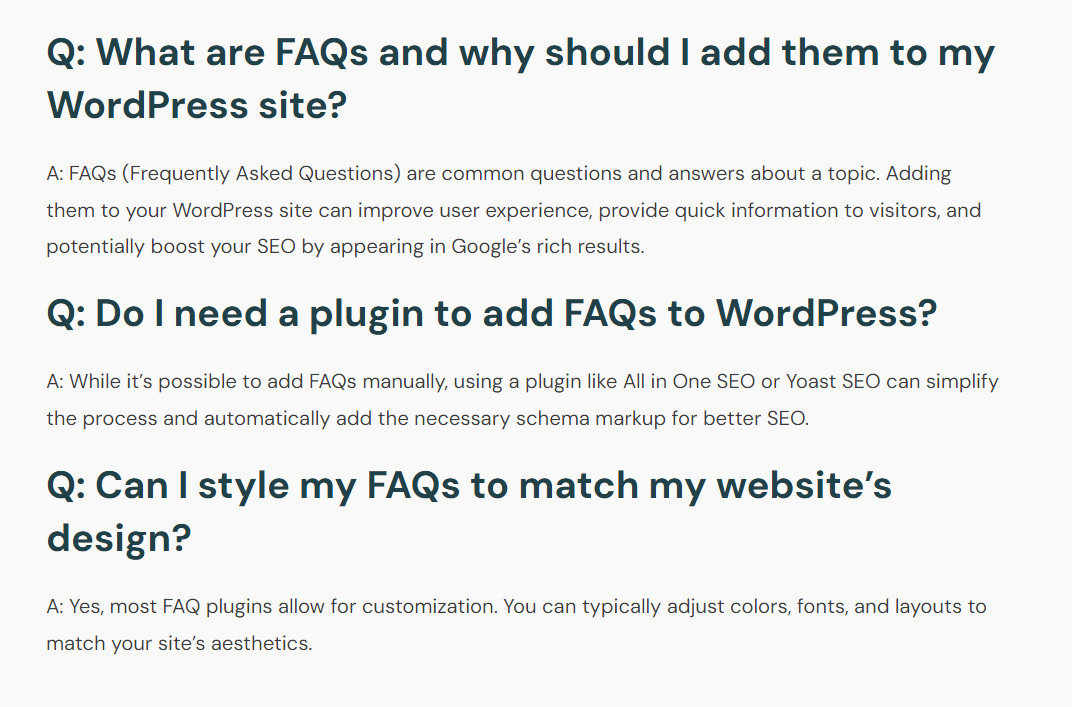
All in One SEO will automatically add the necessary schema markup to your FAQ section, which can help your content appear in Google's search results.
Next Steps: SEO Optimize The Rest of Your Landing Page
Now that you've made an SEO-friendly FAQ block, it's time to apply those optimization techniques to the rest of your landing page. This will help boost your entire page's visibility in search results and improve user experience.
Here are a few tutorials to help you get started:
- How to Write SEO-Friendly Blog Posts Users and Bots Will Love (14 Tips)
- WordPress Site Speed Optimization Guide: Easy Tips to Implement
- How to Optimize Images for WordPress Websites (2 Ways)
Wrap-Up: How to Create an FAQ Section in WordPress
So there you have it - two cool ways to design a mini knowledge base for your WordPress site using Thrive Architect. Whether you go for the quick and easy first method or dive into the more customizable second option, you're now equipped to design a handy FAQ section.
This block makes life easier for your visitors and gives your site an SEO boost in the process. With this tutorial, you can easily set up your FAQ block in minutes.
When you're putting together your FAQs, think about what your visitors really want to know. What are they always asking about? What info would help them navigate your site better?
And if you want to build high-quality pages that match your new section, then you should give Thrive Architect a try today.


