WordPress Themes and Plugins to
Create a Thriving Online Business
A conversion focused website, landing pages, lead generation quizzes, online courses, evergreen scarcity campaigns,... With Thrive Suite you can easily turn your WordPress website into a full-blown online business.
It’s at the price point where it’s affordable for anybody, somebody just getting started, but it’s at the level of quality where it can scale with you and you can build a million dollar business off of it.
Jeff Sauer | FOUNDER OF JEFFALYTICS
We started using Thrive a few months ago and are beyond impressed. As the owner of a digital agency I’ve noticed an increase in conversions since we switched and I continue to be impressed with pretty much every aspect!
Philip Shaw | Cleverclicks
With Thrive Suite You Can Easily Convert:
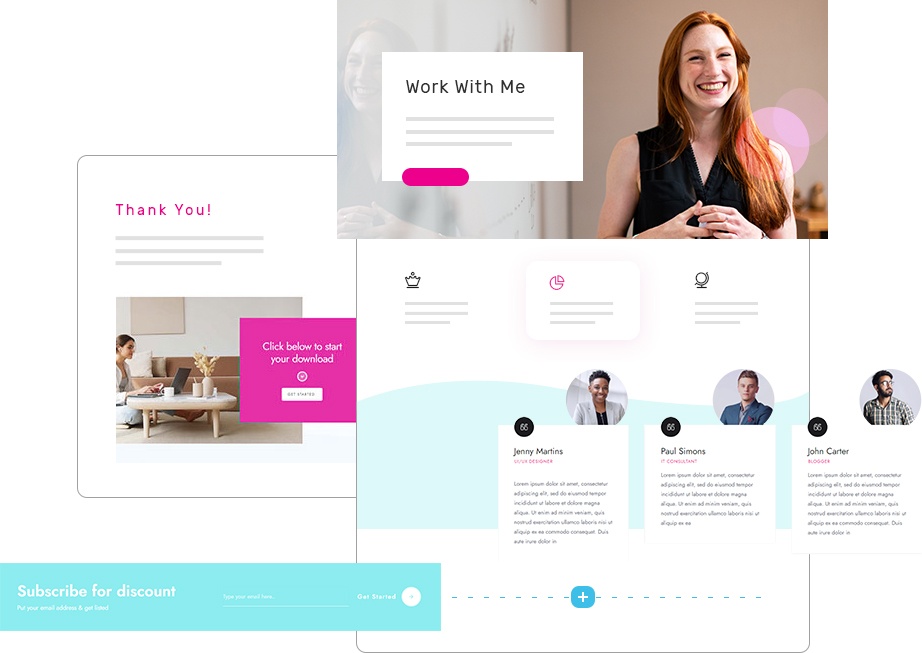
Step one is your website, you need to build a house before you can start inviting guests...
Thrive Suite allows you to build a fully customized WordPress website faster than you ever believed possible.

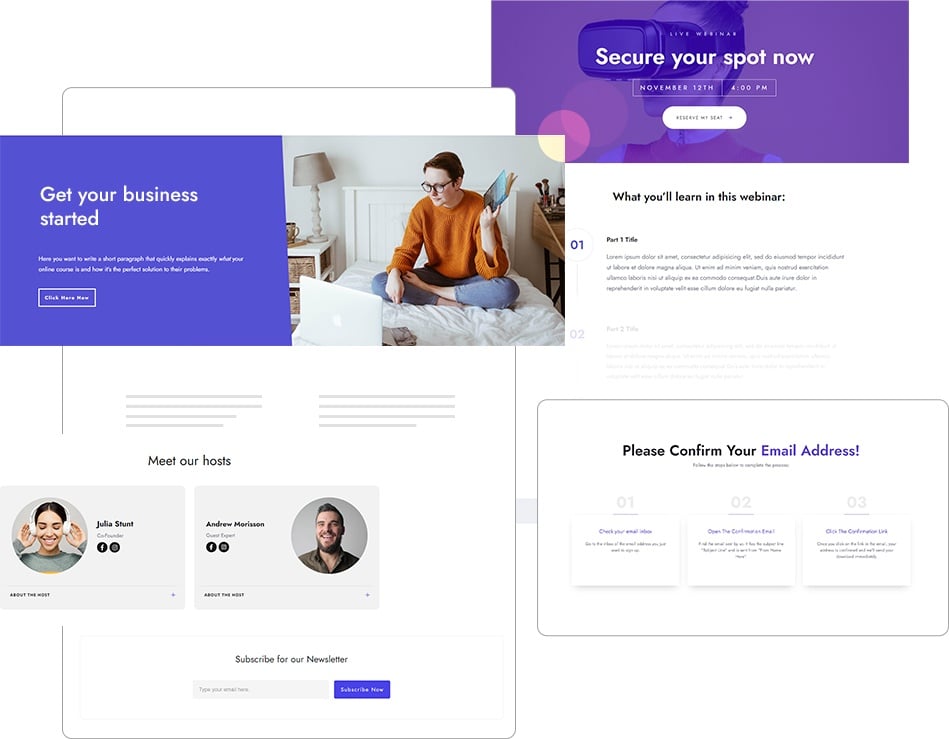
Once you have your website, it's time to create landing pages and funnels. With Thrive Suite, you get access to Thrive Architect which includes 290+ landing page templates.
You'll find every page you'd need to create a lead generation funnel, sales funnel, new coaching client funnel, online course funnel, webinar funnel and more.
" I love being able to go in and adjust things SO easily on my site. And create new landing pages that look great.
It is the best. "
Jordan Koopman
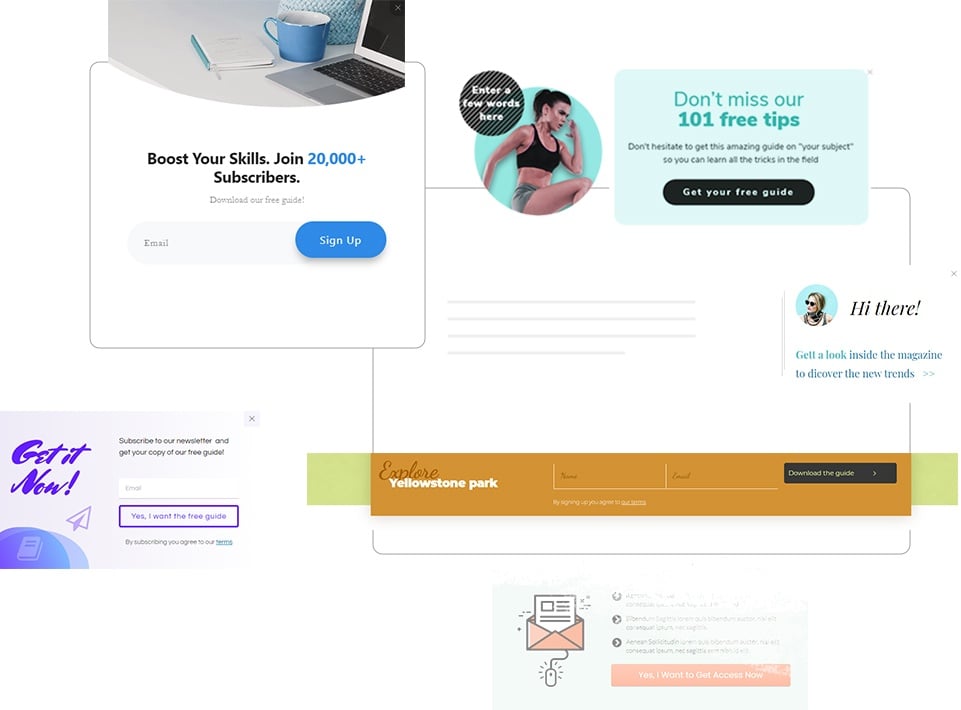
An email list is the foundation of every online business. And of course you can build one with Thrive Suite. Add any type of opt-in form to your website: ribbons, slide-ins, pop-ups, welcome mats, multiple choice, yes/no,... in just a couple of clicks.
On top of that, Thrive Leads is equipped with the most advanced A/B testing features on the market so you can maximize your list building efforts and get more subscribers, faster!
" I was looking for a better tool for making email signup forms on my website. This makes it so easy to get exactly the signup form I want, place it on exactly the pages I need, and automate A/B split-testing. Oh, and it's super simple to make different but related forms for desktop and mobile visitors. I love love love the Thrive Suite set of tools. "
Randy Ingermanson
Thrive Suite gives you access to Thrive Quiz Builder so you can start reaping the advantages of knowing your audience inside out. Imagine you'd never have to worry about coming up with blog post content topics, having an email list that's perfectly segmented and being able to get to know your future customer before sending them to the perfect offer...
All of this and more becomes reality when you start using quiz funnels in your online business.
"I have access to everything I could possibly imagine. Learning how to build my new business system has been made enjoyable. From the ease of use of Theme Builder, forms, CRM connection and finally having that quiz added to my list building I've wanted to know how to integrate for years."
Nadine Hodge

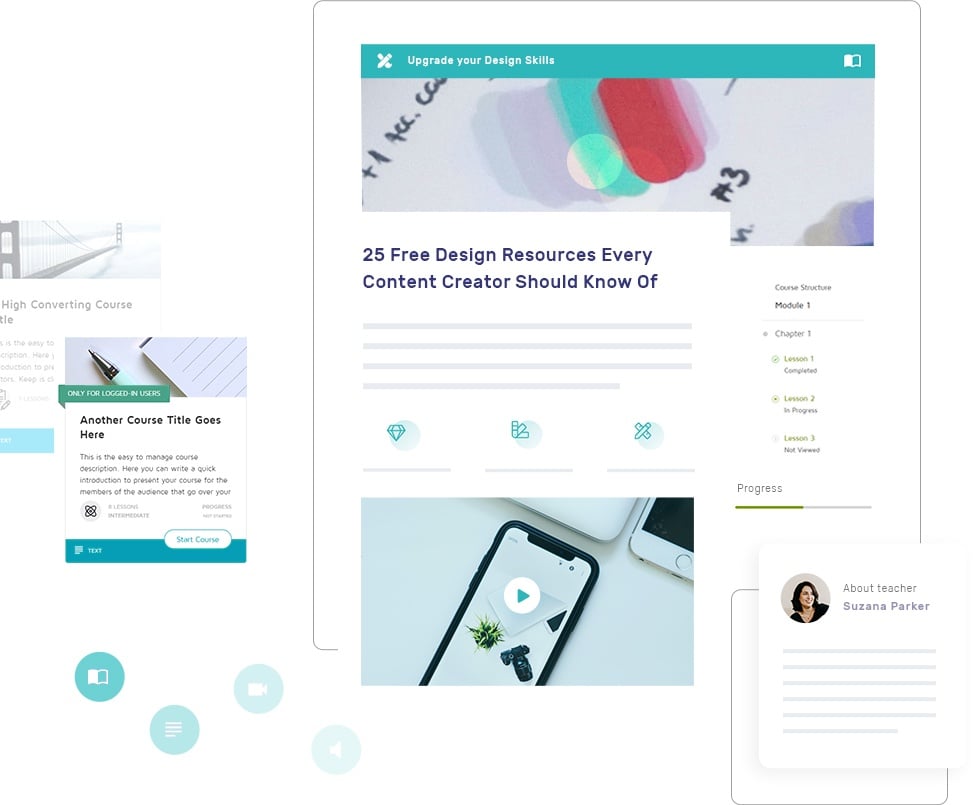
Your knowledge is valuable. Packaging it in a course can take your online business to the next level.
With Thrive Suite, you get access to Thrive Apprentice. Thrive Apprentice allows you to create and sell an online course directly from your WordPress website.
You'll be able to create a professional looking online school faster than you'd imagined.
"Thank you very much. I've spun my wheels for months to understand how to do all of this. In just 1 day I created everything I needed to sell my courses."

Cornelia C.
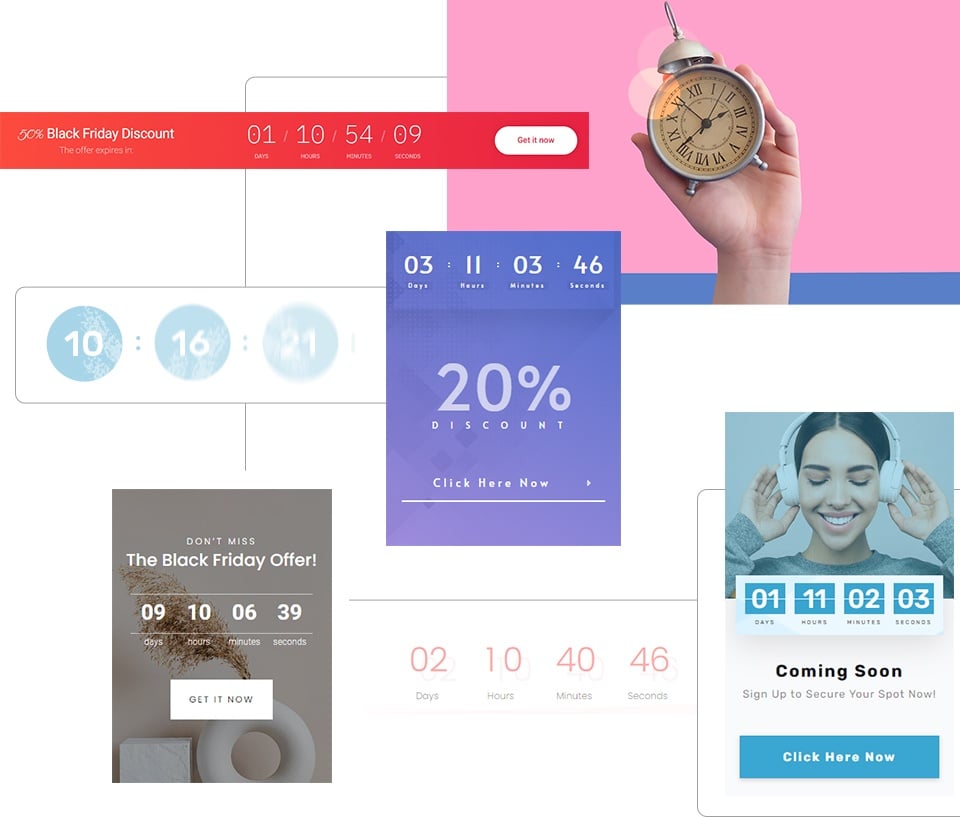
FOMO is one of the strongest human emotions. And with Thrive Suite you'll get access to Thrive Ultimatum which allows to create time sensitive or evergreen scarcity campaigns on your WordPress website without the need of an expensive 3rd party tool.
You can add countdown timers and ribbons to your site, show them to everyone or only specific people and boost your sales like never before.
" I was unable to find something that was as well-made as Thrive Ultimatum. True scarcity has given me the ability to maintain control of my limited time offers by knowing that the system cannot be cheated, and this has consistently increased conversions because people hate missing out on my special offers...true scarcity makes people take action! "

Rick Nuske
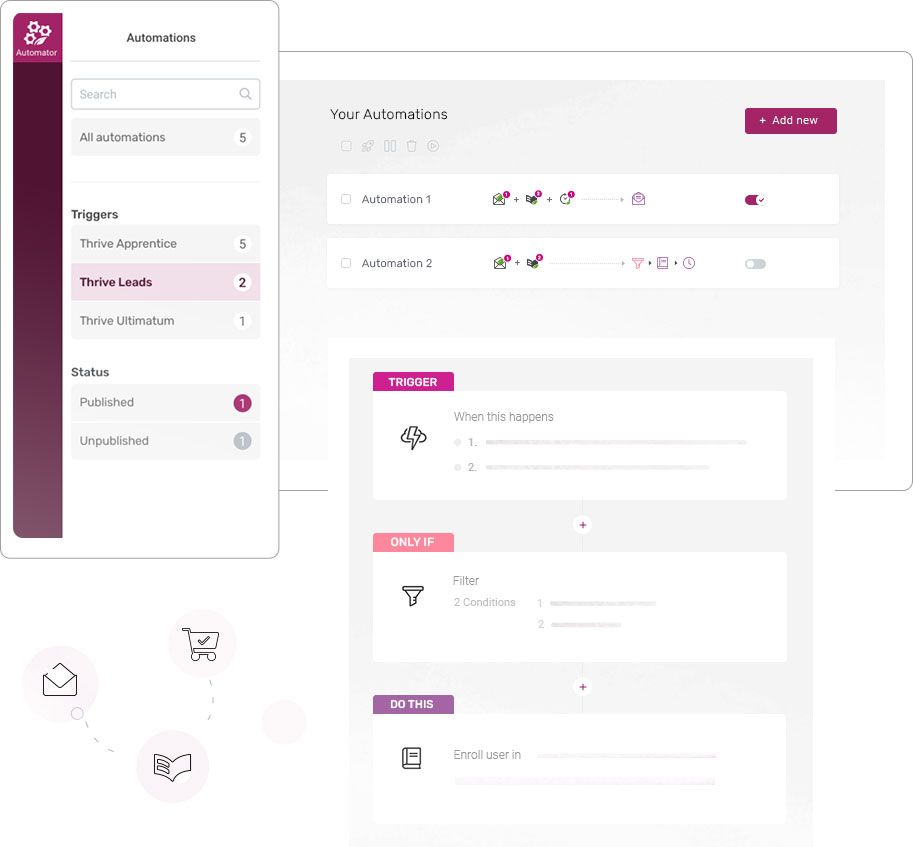
You have a unique product stack that works for your online business. You chose the email marketing service you liked most, your favorite cart solution and maybe some other industry specific plugins or tools. But how do you now get them to talk to each other? That’s where Thrive Automator comes into play.
With Thrive Automator you can build smart automations that allow you to build workflows to pass data between the different apps, plugins and services (including your email marketing tool) that run your online business.
" This is great! I am about to launch my first course using Thrive Apprentice and I can see how useful that will be for triggering emails on completion of lessons 
Naomi Elliott
Who is it for?

Your website is a direct reflection of your value as a coach, author, public speaker, podcaster… You need a website that looks professional and inspires confidence but more than that you want to present your offers and get visitors to convert into leads and customers. With Thrive Suite you’ll be able to do exactly that!
With Thrive Suite you get every WordPress site-building tool you need to create an amazing online course business all in one place and the best part?
Anyone can do this in a single afternoon… you don’t have to be super technical, a designer, or a marketer.

You want to have total control over your website and blog. You don't want to waste time figuring out designs, branding, plugins, and themes. With Thrive Suite you get every element you need to build beautiful, conversion-focused blogs with drag-and-drop ease.

Thrive Suite offers deep WooCommerce integration and access to all the tools to build not just an e-commerce website but a conversion-focused e-commerce business.
The
Way
1.
Rapid Implementation
As a solopreneur, you don't have time to waste. Being able to implement a new idea quickly is critical to your success. Imagine setting up a new lead generation funnel in just minutes rather than hours or days. How much faster would you be able to grow your online business?
All our products are build with rapid implementation in mind. This means you'll be able to go from 0 to testable first version in the least amount of time possible. Then, once your first version is out there, you can get feedback and improve upon it over time.
Just compare changing the color scheme of a landing page using one of our smart landing pages vs. doing the same with another landing page builder.
2.
Conversions Is What It's All About
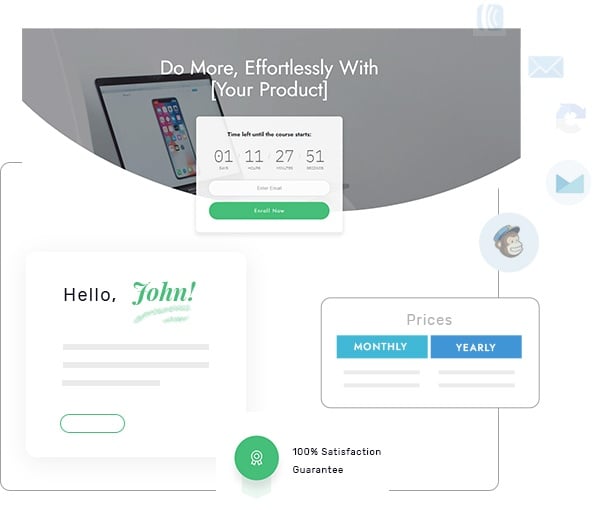
What good is a pretty looking website if it doesn't help your business? We believe you website should work for you. It should turn visitors into leads, customers and raving fans. That's the focus of any of our tools. It's embedded in our DNA. This translate in things like:
3.
You Should Test That
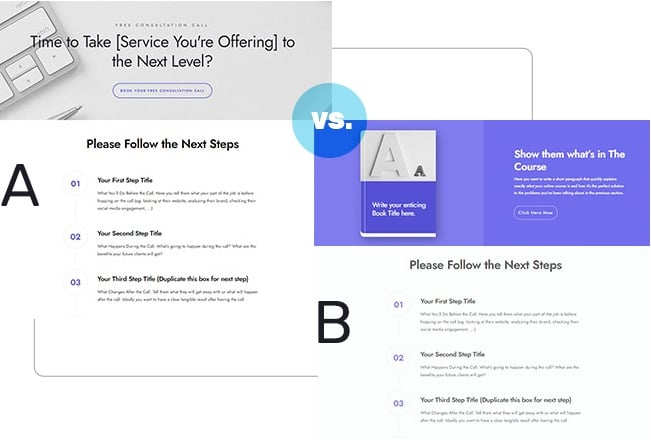
Will a progress bar on your opt-in form boost conversions? Should you have a video on your sales page? Will you get more leads with an eBook or with a free video course?
The truth is... No-one knows! You have to be able to test these things on YOUR website with YOUR audience. If you're not able to quickly and efficiently run A/B tests in your online business you're driving blind and losing out on potential leads and customers big time!
That's why you'll find A/B testing features everywhere in Thrive Suite. You can A/B test your opt-in form design, types of opt-in forms, opt-in form triggers and animations, landing page designs, quiz splash pages, quiz results pages,...With other tools, A/B testing is complicated and expensive but not when you're using Thrive Suite. A/B testing is an integral part of our tools because we KNOW it will help you grow.
4.
The Tools AND The Education
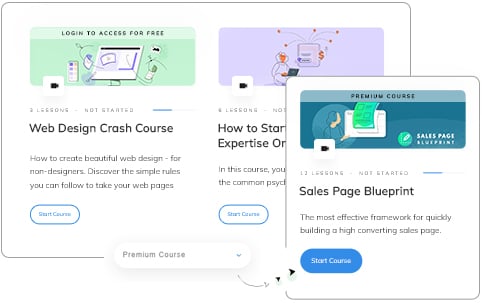
Having the right tools is only half of the equation. You also need to know how, why and when to use them.
Thrive Suite is powerful and we'll provide you with the marketing education you need to take full advantage of all the features and elements in our tools.
Thrive University is our online education platform where you'll find a whole library of courses to help you navigate the online business world and it's included in Thrive Suite.
You'll find beginner courses, intermediate courses and advanced courses so that you can grow your skills at your own pace.
What Our Clients Say About Us
My biggest struggle was getting all the pieces to work together and to look right. I was constantly installing and updating plugins and then uninstalling them due to conflicts. I had to have several plugins to do what I wanted to do, not to mention all the design aspects that seemed way over my head to solve.
I really love all the plugins--but hands down, my favorite is Thrive Theme Builder. I can easily fix any design issues and I understand how to fix it. I don't have to find a new plugin to deal with the issue. I also really enjoy the leads plugin so I can see what's going on with my subscriptions.
Thrive Suite seems expensive until you actually start digging in and seeing all of it together. I don't have to find a separate landing page tool or try to locate something for your leads and email subscribers and I don't have to purchase a new theme every year. I deleted so many of my plugins because Thrive Suite replaced them all. I have been using WordPress for over 15 years and know how to use the heavy hitter themes like Genesis, but this is still my favorite tool because I honestly don't have time to keep up with all the changes and updates that the other themes require.
If you are wanting to save yourself from the headache of those tools and learning new tools every time, then Thrive Suite is right up your alley.

Michelle Buck
There was always a technical problem with the last theme I was using.
Thrive is really easy to use especially to adapt your webpage to a different format between mobile, desktop and tablet.
The most useful plugin so far was the Quiz one. I bought Thrive Suite because of that awesome plugin but I look forward to trying all the others. I would definitely recommend Thrive Suite! I only wish I had found it sooner, I would've saved a lot of time.
Olivier Lafleur
As a newbie to WordPress, I spent many hours learning about various themes, plugins, page builders etc. and many more hours fixing the items I installed. It was a big learning curve with not a lot to show for it. Until I found Thrive Suite... Wow what a difference! I found Thrive after searching/testing quiz builder plugins-- finally switched after my site broke for the 5 time from updates of Elementor & updates of the Astra starter themes---- Right now I'm using Thrive Architect the most, but planning on building out a robust site using your other plug-ins YES!!!!

