So, you're thinking about hosting an online event? Smart move! In a world where digital connections are becoming the norm, virtual events offer a fantastic way to reach your audience, share your message, and build your community - all without the need for a physical venue.
In this guide, we'll walk you through the key steps of running an online event that not only meets but exceeds expectations. From setting up your registration process to following up after the event, we've got you covered. We'll share practical tips, tool recommendations, and insights to help you navigate the virtual event landscape with confidence.
Why Hosting an Online Event is Important
Before we dive into the how-to's, let's talk about why you should consider hosting an online event.
Online events break down geographical barriers, allowing you to reach a global audience from anywhere in the world. They're often more cost-effective than traditional in-person events, eliminating expenses like venue rental and catering. Plus, many virtual platforms offer interactive features that can boost engagement in ways that might surprise you.
Here's a quick rundown of the key benefits:
- Global Reach: Attract attendees from anywhere with an internet connection.
- Cost-Effectiveness: Reduce overhead by eliminating physical venue expenses.
- Enhanced Engagement: Utilize interactive features like polls, Q&A, and breakout rooms.
- Lead Generation: Capture valuable attendee data for future marketing efforts.
- Content Longevity: Record and repurpose event content for ongoing value.
While online events do come with their own set of challenges, the benefits can be substantial. With the right approach, you can create a virtual event that not only meets but exceeds the expectations of your audience.
In the following sections, we'll explore how to make the most of these advantages and create an online event that truly shines.
Key Steps to Running a Successful Online Event
You’ve already defined your event goals and audience. Now, it’s time to focus on setting up your event and promoting it effectively through your website. Follow these steps to create a seamless registration process and drive maximum attendance.
Step 1: Build a High-Converting Landing Page for Your Event
Your event landing page is where the magic happens. It's your digital storefront, your first impression, and often the deciding factor for potential attendees. Let's break down how to make it shine.
Start with a Solid Foundation
Your landing page’s success heavily depends on the tools you use for building. You need to use a reliable landing page plugin that will help you create high-quality pages to get your audience to sign up for your webinar.
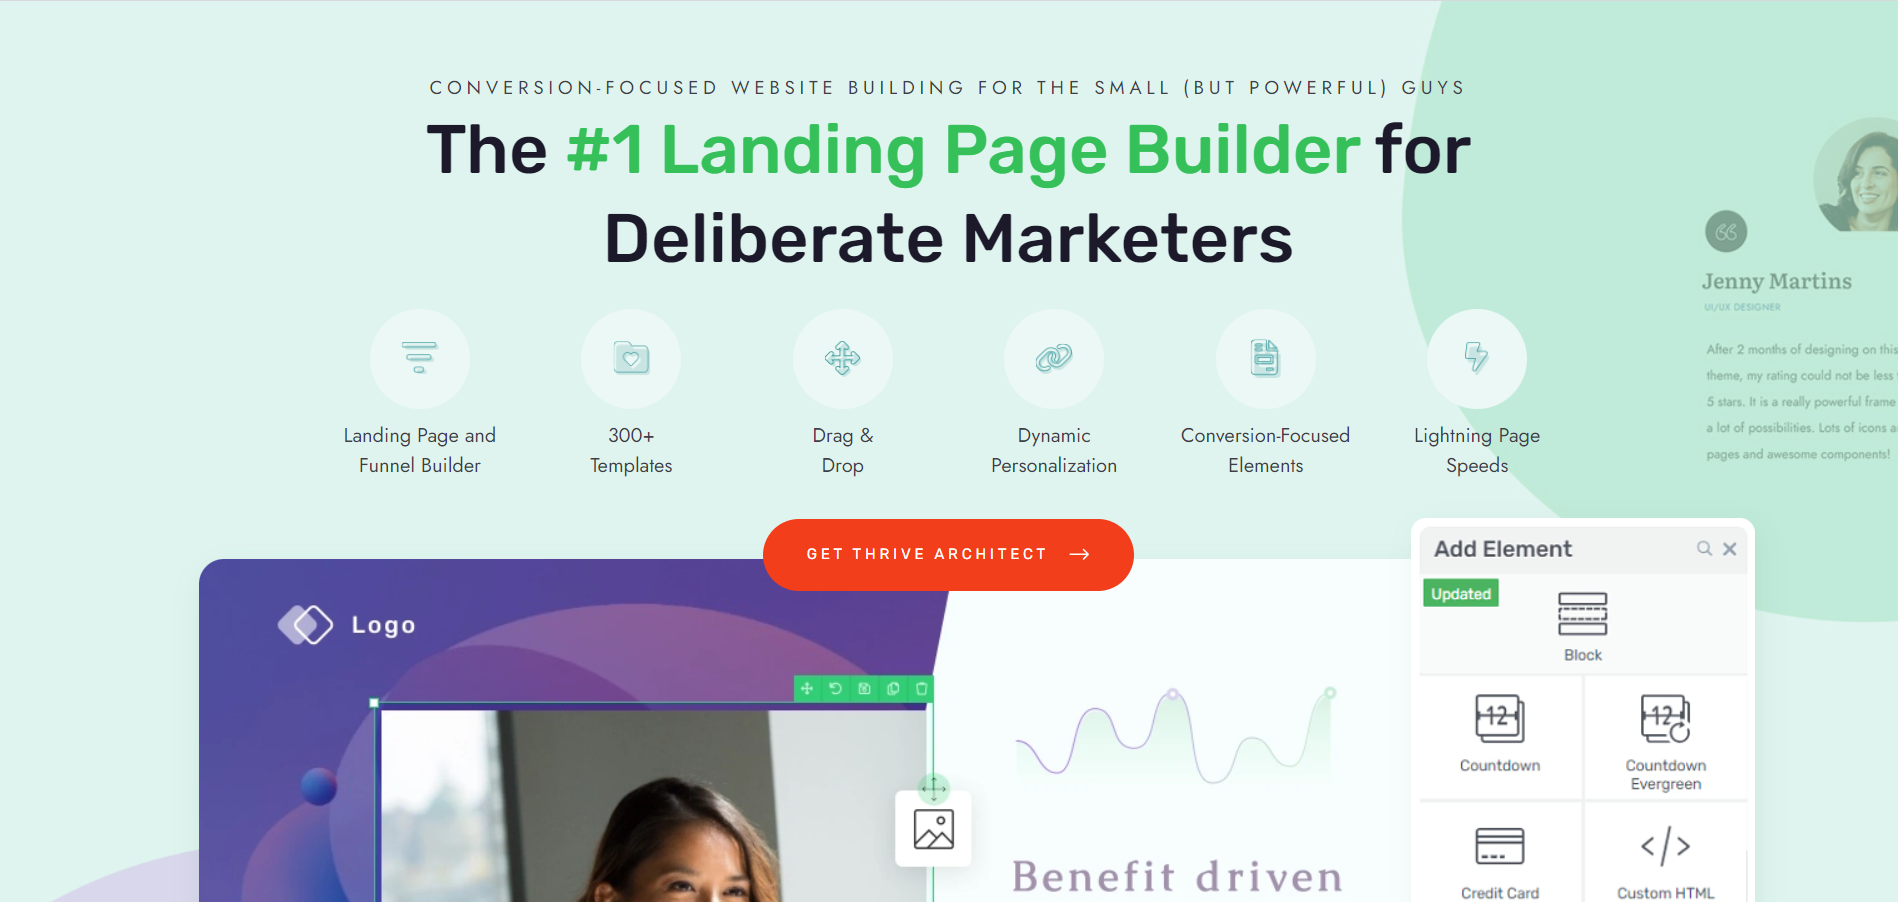
My recommendation? Thrive Architect.
If you want to create attention-grabbing landing pages to reel in your website visitors and convince them to convert – this is the tool for you.
Thrive Architect was built for busy marketers and business owners who need a page-building solution that will help them set up pages quickly and as easily as possible – without needing to know any code.
The customization options are deep with this tool, which means you get a lot of control over your page’s designs.
I’m talking about customizable page templates, a wide variety of design elements to spruce up your pages, in-depth editing for each element on your page, and so much more.
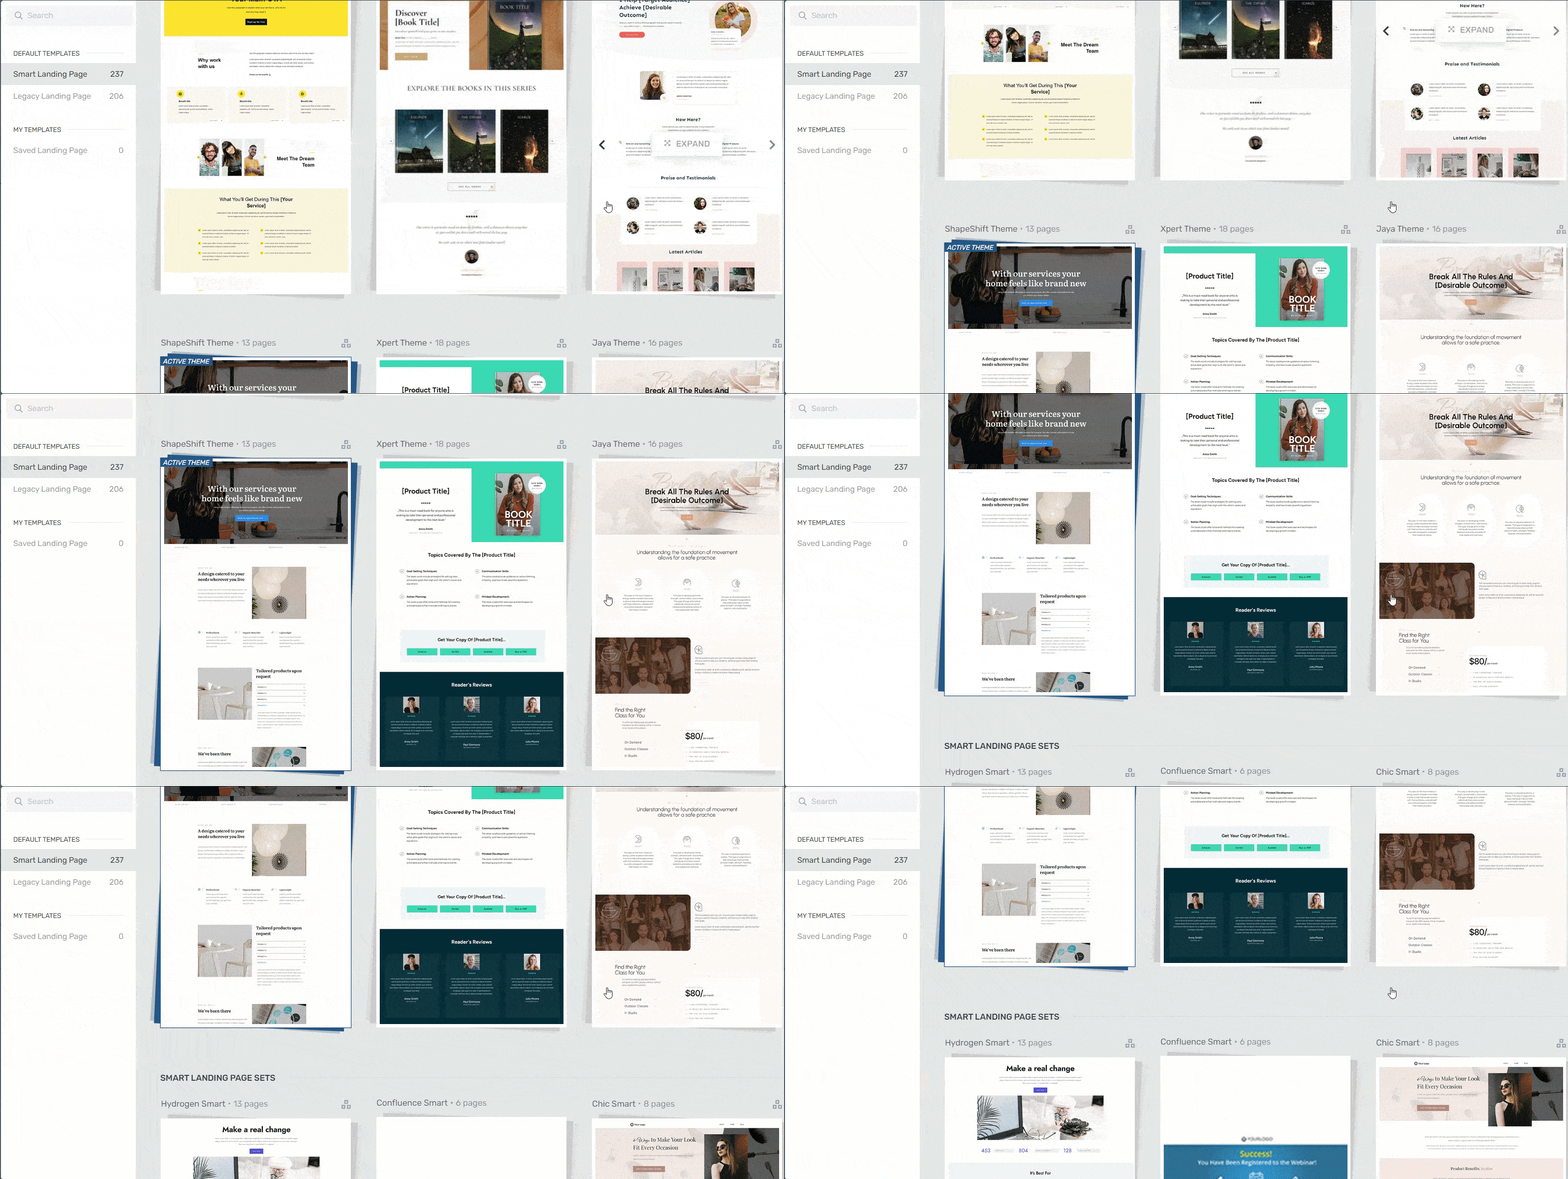
Landing page template sets in Thrive Architect
The result? Unique landing pages that truly stand out and match your brand – no copycats around here!
Thrive Tip: New to designing landing pages? Check out this detailed beginner’s guide to get started.
2. Set Up an Optimized Webinar Registration Page
After capturing your audience's attention with your impressive landing page, it's time to focus on your registration page. While related to your landing page, your webinar registration page has a distinct purpose and benefits from a different approach.
Registration Page vs. Landing Page: What’s The Diff?
Your first landing page is designed to generate interest in your event, while your registration page is all about converting that interest into sign-ups. The key difference is in the focus: your landing page showcases the event's value, while the registration page streamlines the sign-up process.
Key Elements of a Successful Registration Page
When putting together your registration page, keep these elements in mind:
Simplicity is Key: Keep your form straightforward. Stick to key information - typically name, email, and perhaps job title. Remember, each additional field increases the chance of form abandonment. (Take a look at this guide for opt-in form best practices).
Reinforce the Value: Include a brief summary of key event details at the top of your page. This serves as a reminder of what attendees will gain and reassures them they're in the right place.
User-Friendly Design: Your registration page should be clean and easy to navigate. Maintain consistent branding with your landing page and make sure it's mobile-friendly - many people will register on their smartphones.
Set Clear Expectations: Let people know what happens after they register. Will they receive a confirmation email? Are there any next steps? Setting these expectations builds trust and reduces confusion.
For more details on how to create a high-converting webinar registration page, check out this guide right here.
Choosing Your Page Strategy: Combined or Separate?
When setting up your event pages, you can choose to maintain 2 separate landing pages for promotion and registration, or you can combine them.
Separate pages allow for more detailed event information but add an extra step. A combined approach streamlines the process but limits space for promotional content.
Think about your event's complexity and your audience's familiarity with your brand. If you’re hosting a number of speakers, or have a lot of details to share about your event, stick to the 2 separate pages.
But if you want to keep things simple and to the point, try a single page with event details at the top and a registration form below. This provides information for those who need it and a quick sign-up option for those ready to commit.
Learn more about the difference between long and short landing pages right here.
3. Create a Confirmation and Thank You Page
When someone registers for your online event, it's easy to think your job is done. But there's a key step that often gets overlooked: the confirmation and thank you page. Let's talk about why these pages matter more than you might think.
Your Confirmation Page
First, a confirmation page gives your attendees peace of mind. It lets them know their registration went through successfully. Without this, they might wonder if something went wrong, leading to unnecessary emails or, worse, no-shows on event day.
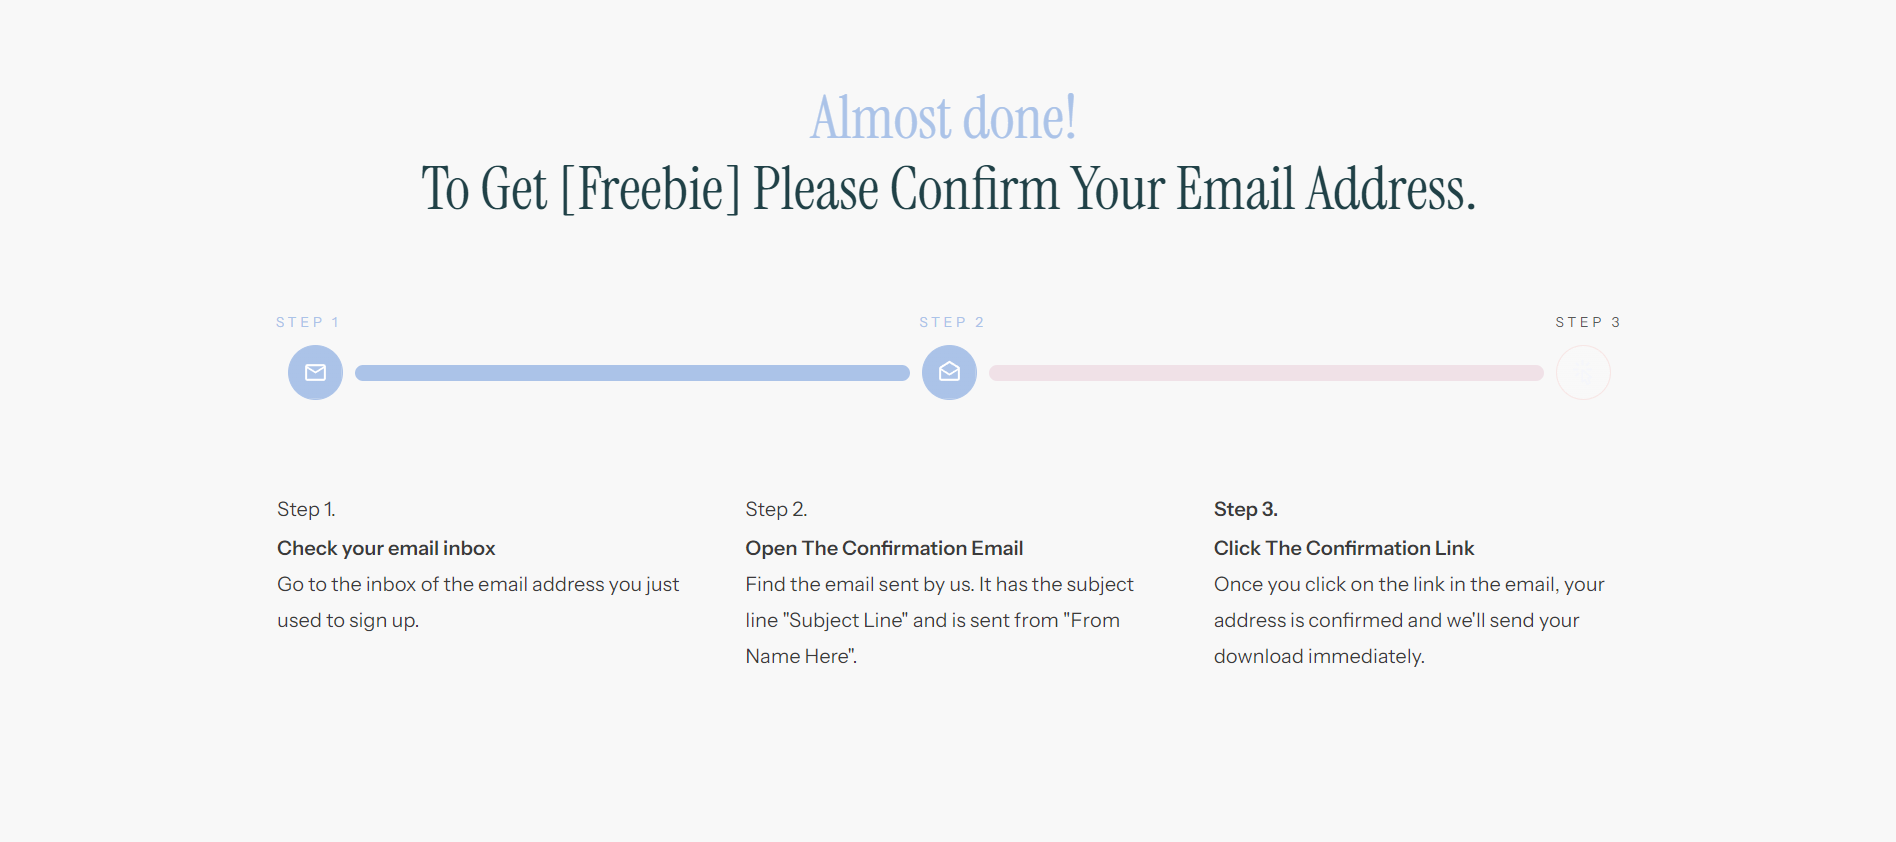
Example of a Confirmation Page Template from Thrive Architect
But a good confirmation page does more than just confirm. It's a chance to get your attendees excited about the event. You can remind them of the great content they'll be getting or introduce them to some of the speakers. It's a useful part of keeping your event fresh in their minds.
Your Thank You Page
Thank you pages, often combined with confirmation pages, are about showing appreciation. When someone signs up for your event, they're giving you their time and attention. A simple "thank you" goes a long way in building goodwill.
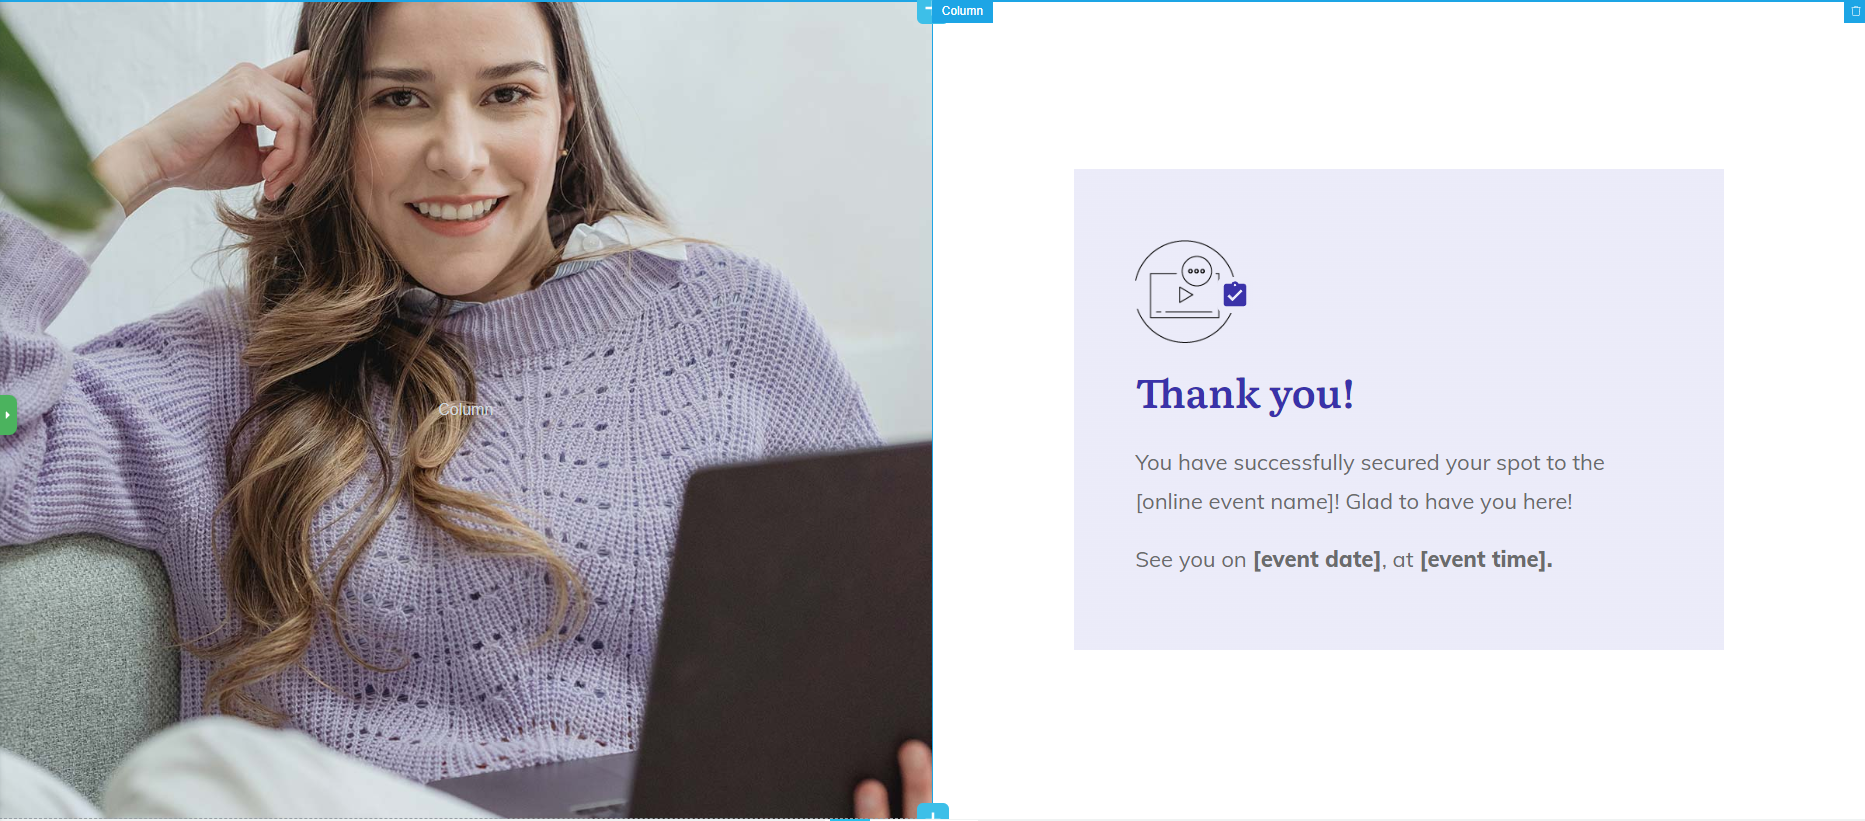
These pages are also practical. They're the perfect place to give attendees important information about the event - how to join, what to prepare, or what to expect next. This can help reduce questions and confusion later on.
Lastly, confirmation and thank you pages can help spread the word about your event. When you include social sharing buttons or a referral link, you make it easy for your attendees to tell others. It's a simple way to potentially increase your audience without much extra effort.
So, while it might be tempting to use a generic confirmation message, putting some thought into these pages can really enhance the experience for your attendees. It's a small touch that can make a big difference in how people perceive your event before it even starts.
And if you need a guide on how to create an engaging thank you page, check out our step-by-step tutorial.
4. Set Up a Pre-Event Funnel to Nurture Registrants
Once someone registers for your event, your job isn't done - it's just beginning. The time between registration and the actual event is vital in your webinar funnel. This is your chance to build excitement, provide value, and make sure people actually show up on the day.

Think about the last time you signed up for an event weeks in advance. If you didn't hear anything from the organizers until the day before, you might have forgotten about it or lost interest. That's why keeping in touch with your registrants is so important. Regular communication keeps your event top of mind, builds anticipation, provides extra value, and reduces no-shows on the day of the event.
One of the most effective ways to engage your attendees before the event is through a series of emails. A well-structured pre-event email funnel typically includes:
Welcome email (immediately after registration)
Value-add emails (1-2 in the weeks leading up to the event)
Excitement-building email (a few days before the event)
Reminder emails (1 week, 1 day, and 1 hour before the event)
The key is to make your attendees feel like they're part of something special, even before the event begins. This not only increases the chances they'll attend, but also sets the stage for a more engaged and satisfying event experience. By nurturing your registrants in this way, you're not just planning an event - you're creating an experience that begins the moment someone signs up.
5. Promote Your Event with Pop-Ups and Opt-In Forms
Your event landing page is doing a lot of heavy lifting to attract new attendees. It's informative, persuasive, and designed to convert visitors into registrants. But what about all the other pages on your website? What if you could extend the reach of your landing page across your entire site?
This is where pop-ups come in. Think of them as micro landing pages that can appear anywhere on your website, catching the attention of visitors who might not have found your dedicated event page.
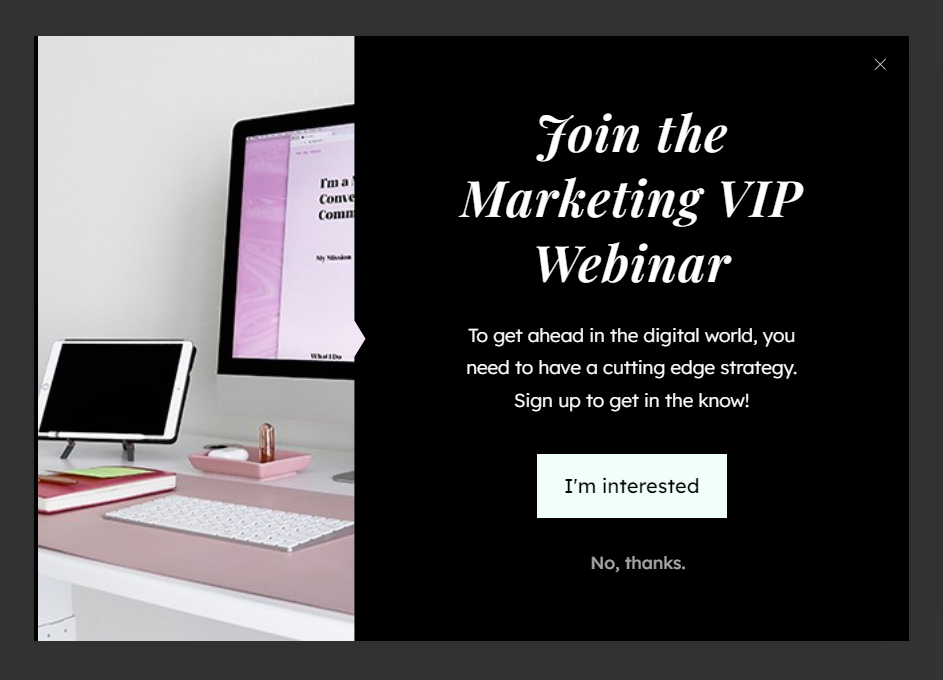
Why does this work? For starters, not every visitor to your website will naturally navigate to your event landing page. They might be reading a blog post, checking out your services, or just browsing. Pop-ups allow you to put your event in front of these visitors, no matter where they are on your site.
The key is to use different types of pop-ups strategically. They should add value, not annoyance. Make sure your pop-ups are relevant to the content the visitor is engaging with, and that they offer a clear, compelling reason to learn more about your event.
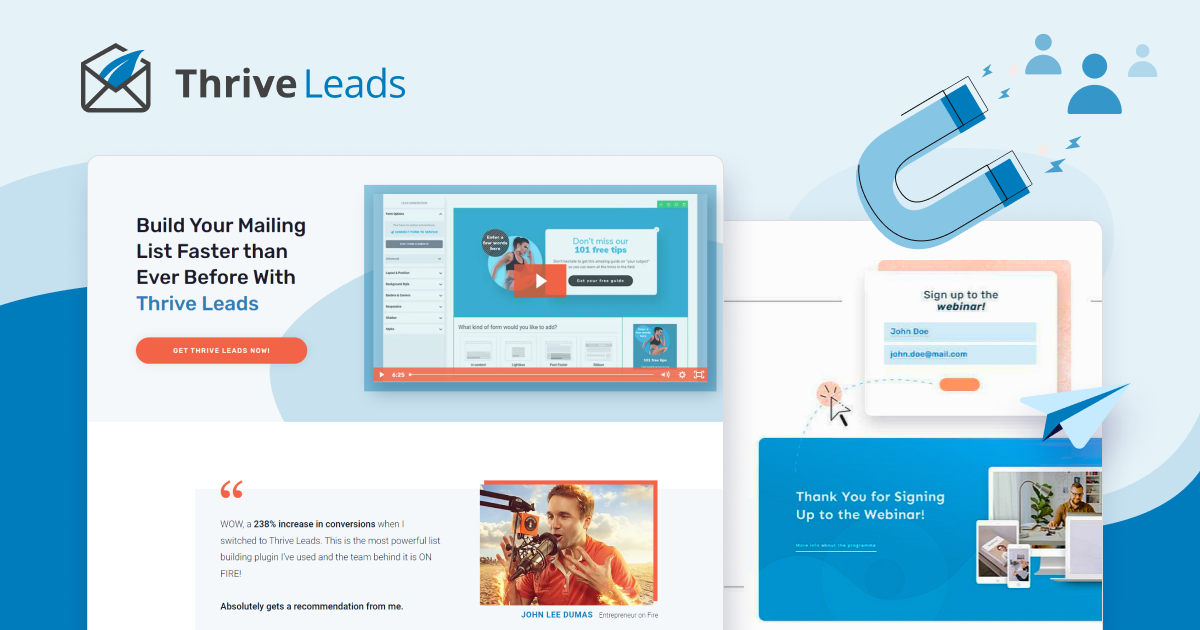
To implement this strategy effectively, you'll need the right tools. And this is where Thrive Leads comes in. It's a powerful WordPress plugin designed specifically for creating and managing lead generation tools like pop-ups.
Thrive Leads offers a variety of pop-up types, from full-screen overlays to small notification bars. You can create exit-intent pop-ups, timed pop-ups, and scroll-triggered pop-ups. The plugin also allows you to A/B test different versions to see what works best for your audience.
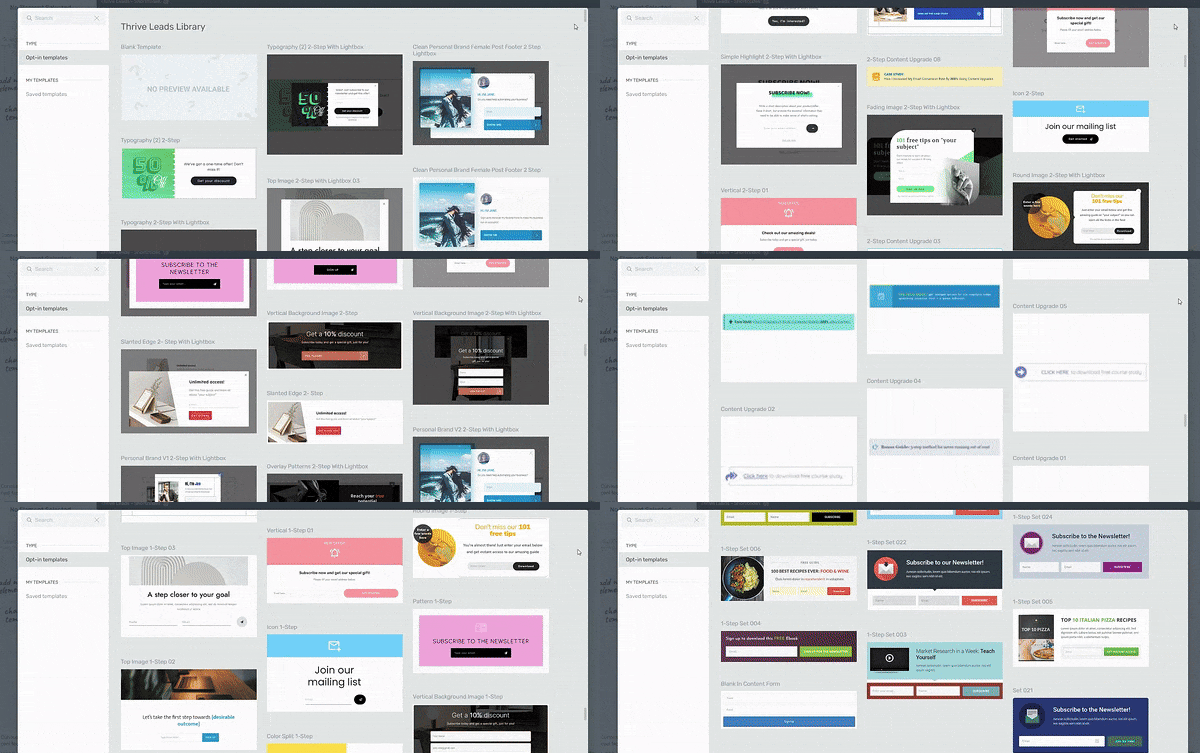
One of the most valuable features of Thrive Leads is its targeting capabilities. You can set pop-ups to appear only on certain pages or for certain types of visitors. This means you can create pop-ups that are highly relevant to the content people are viewing, increasing the chances they'll be interested in your event.
By using a tool like Thrive Leads to extend the reach of your landing page, you're not just waiting for people to find information about your event – you're proactively putting that information in front of them at the right time and in the right place. And that’s how you land more conversions.
6. Incorporate Social Proof and Urgency
When it comes to convincing people to sign up for your event, sometimes a little nudge can make all the difference. Two powerful techniques you can use to provide that nudge are social proof and urgency. Let's explore how these can work together to increase your event's sign-up rates.
Social Proof
Social proof is all about showing potential attendees that others are interested in and excited about your event. It taps into our natural tendency to follow the crowd. When we see that others are doing something, we're more likely to want to do it too.
There are several ways you can incorporate social proof into your event promotion. One effective method is to display recent sign-up notifications. These little pop-ups that say things like "John from New York just registered!" can be incredibly persuasive. They show that real people are signing up, creating a sense of momentum.
Another powerful form of social proof is testimonials. If you've run similar events before, showcase what past attendees have said. Their words can paint a vivid picture of the value your event offers, from a perspective that potential attendees can relate to.
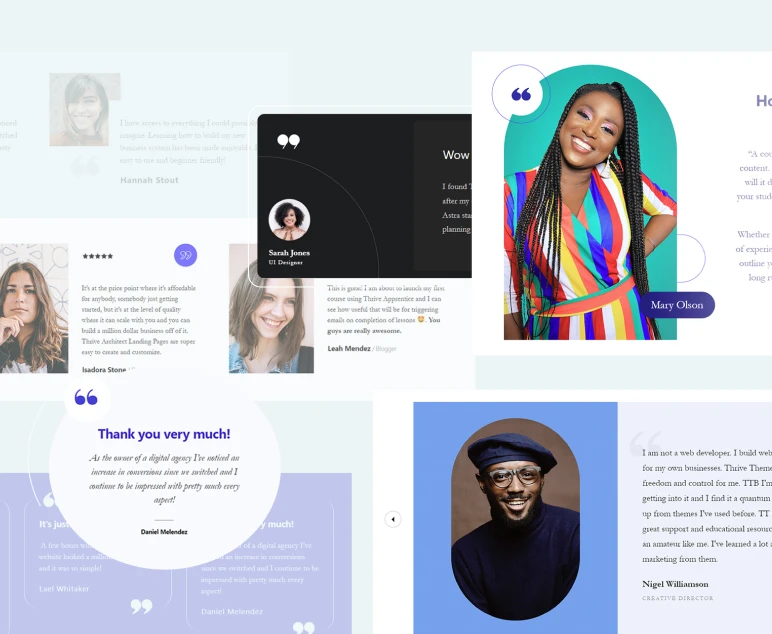
Thrive Tip: Need a little help on how to collect and display your testimonials? Check out this guide. And if you feel a little awkward about asking for feedback from previous attendees, read this tutorial on a stress-free way to gather your testimonials.
Urgency
A classic way to create urgency is with a countdown timer. This could show the time left until the event starts, or until an early-bird registration discount ends. Seeing the seconds tick away can be a powerful motivator for people to sign up before it's too late.

And you can learn how to add a countdown timer to your landing pages right here.
You can also create urgency through your copywriting. Phrases like "Limited spots available" or "Early-bird pricing ends soon" can encourage quick decision-making. Just be sure to always be honest – false scarcity can damage your credibility.
The key is to use social proof and urgency together. For example, you might have a section on your landing page that says "Join the 500 people who have already registered!" next to a countdown timer showing how long is left until registration closes.
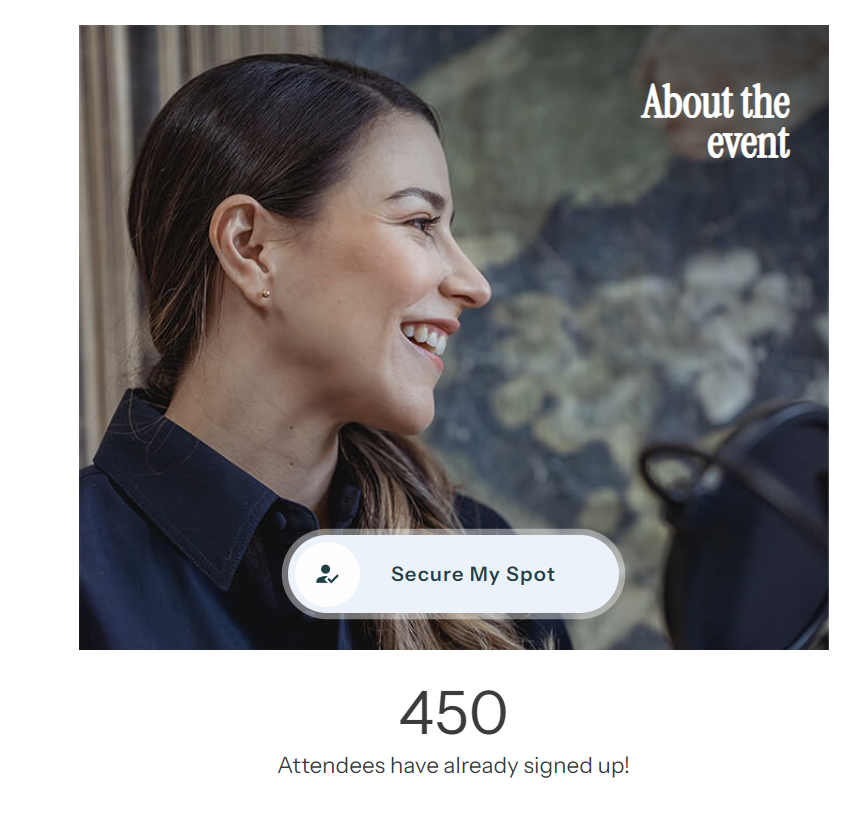
Remember, the goal isn't to pressure people, but to help them see the value in acting promptly. Used ethically and effectively, social proof and urgency can give potential attendees the extra confidence and motivation they need to sign up for your event.
8. Test and Set Up Your Event Tech
You've put a lot of effort into planning your event and attracting attendees. The last thing you want is for technical issues to derail all your hard work. That's why testing your event technology is so important.
Start with the basics: your event platform. Whether you're using Zoom, Google Meet, or any other platform, make sure you're familiar with all its features. Test your audio and video quality, practice screen sharing, and try out any interactive features like polls or chat functions. Don't forget to check that any pre-recorded videos or slides display correctly within the platform.

It's a good idea to run at least one full dress rehearsal where you go through your entire event from start to finish. This will help you identify any issues with timing or flow that you might not catch in smaller tests. If you have guest speakers or panelists, make sure they're comfortable with the platform too. Think of holding a brief training session for them or sending detailed instructions.
Pro tip
Despite all your preparation, sometimes things still go wrong. That's why you need to have a backup plan. This might include having a co-host who can take over if you have connection issues, or preparing alternate content that doesn't rely on certain features if they fail. Also, don't forget about your attendees. Provide clear instructions on how to join the event and what to do if they encounter problems.
The aim here isn’t achieving perfection. It's to be prepared, to minimize disruptions, and to have the confidence to handle any issues that do arise. With thorough testing and preparation, you'll be ready to deliver a smooth, engaging online event that your attendees will appreciate and remember.
Capitalizing on Your Success: Post-Event Follow-Up
Congratulations! You've successfully run your online event. But your work isn't quite done yet. In fact, what you do after your event can be just as important as the event itself. Let's talk about why post-event follow-up matters and how to do it effectively.
Why is follow-up so important? Well, your event has generated a lot of momentum. Attendees are excited about what they've learned and experienced. This is the perfect time to nurture those relationships and keep the conversation going. It's also an opportunity to gather valuable feedback, share additional resources, and even guide attendees towards future events or offerings.
So, how do you go about this? The key is to strike while the iron is hot. Here's a simple but effective approach:
- Send a thank-you email within 24 hours of the event ending. This shows your appreciation and keeps your event fresh in attendees' minds.
- Share recordings and resources. If you've recorded the event (which you should!), send out links to the recordings. Include any slides, handouts, or additional resources mentioned during the event.
- Ask for feedback. This could be through a simple survey or just by encouraging replies to your email. This feedback is gold for improving future events.
- Offer exclusive content or discounts. Give attendees something special as a thank-you for their participation. This could be a deeper dive into a topic from the event, a discount on your products or services, or early access to your next event.
- Invite engagement with your next steps. Whether it's another event, a product launch, or just connecting on social media, give attendees a clear next step to continue their journey with you.
The good news is that much of this can be automated. Set up an email sequence in advance that will send out these follow-ups automatically. This ensures timely communication without you having to manually send hundreds of emails.
Remember, the goal here is to build on the relationships you've started during your event. Your attendees have shown interest in what you have to offer. Now's your chance to deepen that connection and turn one-time attendees into long-term followers, customers, or clients.
By implementing a solid post-event follow-up strategy, you're not just wrapping up one successful event – you're laying the groundwork for many more to come.
How to Run an Online Event: Wrapping Up
We've covered the essential steps for creating and running a successful online event, from setting up registration to post-event follow-up. Remember, thorough preparation, effective promotion, and meaningful engagement are key to your event's success.
As you plan your event, consider how the right tools can streamline your process. Tools like Thrive Architect for creating landing pages and Thrive Leads for capturing registrations can help you focus more on content and less on technical details.
The most important thing is to get started. Your audience is waiting for the valuable content only you can provide. Take what you've learned here, adapt it to your unique event, and create an online gathering that leaves a lasting impact.
Good luck with your online event – we're rooting for your success!


