This article will walk you through the entire process of using the “Dynamic Content” element on the opt-in gate, in Thrive Quiz Builder.
The main purpose of the “Dynamic Content” element is to get your users to subscribe on different mailing lists, depending on their final result. This way you can target your audience in a more effective way, being able to send more specific emails to each mailing list.
|
Important! The “Dynamic Content” from the opt-in gate works exactly like the one found on the results page. In order to find out how to properly use this feature from scratch, click here. |
In order to start using the “Dynamic Content” element, you have to add an opt-in gate to your quiz:

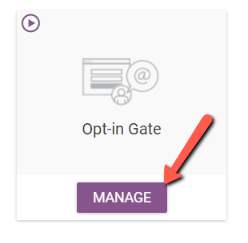
Then, access it by clicking on the “Manage” button:

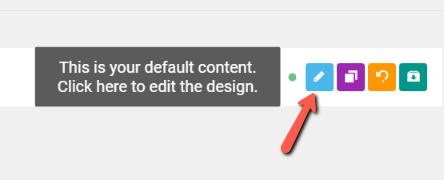
Next, click on the “Edit Design” icon:

Once you have accessed the opt-in gate, look for the “Dynamic Content” element, in the sidebar editor. Once you have found the element, drag & drop it and place it into the content:

|
Note: Please remember that the “Dynamic Content” element will not be available for the “Results Pages” and the “Opt-in Gate” of the “Survey” quiz types. |
After the element is placed onto the canvas, there are two possible outcomes:
- If you are customizing a “Number” or a “Percentage” quiz type: then you will have to customize the intervals of the “Dynamic Content” (1), or you can import the intervals from your results page if you have already set them up (2):

- If you are customizing a “Category” quiz type: then the intervals will be created automatically, every interval representing a category from your quiz:

The next thing you have to do is make sure that you place the opt-in form into the “Dynamic Content” area:

Go ahead and do the same (add the element) to all of the intervals. Then go back to the first interval to customize the form.
After your opt-in form is placed into the “Dynamic Content” area, you need to connect your form to a mailing service, using an API Connection. You can find out how to set up such a connection, here.
However, in order to connect your form to a mailing service, you first of all need to click on the form, then select “Add Connection” from the sidebar options:

On the following steps, you will need to select one of the existing API connections from your site:

Moving forward, set the connection details.
The best way to go is to create mailing lists in your autoresponder, that match the intervals that you have set up:

Note: Some mailing services offer “Tags”, “Tag Name Lists” or “Contact Lists” instead of mailing lists, but they all have the same purpose of dividing your subscribers into different categories.
After you have set up a connection to the form from one certain interval, if you move on to the next form, you are going to notice that the opt-in form is no longer shown:

This is not a mistake/bug. It occurs due to the fact that the dynamic content is different from one interval to the other.
This way, all you need to do is click on “Import Content”, above the interval you are currently editing:

Make sure you import the content from the interval you have already edited, in which the opt-in form is connected to a certain mailing list (In our case, the “Debater” interval”):

Once you have clicked on “Import” and the opt-in form has shown up on the screen you need to take care of one last thing: You don’t want your “Mediator” users to be sent to the “Debater” mailing list.
This way, you need to click on the opt-in form, and then click on “Edit”, on the sidebar editor:

And on the next window, you will simply have to modify the mailing list from “Debater” to “Mediator”:

Once you have done this to all the intervals, you are pretty much done and you can go on and use it in your quiz.
Hopefully, this tutorial about how to use the “Dynamic Content” element was useful to you.
Make sure to check out other tutorials of this type available in our knowledge base.