In this article, we will go over the options that you can apply to your course when you are accessing the “General Settings” of your Thrive Apprentice.
If you haven’t set up any courses yet, don’t forget to check out our article on how to create your first Thrive Apprentice course.
Access the ‘General Settings’
When you first access Thrive Apprentice, you will have to go through a few mandatory steps. One of those steps is selecting a page for your courses.
The page that you select can be found in the “General Settings”, and we will show you below how to access it.
Change the course page
If you want to change the course index page you have initially set up for your online school, you can simply do that from the “General Settings”.
In order to get there, go on the left sidebar, in Thrive Apprentice, and access Settings > General Settings:

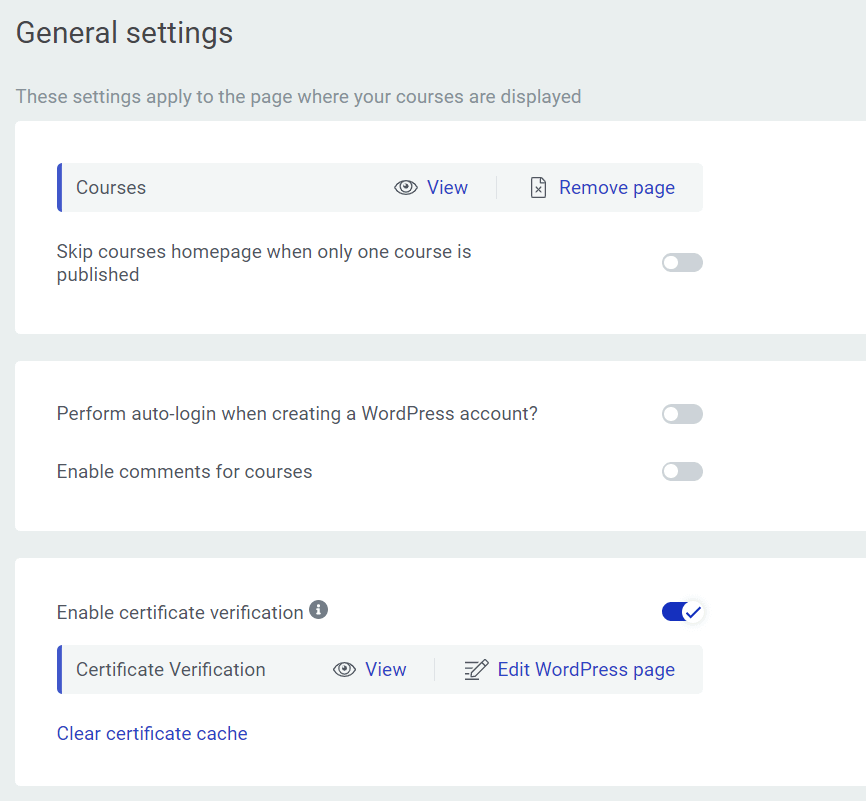
After you select it, you will see all the options on the right side of the screen:

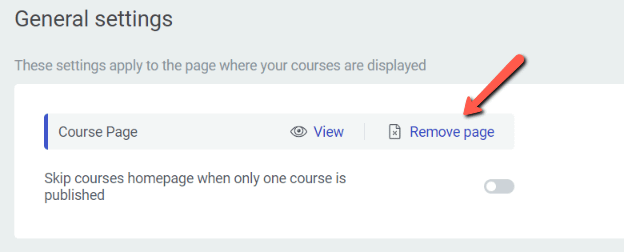
In order to change the page you have initially set, simply click on the “Remove page” option:

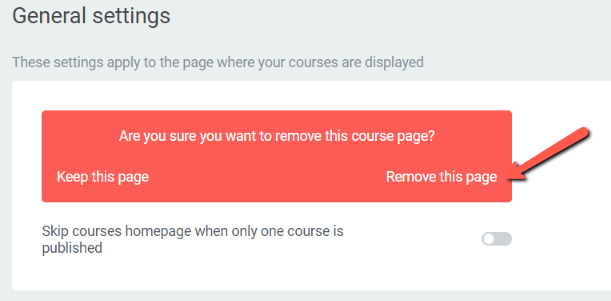
Then, confirm your selection:

And then simply look for another page from your website, or create a new one:

- If you decide to search among the pages from your website, type in the name in the field and find the one that you are looking for:

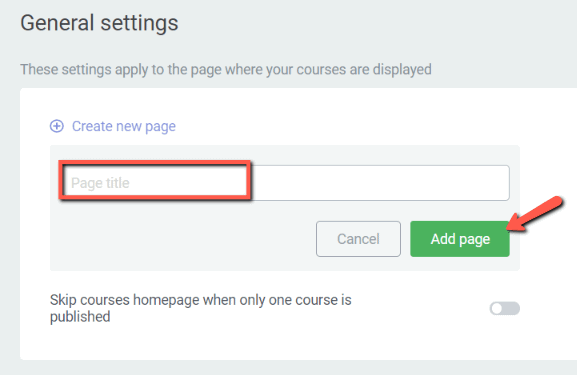
- If, on the other hand, you decide to add a new one, you’ll first have to give it a title and then click on “Add page”:

Lastly, you have the option of activating the “Skip courses homepage when only one course is published” toggle:

So if this is enabled, instead of seeing a list of all the courses, the visitor gets taken straight to the course overview page (the only one that is published):

If the toggle is disabled, then the visitor will be able to view the full course index page:

Perform auto-login when creating a WordPress account
This part requires the use of an Opt-in Form, either from Thrive Leads or Thrive Architect (the Lead Generation element from the editor).
- Setting Up Your Opt-in Form
First of all, you need to create an opt-in form through which your visitors can sign up on your website. In this way, they will become users of your website.
You can find out how to build such an opt-in form and establish a connection with WordPress, in this article.
On the final step of your opt-in form setup, you have the possibility to send your user to a certain page, after he has completed the form:
And, just like that, after your user has submitted your form and has become a user on your website, he will be sent straight to your Thrive Apprentice page.
- Using the auto-login feature from Thrive Apprentice
What you need to remember, first of all, is that this feature is active by default:

However, if you turn it off, your newly subscribed user will be sent to your Thrive Apprentice page but will have to log into his account again.
Important!
Keep in mind that this works only if the user registers through your website. This will not work if the user account is created through a third party purchase.
Enable comments for courses
Lastly, you can choose to enable or disable comments for the courses. If you want them to be enabled, make sure this option is enabled:

Enable certificate verification
If you activate this toggle, you are able to issue certificates for the students that have successfully completed one of your courses:

This way, you are able to set up a page specifically designed for this process.
Moreover, when you issue certificates, you can add a QR code on that certificate, that can be scanned for verification.
Here’s a separate article from our knowledge base that explains in detail how to set this up:
This is how the “General Settings” work in Thrive Apprentice. Make sure to check out the dedicated section of our knowledge base if you want to learn more.