One of the key features to be used in Thrive Apprentice, when creating products, is setting up the “Login & access restriction” options from the “Settings” tab:

Once you access this dashboard, you will be able to define your login and registration page and also, you can set up the access restriction rules for the users who are trying to access your products without having the necessary permissions:
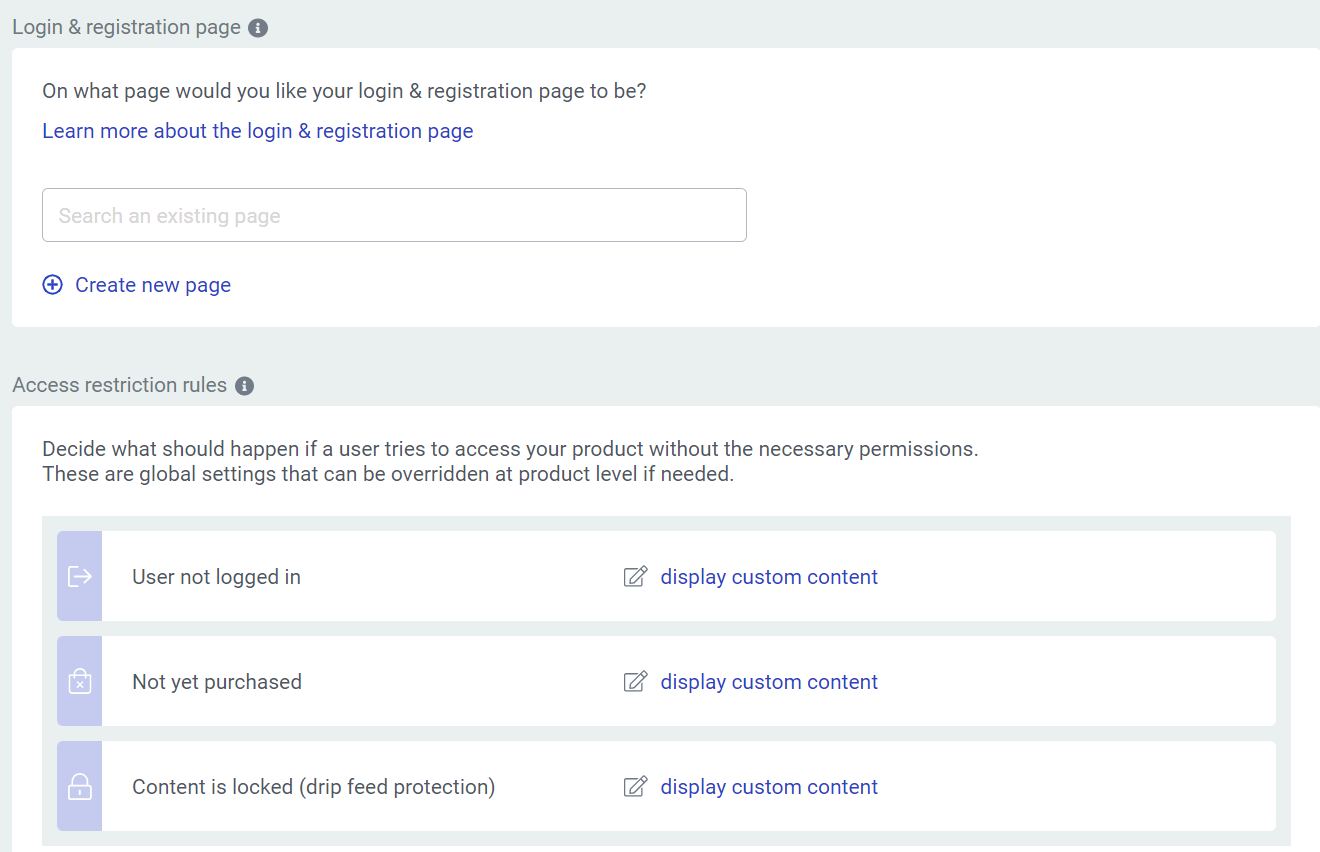
For the login and registration page we have created a separate article, which you can find here. Make sure to read that one, if you need help setting up that page:

This article will only go through the options under the “Access restriction rules” section:

With the help of these options, you can decide what happens if a user tries to access a product that is only available to logged-in users, or a product to which they do not have access.
Everything you set up here will be set as a global setting, that can be overridden at product level. We have a separate article that covers this topic, which you can find linked here.
As you will notice, there are three situations that can be set up here:
1. User is not logged in
This is where you can set up the content that will be displayed to all not logged in users who try to access a product without the necessary permissions:
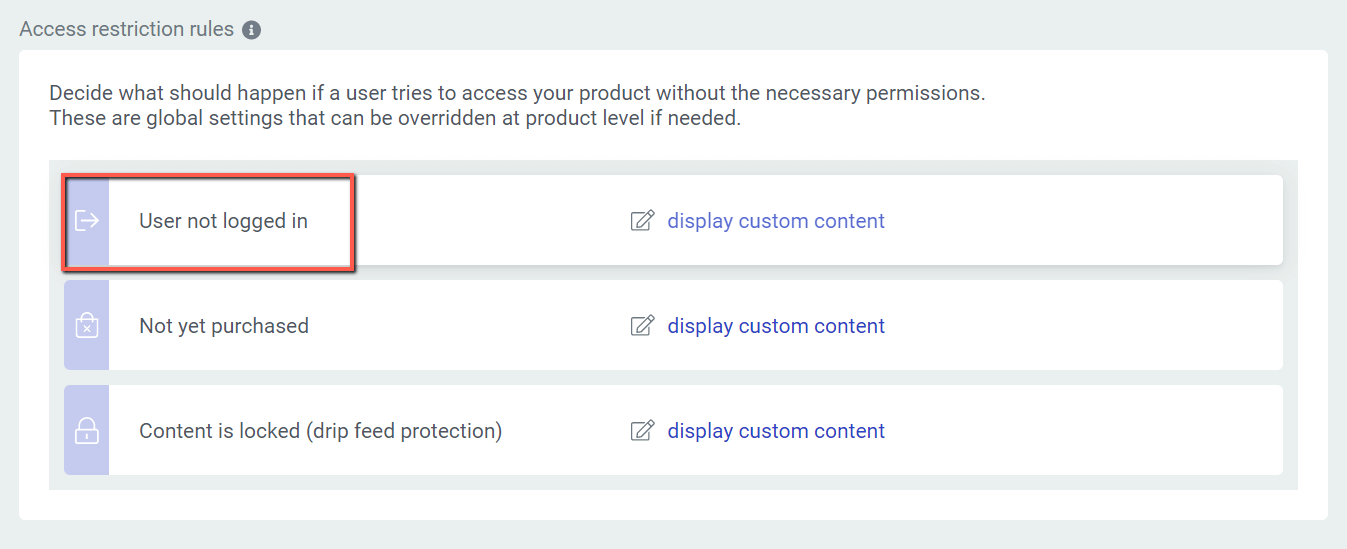
Click on the hyperlinked text to see the full list of available options for the corresponding situation:

Display custom content
If you use the first option, then you can basically display a custom content page to your guest:
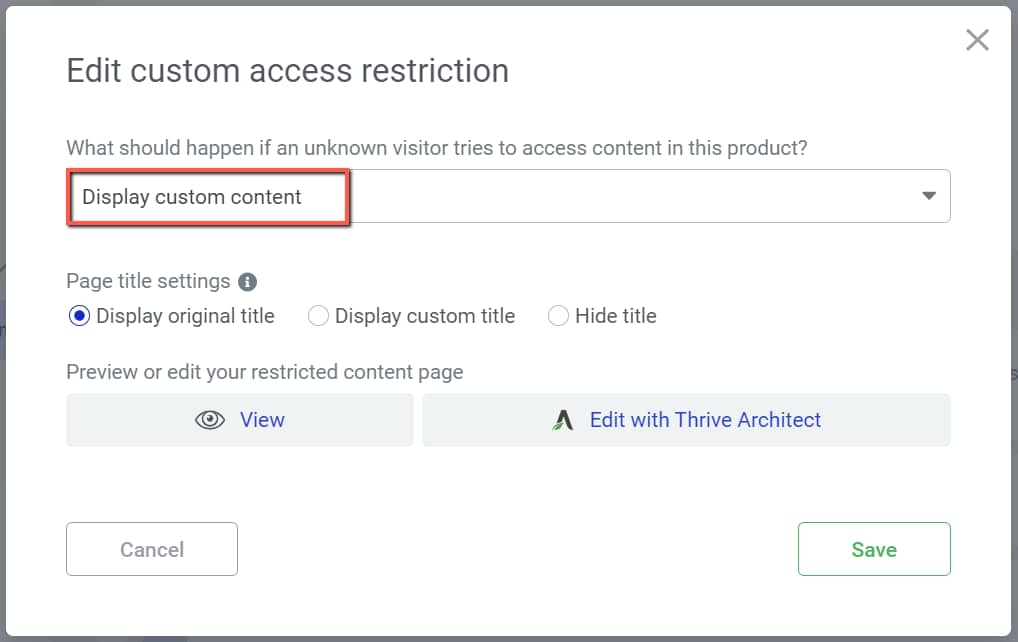
You also have three additional options from where you can establish the page title settings:
- Display Original Title

If you choose to “Display original title”, just as shown above, then the guest will be able to see the title of the part of the course they wanted to access in the first place:

So the content will still be hidden, but the title will be visible.
- Display Custom Title
You can also choose to “Display custom title”, and in this case, a new field will appear, in which you can insert the text you want:
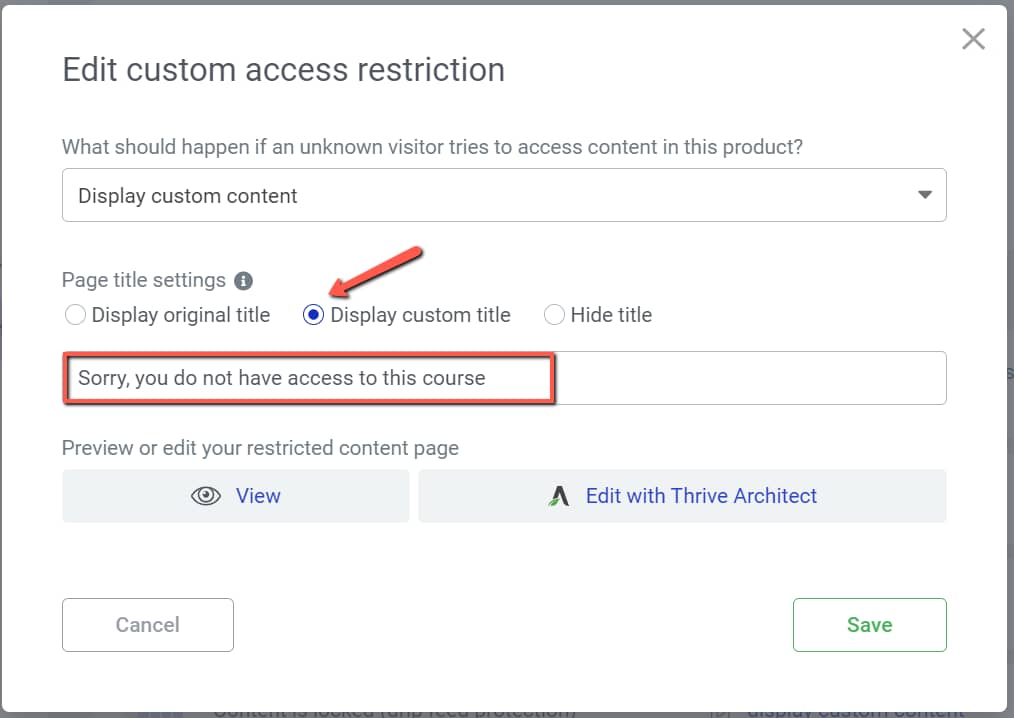
After you insert the new text, hit Enter on your keyboard, to make sure the text has been replaced.
Now, any guest who is not logged in and tries to access the product will see the custom message you have entered here.
- Hide Title
Lastly, you can also opt to choose the third option, “Hide title” if you want, and this means that the title will not be displayed:

Furthermore, if you want to preview or edit the content shown above, you can do that as well:
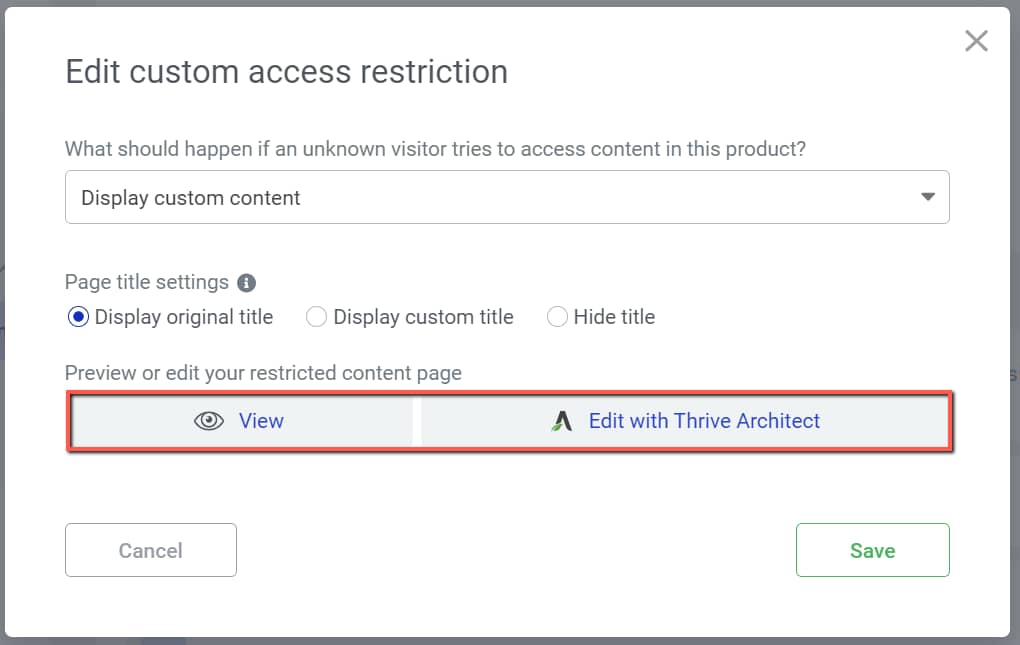
- The “View” icon will let you preview the page
- The “Edit with Thrive Architect” option lets you edit the restricted content page, using the Thrive visual editor. You will be able to use the left sidebar options of the “Content Box” to modify the existing elements, and also add new ones, from the element list:

You can customize the page using the options from the left and right sidebars just as you would do with any page or post that you would like to edit with Thrive Architect.
Redirect to login & registration page
The next available option from the drop-down is the “Redirect to login & registration page” one, and you can use this option when you want to redirect the visitors to to the login & registration page:
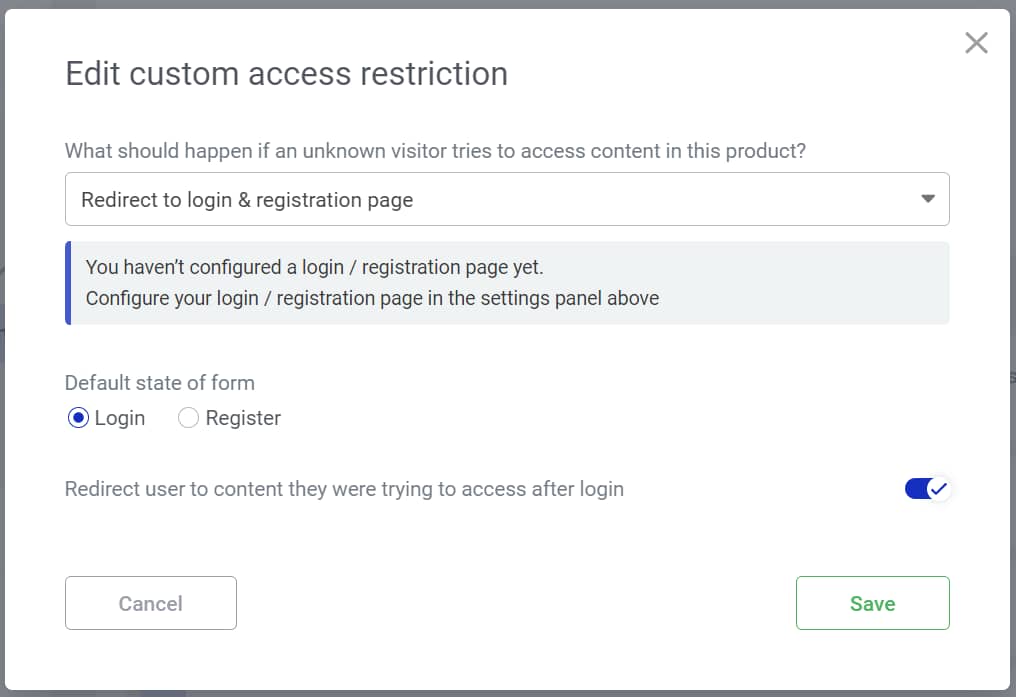
If you decide to go for this option, you can select the default state of the form that will be shown to the guest:

This means that you can choose whether the users should see the “Login” or the “Register” form if they do not have access to the product.
Lastly, you can choose what happens after someone successfully logs in. Use this toggle if you want to redirect the logged in user directly to the content they were initially trying to access:

Also, don’t forget to configure the page just as described in this article:
Redirect to custom page
The “Redirect to custom page” option lets you choose the page from your website to which you want the guest to be redirected when they try to access the product:
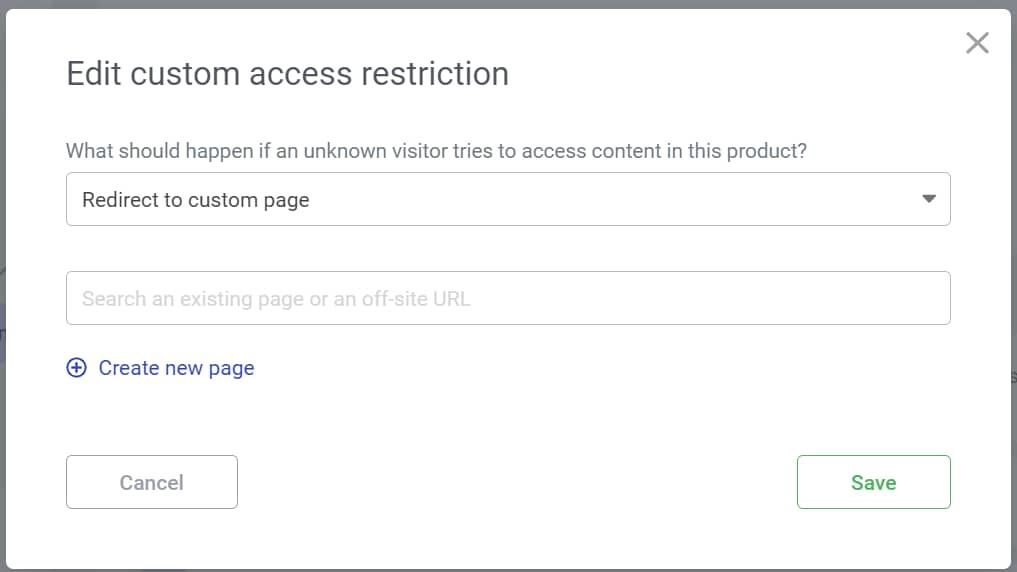
As soon as you select this option from the drop-down list, you will notice that you can either look for a page that has already been created on your website, or simply create a new one directly from here, without the need to leave the Thrive Apprentice dashboard:

Display login form (deprecated)
If you choose the last option, “Display login form”, you will get this notification message, to let you know that this option was deprecated as of February 2021:

This is because the login form is not visually editable, hence a more better-suited option would be one of the already explained options available in the drop-down list.
These are all the options that can be set for a guest that is trying to access a product that’s only available for logged in users.
2. Not yet purchased
This is where you can set up the content that will be displayed to all users who try to access a product that they haven’t bought yet:
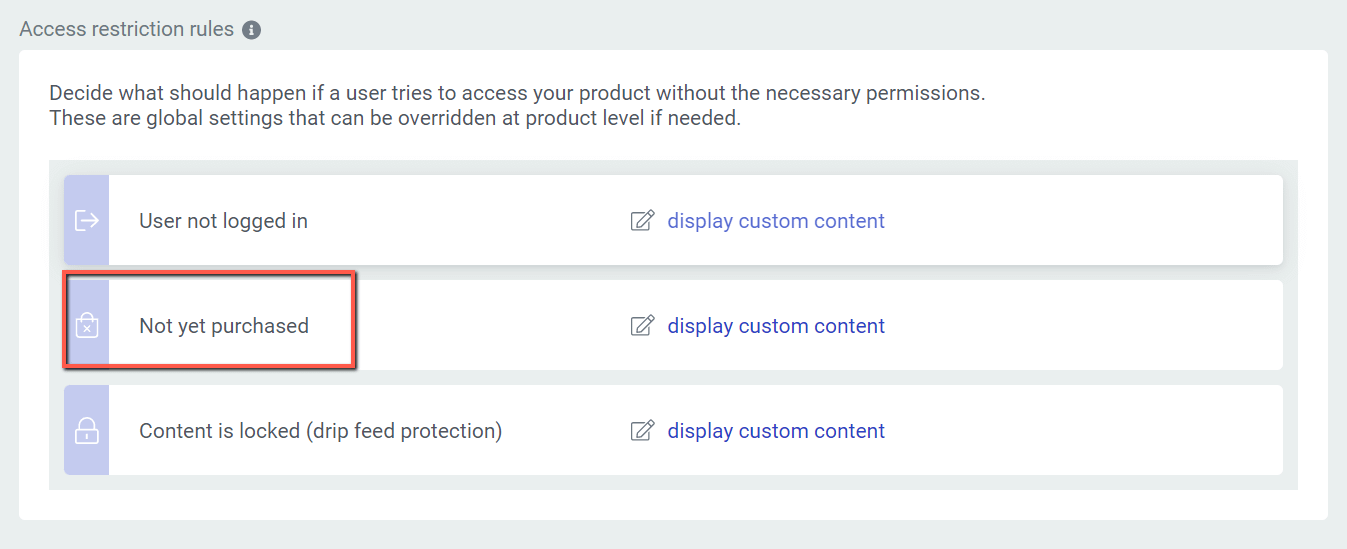
Here as well, you have a drop-down with the full list of available options you can use. Open the drop-down by clicking on the down arrow, on the field:
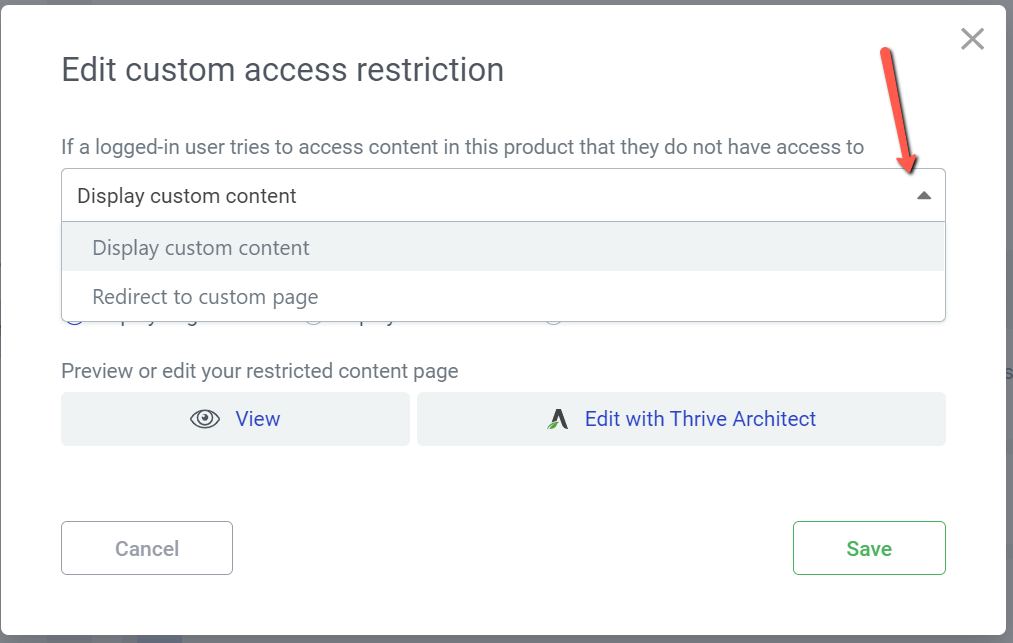
Display custom content
This option allows you to display custom content, which you can later set up just as already described above, in the first part of the article:

Redirect to custom page
Alternatively, the second option you can use here is this one:
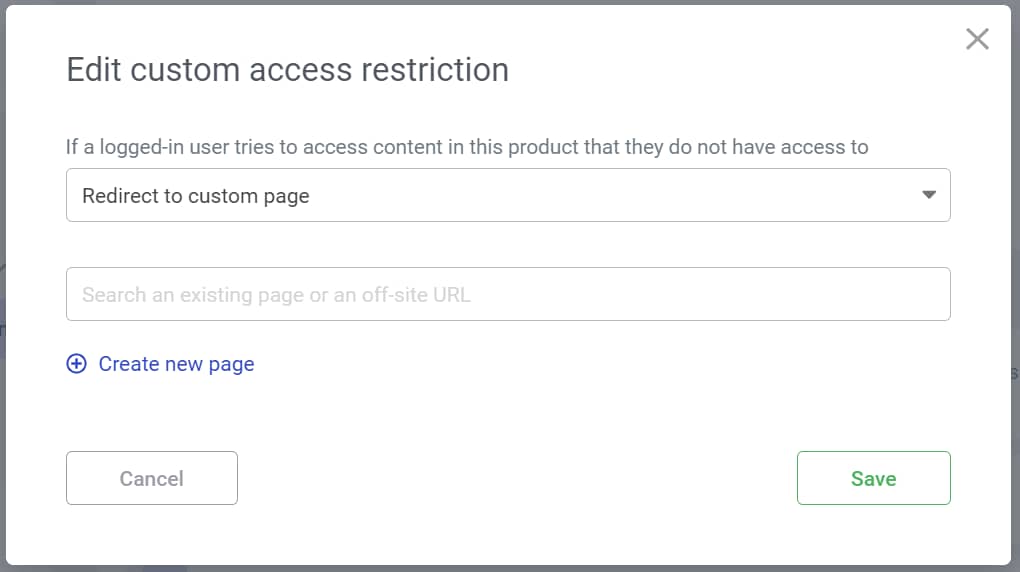
Your users can be redirected to a custom page set by you. Either search for a page existing already on your website or simply create a new one right from this dashboard.
|
Important! The settings that you choose here will act as global settings and will be automatically applied to all your newly Thrive Apprentice products. However, for the already existing products, you should keep in mind that after you tie your course/content to a product, you can use the restrictions available at product level:  |
3.Content is locked (drip feed protected)
The last situation is for when a user tries to access a content that is protected by a Drip campaign:
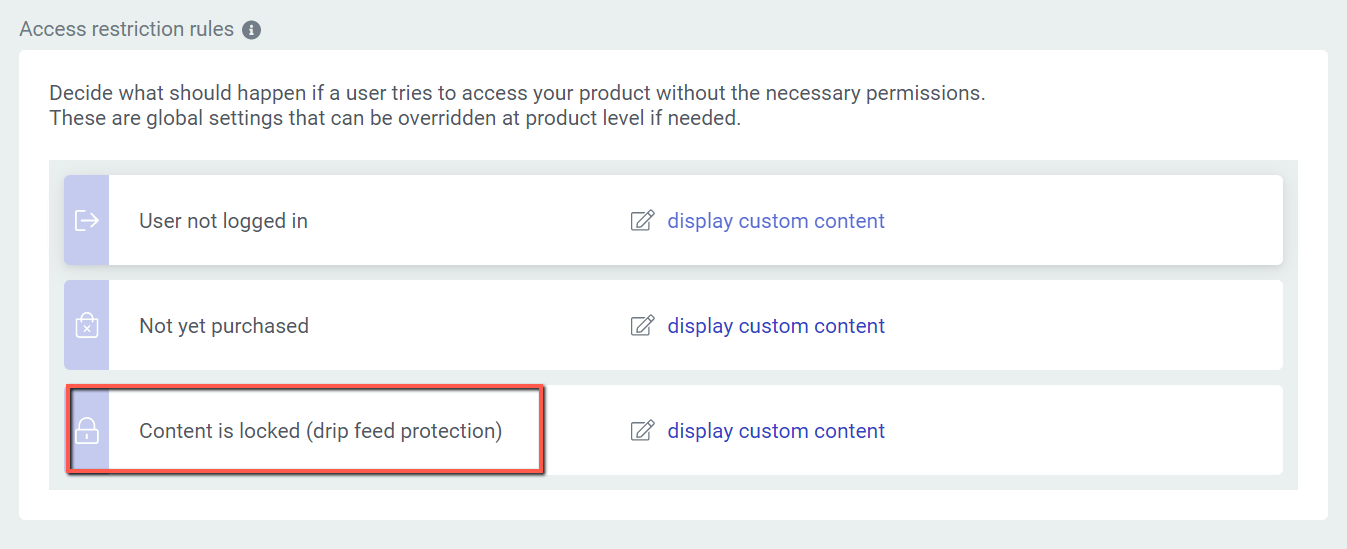
Here as well you can choose to display a custom content, or simply redirect the user to a custom page:

Setting up the Access Restriction Rules for Already Existing Products
Just as mentioned above, the settings made in this dashboard are global and will be applied to any new product that you create.
If you want these global options to also be applied to the already existing products, you will have to go to the “Products” tab of your Thrive Apprentice navigation bar and select the product that you want to work on:

Then, click on the “Access restriction rules” tab:

And here, make sure that the “Default site behaviour” is selected next to each context, if you want your product to inherit the global settings you’ve made in your “Login & access restriction” dashboard:

This way the products created after you have modified the “Login & Access restriction” options, will also inherit the same settings.
You can also check out this article for more detailed information about the “Access Restrictions” tab:
These were the ways to use the options available in the “Login & access restriction” section of your Thrive Apprentice Settings dashboard.
Hopefully, this article was useful to you. If you have any other questions about Thrive Apprentice and its features, be sure to check out this knowledge base section.
Don’t forget to leave a smile below 😄