In this article we will have a look at the “Number Counter” element, a useful tool for displaying stats, values, results anywhere on your website.
You can use the available options to design your counter from scratch and animate your homepage, sales pages, or any other pages or posts from your website.
Add the Element to the Post/Page
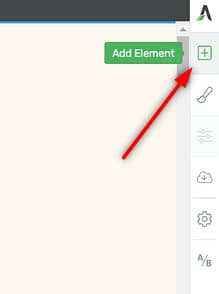
In order to start using the element, you first have to open a page or post with Thrive Architect, and then look for the plus sign in the right sidebar:
Look for the element within the list:
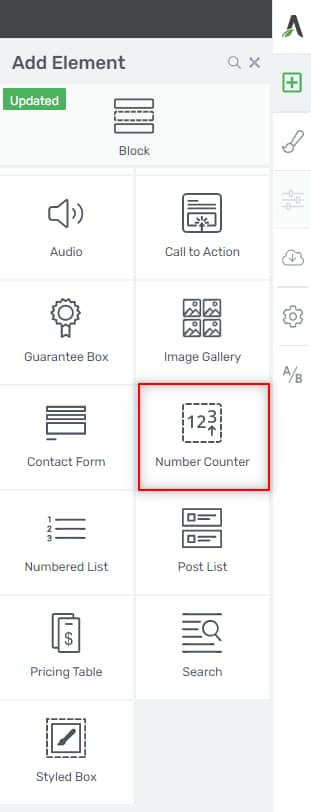
Once found, drag and drop it to your content:

As soon as you do that, the “Main Options” will appear in the left sidebar and you can start using them to customize the element:
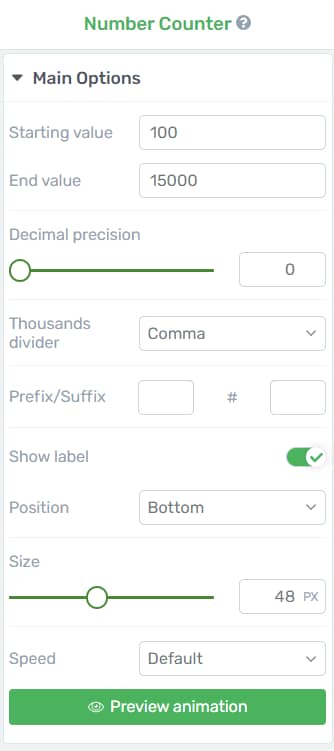
The “Number Counter” comes with some predefined values, but these can be easily changed from the left sidebar:

Let’s have a look at how you can use the available list of options in order to customize your element to your needs.
Use the Main Options
Just as mentioned above, the first section from the left sidebar is the “Main Options” one, and this is where you will find some options that are specific to this element.
Starting value
This is where you can decide the “Starting value” for the counter. By default, it’s set to 100, but you can easily change that and type your own value here:

This is the value that appears on the screen when the element is in view, and also, it represents the starting point of the animation.
End value
Naturally, what you type in the “End value” field will be the value displayed at the end of the count animation:

Decimal precision
If you want your counter to display decimals as well, you can easily configure that from the “Decimal precision” slider:

The slider goes up to three decimals, and you can simply set that by dragging the slider from left to right.
Decimal character
From the next drop-down, you can decide the decimal character that will be displayed on the counter:

This symbol will mark the difference between the hole and decimal parts of a number. In order to see how this looks like on your counter element, the “Decimal precision” slider needs to be set to at least “1”:

Thousands divider
Next, you can decide the type of separator you want to use for the “Thousands divider”:

Similar to the decimal character, the divider you set here will be used for separating the thousands.
There are four options you can choose from, after opening the drop-down list. As soon as you select one of them, the selection will be instantly visible on the counter as well:

Prefix/Suffix
The “Prefix/Sufi” fields can be populated with whatever text or characters you would like to display before or after the counter value:

Show label
The “Show label” toggle allows you to display additional information for the counter. It might be an explanatory text, that helps the visitor understand what does the counter value stand for:

The element comes with a default text that you can change simply by clicking on it and then typing in your own. When you do that you will be able to further customize the text from the left sidebar list of options:
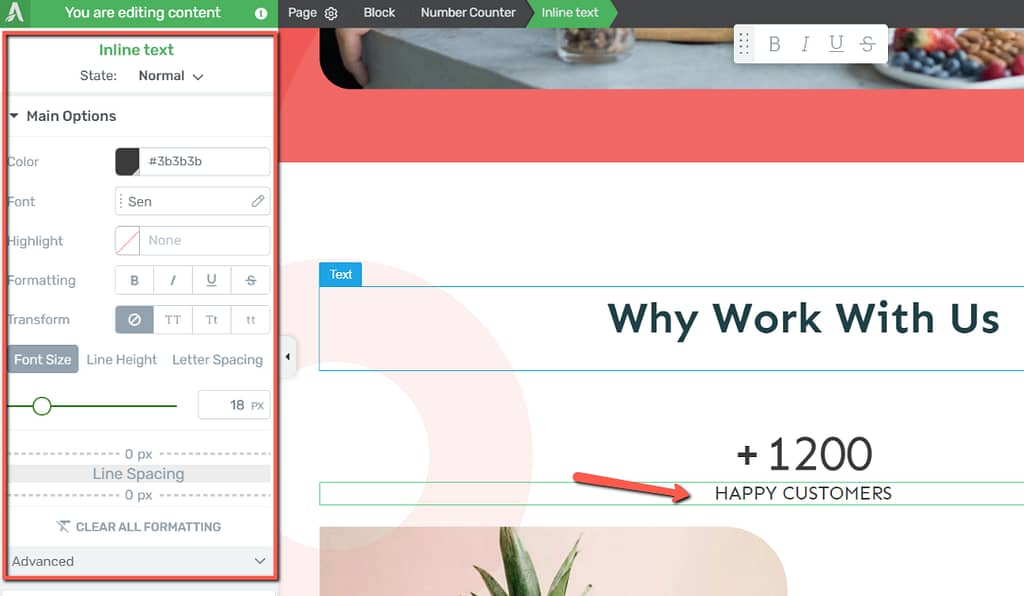
Whenever you want to go back to customizing the “Number counter” element, simply select if from the breadcrumbs:

Position
The label position can also be changed from the next drop-down list:

Size
Next, use the available slider to adjust the size of the element:

Note: As you can see in the above example, the size you set here will be applied to both the counter value and the label.
However, you can apply different sizing to each of them, if you want.
First, use the “Size” slider to decide what sizing is fit for the counter:

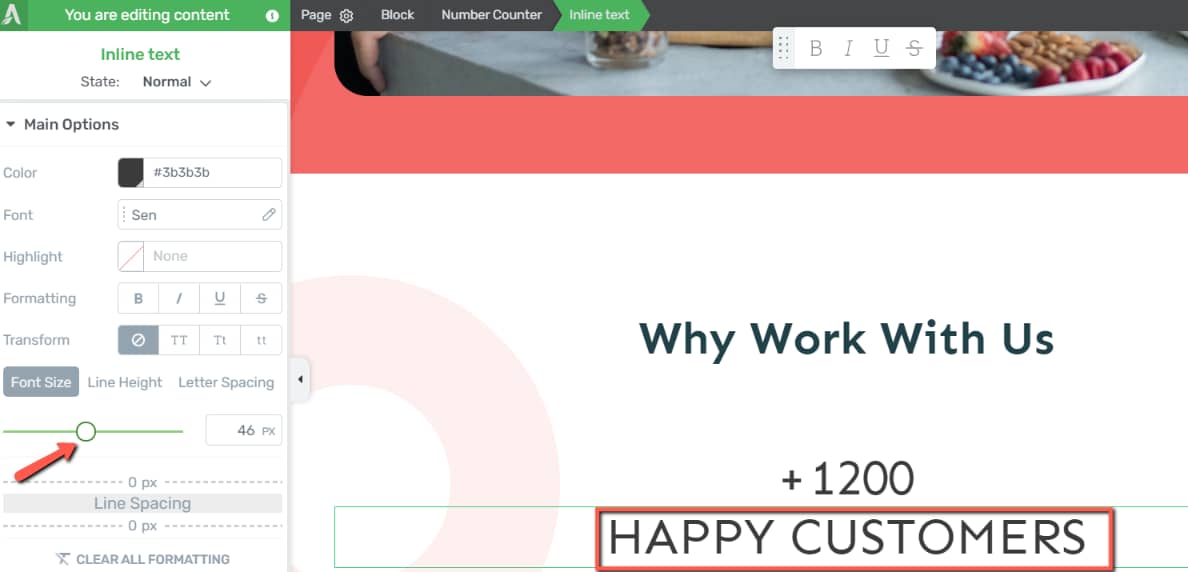
Then, click on the label (which is, in fact, a “Text” element), and then use the options available for the text to set a different font size:
Speed
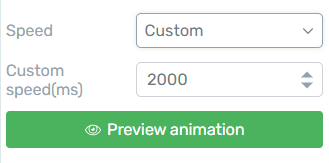
Lastly, open the “Speed” drop-down list to choose the animation speed:

If you want to set a custom speed, you can do so by selecting the “Custom” option from the list and then set the value that you want in the following field:
Preview Animation
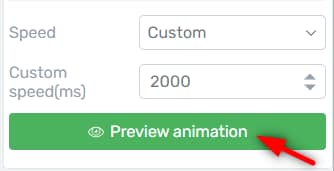
If you click on the eye icon next to “Preview Animation”, you will be able to view, within your editor, how the counter would animate on the front end:
Use the Rest of the Options
Just like in the case of other elements, besides the “Main Options”, you can use some other general options, as well (such as Layout&Position, Borders&Corners, etc.):

If you want to learn how to use the rest of the options from the left sidebar, make sure to take a look at the articles and tutorials from our knowledge base.