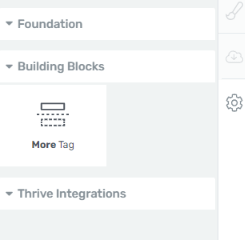
The “More Tag” element can be used to hide fragments of your blog post content, when it is displayed on the blog index page from your website:

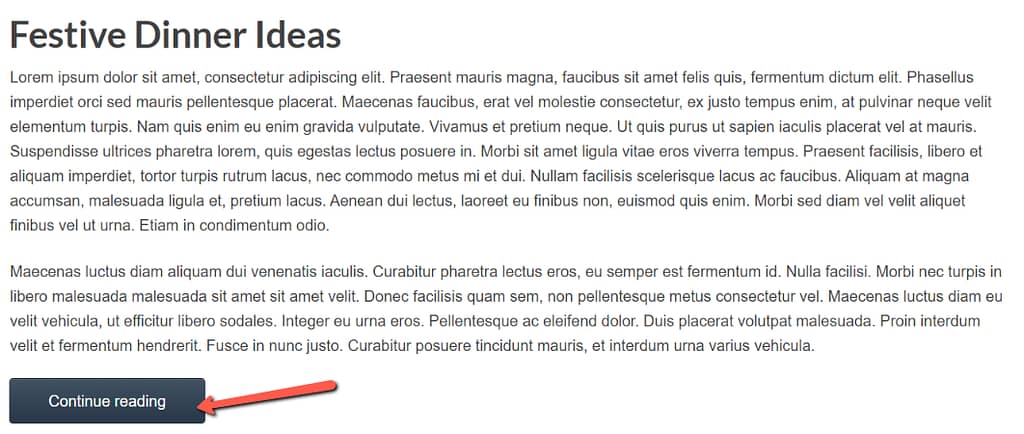
In other words, this element helps you show only excerpts of your blog posts, instead of the entire content:

Note
In order for the “More Tag” to work on your blog index, your “blog list display” must be set to “Post Content” (or the equivalent setting in the theme that you’re using). The steps for activating this are detailed below.
The visitors reading the blog can click on a “Continue reading” button, for example, and then be redirected to the entire blog post. This can be easily customized in the “Theme Options” of your Thrive Dashboard.
Important!
If you are using Thrive Theme Builder on your website, then the below mentioned steps are not necessary.
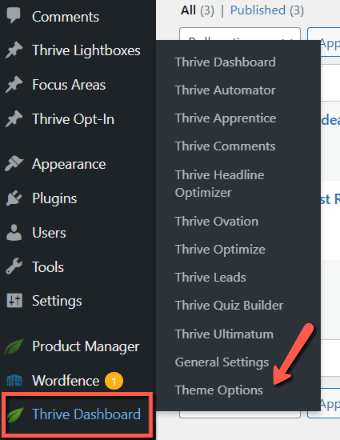
First, head over to your Thrive Dashboard and access the “Theme Options”:

In the new dashboard that opens, click on “Blog Settings”:

Here, scroll down to the “Other settings” section and make sure the “Post Content” option is selected:

Next, you can open the Thrive Architect editor for the post you would like to edit.
The “More tag” element can be found on the sidebar editor. Simply drag the element from the editor and place it wherever you see fit:

After the element is placed into your post, it will look like this:

Everything that’s above the “More Tag” element will be shown on the blog index page, whilst everything that’s below it will be hidden.
Feel free to also use the “move” and “delete” buttons if you want to change the placement of the element, or to remove it from the post:

And that’s pretty much it. Anyone viewing this blog post on the blog index page, will see a “Continue reading” button or text, just as you’ve set it in your Thrive Dashboard.
Besides the instructions provided in this article, you can also follow the guidelines found in the below video: