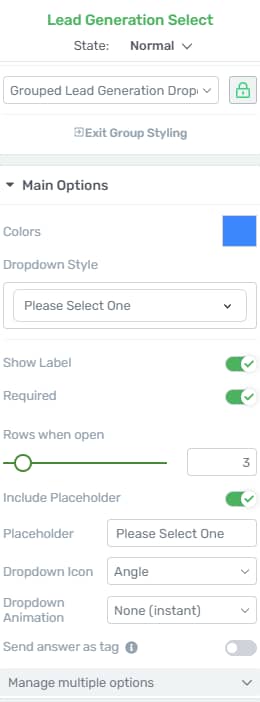
If you’re using a “Lead Generation” element on your site, you can add various custom fields to it, and customize them as you please. Check out this article to see all of the available types of custom fields, and how to set them up.
One of the available types of custom fields is the “Dropdown” one. If you want to see how to set up and customize this type of field, please see this article.
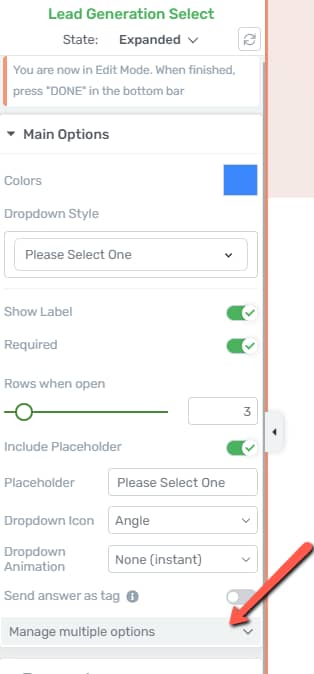
After setting up this field, you can access the “Edit Mode” of the “Lead Generation” element, and click on the field, in order to access more options for it:

The last option here is the “Manage multiple options” one. This option will come in handy in case you want to add more options (items) to the dropdown field, and you do not want to add the values for each of the options, separately.
To be more clear, I will add a “Dropdown” field to a “Lead Generation” element, and I want my users to be able to open the dropdown and select a country. For each country, I want to have a different value.
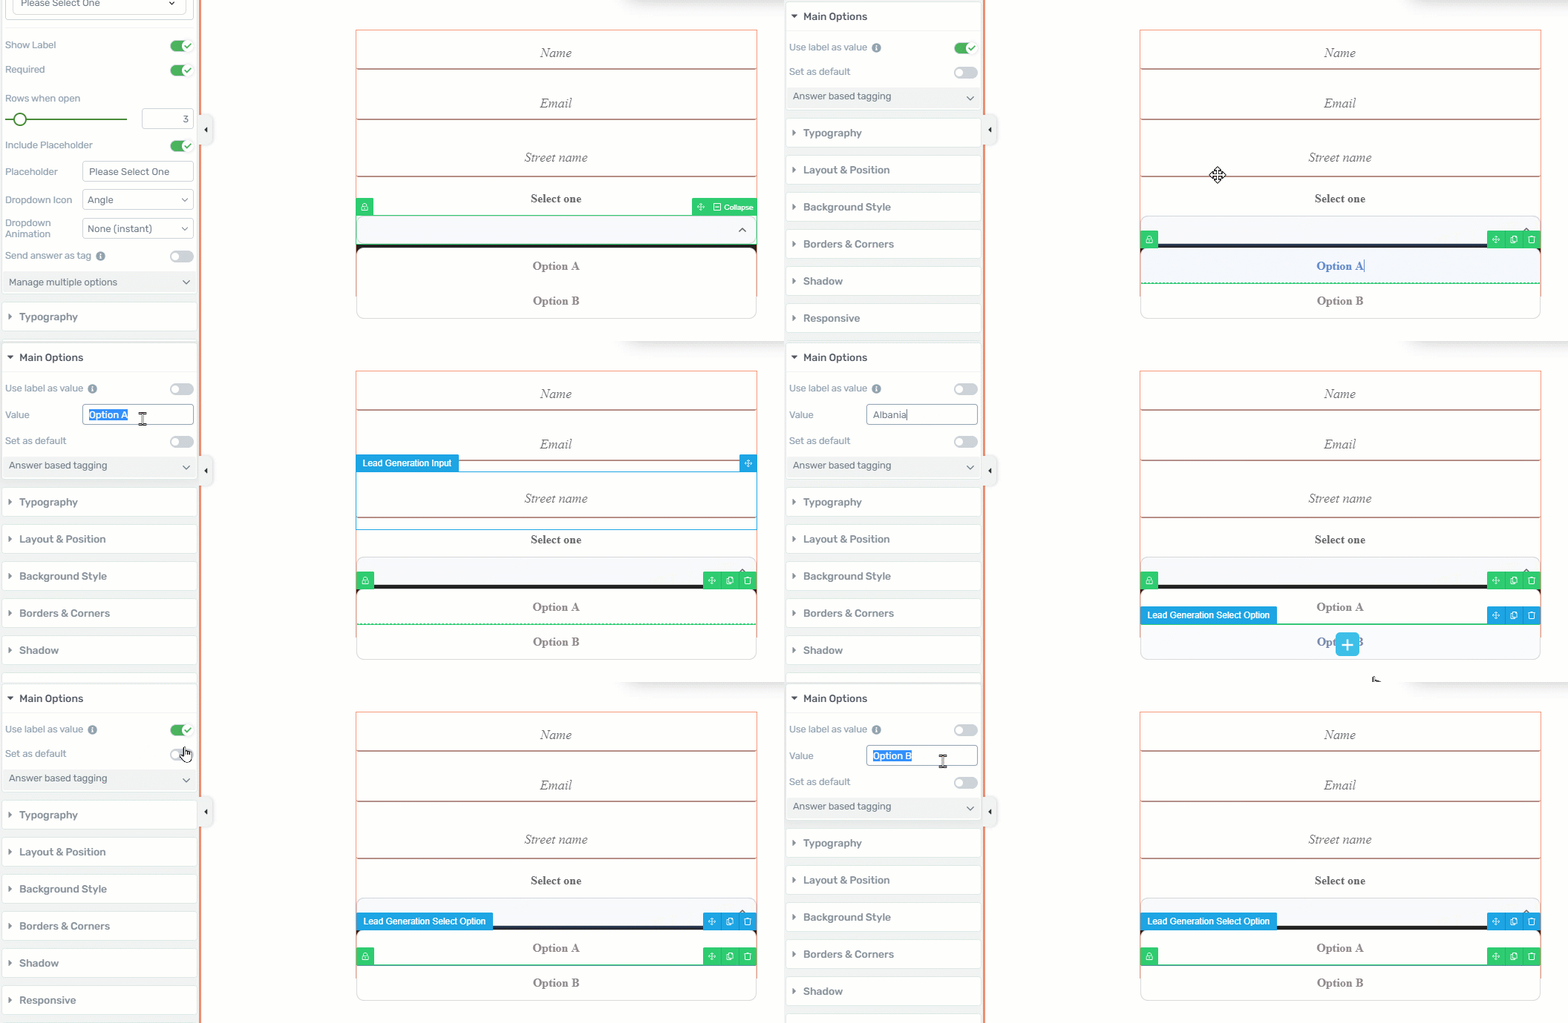
For that, I would have to click on each option, separately, and add the desired value, as shown here:

This can be very easily done, using the “Manage multiple options” section. Click on it, to expand it:

Note: Adding values to the options of the “Dropdown” field is an optional step. This is because, by default, if you do not provide any values for the options, the values will automatically inherit the name of the options (the labels).
For example, in this case, the value for “Albania” will be “Albania”, and the value for “Algeria” will be “Algeria”:

However, if needed, you can add a “value” along with your labels by separating them with a comma. The structure for this is Label, Value.
This means that, in the case presented in the image below, “Albania” and “Algeria” will be the labels of the options, whereas “ALB” and “ALG” are the values for each one:

Important!
Not adding values to the options is the same as adding the same values as the labels. This means that these two situations are the same:


When you’re done adding the values for all of the options, click on “Apply Changes”:

This way, when you have multiple options in the “Dropdown” field, and you want to add a different value for each of them, you will be able to do that using this option, instead of having to edit each of the options, separately.
I really hope this article was useful for you.
If you need more information about various Thrive Architect features, please check out the tutorials and articles from our knowledge base.