With the help of the “Content Locking” feature of Thrive Leads you can lock parts of your content, that can only be unlocked via optin.
So, in other words, you can use a Lead Shortcode on your page or post to hide content from your visitors, and only the ones who fill in your form will be able to access the hidden parts of your content.
Here’s a quick video tutorial on how to use the content locking feature in Thrive Leads:
This new feature can be accessed from the Thrive Leads dashboard and this article will explain step-by-step the process for achieving this.
Set up your Leads Shortcode
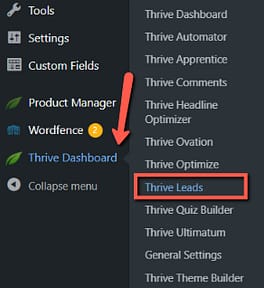
First, go to your WordPress admin dashboard, hover your mouse over the “Thrive Dashboard” and then, click on “Thrive Leads”:
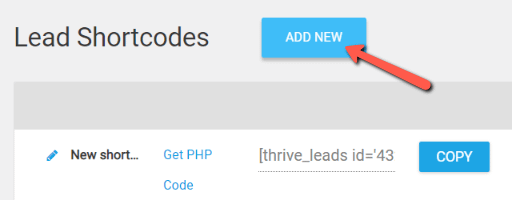
In this dashboard, scroll down until you find the Leads Shortcode section, and simply add a new shortcode:
We have some dedicated resources available in our knowledge base that explain how to do that, so make sure to check those out:
After you’ve added your shortcode, activate the toggle under the “Content locking” section:

This will change the functionality of your shortcode and the shortcode itself, and turn it into a content locking one.
Now you can go ahead and click on “Edit” :

And in this new dashboard the opens, add a form, name it, and enter once more the “Edit design” mode:

Customize your Form
This will trigger the Thrive Architect editor, alongside a template library that you can browse and pick the best template for your form:

The template is fully customizable, so you can change the currently existing text and images in order to inform your visitors that by signing up through this form they will be able to unlock the content that is currently hidden.
Below is an example of how we changed the text and image from the template, in order to convey this message to anyone who is trying to view the locked content:

Connect your Form to an Autoresponder
Lastly, make sure you connect your form to your autoresponder, through an API connection.
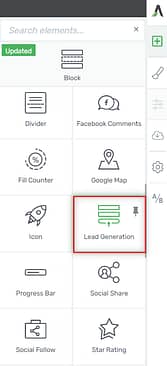
To do that, select the “Lead Generation” element from your template:
|
Note:
|
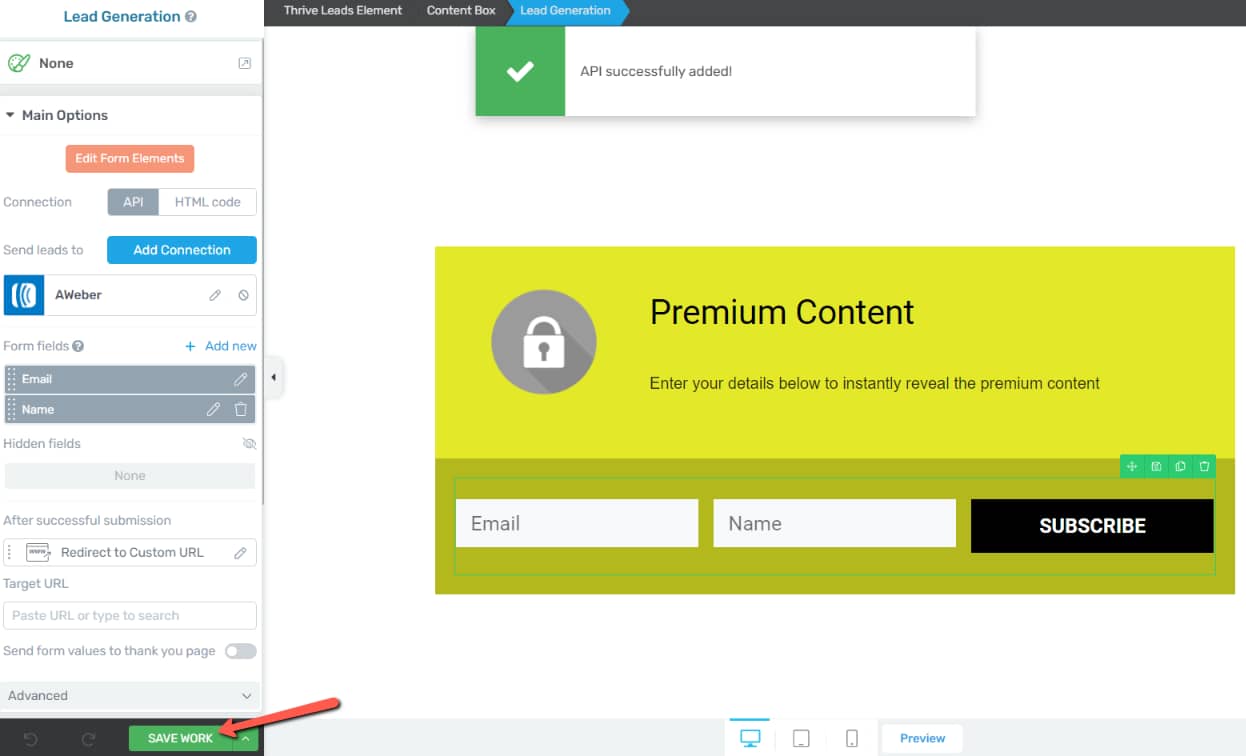
This will trigger the “Main Options” of the element in the left sidebar, which you can use to set up your API connection:
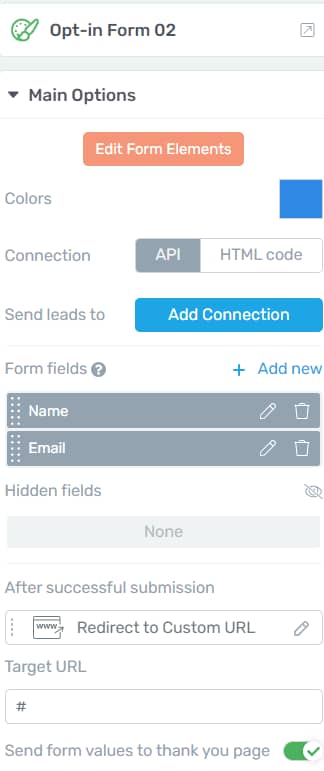
We have an entire section in our knowledge base dedicated to how to set up and use an API connection with your autoresponder, linked here.
The main purpose of this is to convert visitors into leads – basically, anyone who fills in the details in the form and submits it in order to unlock the hidden content will also be added to your mailing list of the chosen autoresponder.
When everything is set up and working properly, don’t forget to click on “Save Work”:
Next, back in your Thrive Leads dashboard, copy the shortcode of the form that you’ve just customized, as you will need it for the next step:

Lastly, there’s one more thing you can set up here, and that is the “Lock Mode”:

This is where you can set up how exactly you plan to hide your content – you can opt for hiding it entirely under your form, or you can also choose to blur it and give the visitor a hint at the content that can be unlocked:

Note: The blur filter is not supported in Internet Explorer. Low opacity will be used instead.
Add the Shortcode to your Page/Post
Now open the page or post on which you want to set up your hidden content, and drag and drop a “Text” element to it:

Paste the copied shortcode in your “Text” element:

The shortcode consists of two parts, each of them serving a very specific purpose.
You can leave the first part located between brackets (1) at the beginning of the content that needs to be hidden. The “Hidden Content” text can be removed, and then the last part (3), also located between brackets, can be cut and pasted in another “Text” element, at the end of the hidden content:

Your shortcode would look something like this:

The only thing left to do is to save your page and preview it. The page should now have a hidden section, that can only be unlocked via optin:

After the visitor fills in the form and submits it, the hidden content will automatically become available:

Reloading the page will not prompt the visitor to submit the form once more – the content will still be available.
This is how you can use the “Content Locking” feature found in Thrive Leads, to hide different parts of your content, and encourage your visitors to subscribe to your website through an opt-in form.
Don’t hesitate to check out our knowledge base if you want to find out more about Thrive Leads.