Setting a logo for your website can very easily be done when using Thrive Theme Builder.
Add the Logo
The first thing that you need to do in order to get started is to access the Thrive Theme Builder Dashboard.
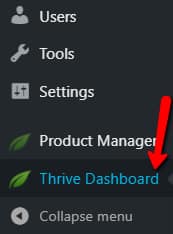
To do that, in the WordPress Admin Dashboard, hover over “Thrive Dashboard”:
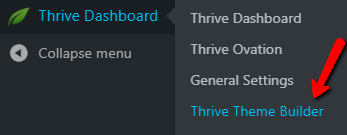
Click on “Thrive Theme Builder” from the sub menu that opens, in order to access the Thrive Theme Builder Dashboard:
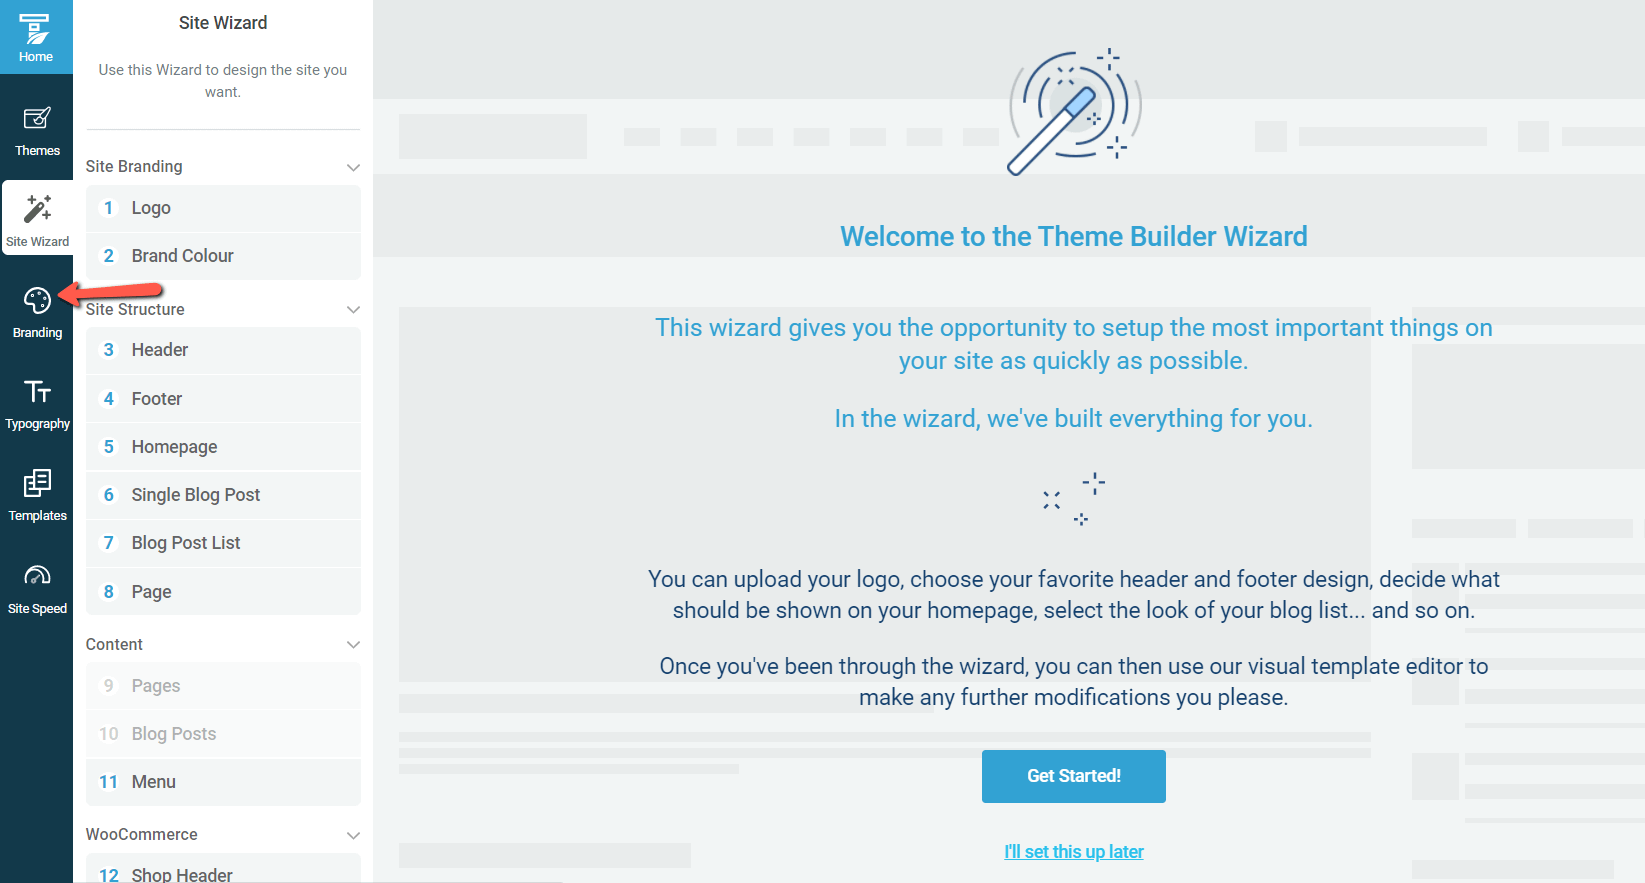
The Thrive Theme Builder Dashboard will open. Here, from the left sidebar, click on the “Branding” section:
This is where you will be able to find the branding options, such as “Theme Color”, “Logo” and “Favicon”. Click on the “Logo” section in order to expand it:

You will then be able to see all the options available for the “Logo”:

You can upload both a dark version and a light version of the logo, and later, in the templates, you can choose which one to display. Uploading two versions of the logo is completely optional.
In order to upload one or both logos, click on the images under the “Dark Version” or “Light Version” text:

A pop-up will open, where you can choose the logo from. You can either upload an image or choose one that you have previously uploaded in your media library:

Then, click on the logo in order to select it:

And then, click on the blue “Select” button from the bottom right side of the screen:

|
Note: Please keep in mind that, due to security reasons, the Scalable Vector Graphics (SVG) files are not supported when uploading your logo. |
Do the same for the other version of the logo, if you wish:

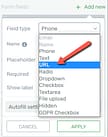
After you upload one or both versions of the logo, you can go ahead and establish the URL of the website that the logo links to (usually the homepage). Simply insert the URL into the field below the “Logo links to” option:
After you’ve inserted the link, click on “Save URL”:
You will then be shown a success message, like this:

After this, you are all set to use the logo on your templates.
Use the Logo on the Templates
After the logo has been set, you can open a template, edit it, and use the logo. In order to do that, in the Thrive Theme Builder Dashboard, go to “Templates”:

This will open a page with all of your templates. Select the template that you want to insert the logo into, hover over it and click on “Edit”:
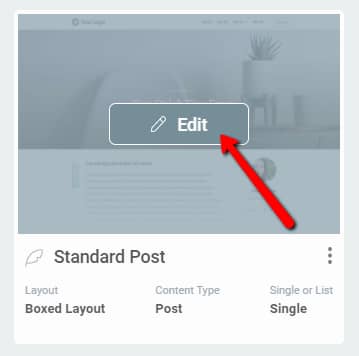
This will open the Thrive Theme Builder editor, and you can insert the logo.
As an example, I will insert the dark version of the logo into the “Header” section of the template, and the light version into the “Footer” section of my template.
Once the editor has been accessed, I will click on the “Header” section, in the “Main Options” section of the left sidebar:

Then, I will click on “Edit”, so that I can add a new element into the section. You can not add elements in the section unless you access the “Edit Mode”. You can find out more information about this in the article about this section.

After you have entered the “Edit Mode”, go to the right sidebar and click on the plus sign:
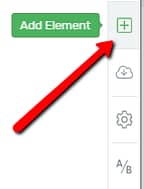
Here, look for the “Logo” element, or search for it in the search bar:

Then, drag and drop it into the “Header” section:

After you place it inside the section, the logo that you have previously uploaded will automatically be imported.
The “Logo” element options will appear in the left sidebar. Amongst these, the logo variations can be found (Dark/Light).
This means that, if you’ve uploaded both versions of the logo in the Thrive Theme Builder Dashboard, you will be able to choose which one to use from here:

Moreover, you can add a new logo variation, or change the URL that you have previously inserted. For more information about how to use these options, make sure to read this article.
Moving on to the “Footer” section, the steps are similar. I will choose “Footer” from the “Main Options”, in the left sidebar:

Then, I will click on “Edit”, so that I can add the “Logo” element to the “Footer” section. If this is not clear enough, or you’re not sure what the “Edit Mode” is, make sure to check out this article, which goes in more detail about how to use the “Footer” section.

I will drag and drop the “Logo” element into the “Footer” section, just like in the case above:

The only modification I will make is to select the “Light” logo version, from the left sidebar:

This is how the final footer will look like:

Depending on the aspect you want your website to have, you can add more variations to the logo.
This concludes the article about how to set the logo on your website, and how to insert it on various templates, as well.
If you need to find out more information about Thrive Theme Builder features or elements, make sure to check out the Thrive Theme Builder section from our knowledge base.
I hope this article was useful for you. If so, make sure to rate it with a smile below 🙂