The “Table of Contents” element is used to display a kind of summary of your page, in a structured way.
It shows the headings from a page, organized in a table and when the visitors click on one of the headings, they will be redirected to the part of the page where the heading can be found.
Here is how you can set up and use this element:
Add the Element to the Post/Page
In order to use the element, make sure you first add it to your page.
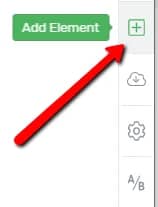
In order to do that, go ahead and click on the plus sign, from the right sidebar:
Then, in the list of elements, look for the “Table of Contents” one, or search for it in the search bar:
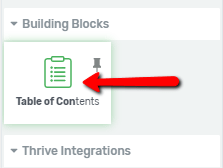
When you find it, drag and drop the element to the part of the page where you want it to be displayed:
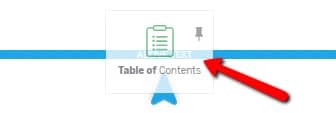
When you drop the element, a pop-up will open, from where you will choose the template of the element. Click on the one you like, and it will automatically be applied:

The “Table of Contents” element will then be added, and its options will show up in the left sidebar, and you can start using them, to customize this element:

Choose the Template
The very first section of the left sidebar is the “Template Options” one. You can change the template chosen when you’ve added the element if you want.
For that, click on the field next to the “Template” option:

This will open the pop-up with the templates again so that you can choose a new one:

Note: If you want to replace the template, make sure you do this before adding any content or customize the existing content of the “Table of Contents” element. This is because, when changing the template, all the initial content and modifications will be lost.
You can choose another template by clicking on it, and then clicking on the green “Replace Template” button:

The template will then be modified.
After that, you can move on and start customizing the element using the rest of the options from the left sidebar.
After the “Template Options” section comes the “Main Options” one. Here you can find various ways in which you can edit the design of the element.
Use the “Edit table of contents” Option
You will notice that the first option from the “Main Options” section is the “Edit table of contents” option. This can be used in order to edit each “Table of Contents” item separately, rather than the element as a whole.
If you want to edit the items of the table one by one, click on the “Edit Table of Contents” button:

Once you click on it, you will be taken into “Edit Mode”.
This means that you will be able to edit the items of the “Table of Contents” element one by one.
When you first access the “Edit Mode”, you will be able to use the options from the left sidebar, and they will apply to the entire element:

You can replace the template, just as explained above in the article, or you can use the general options from the left sidebar to customize the element.
Then, if you click on each of the items of the “Table of Contents” element, you will be able to customize them, either separately, either using Group Styling.
Edit the Heading List
If you click on any item, you will notice the “Heading List” item in the breadcrumbs:
Click on it, if you need to customize things that concern the entire list (for example, add a border, add decorations, change the layout and position, etc.).
The options of the “Heading List” will appear in the left sidebar:

For each of these options, we have created separate articles, which you can find in our knowledge base.
Edit Various Heading Levels using Group Styling
The headings are divided in levels. For example, all of the “Heading 1” elements will belong to the “Heading Level 1 “ group.
Thus, if you select a heading level from the list, all of the other headings of the same level will be selected:
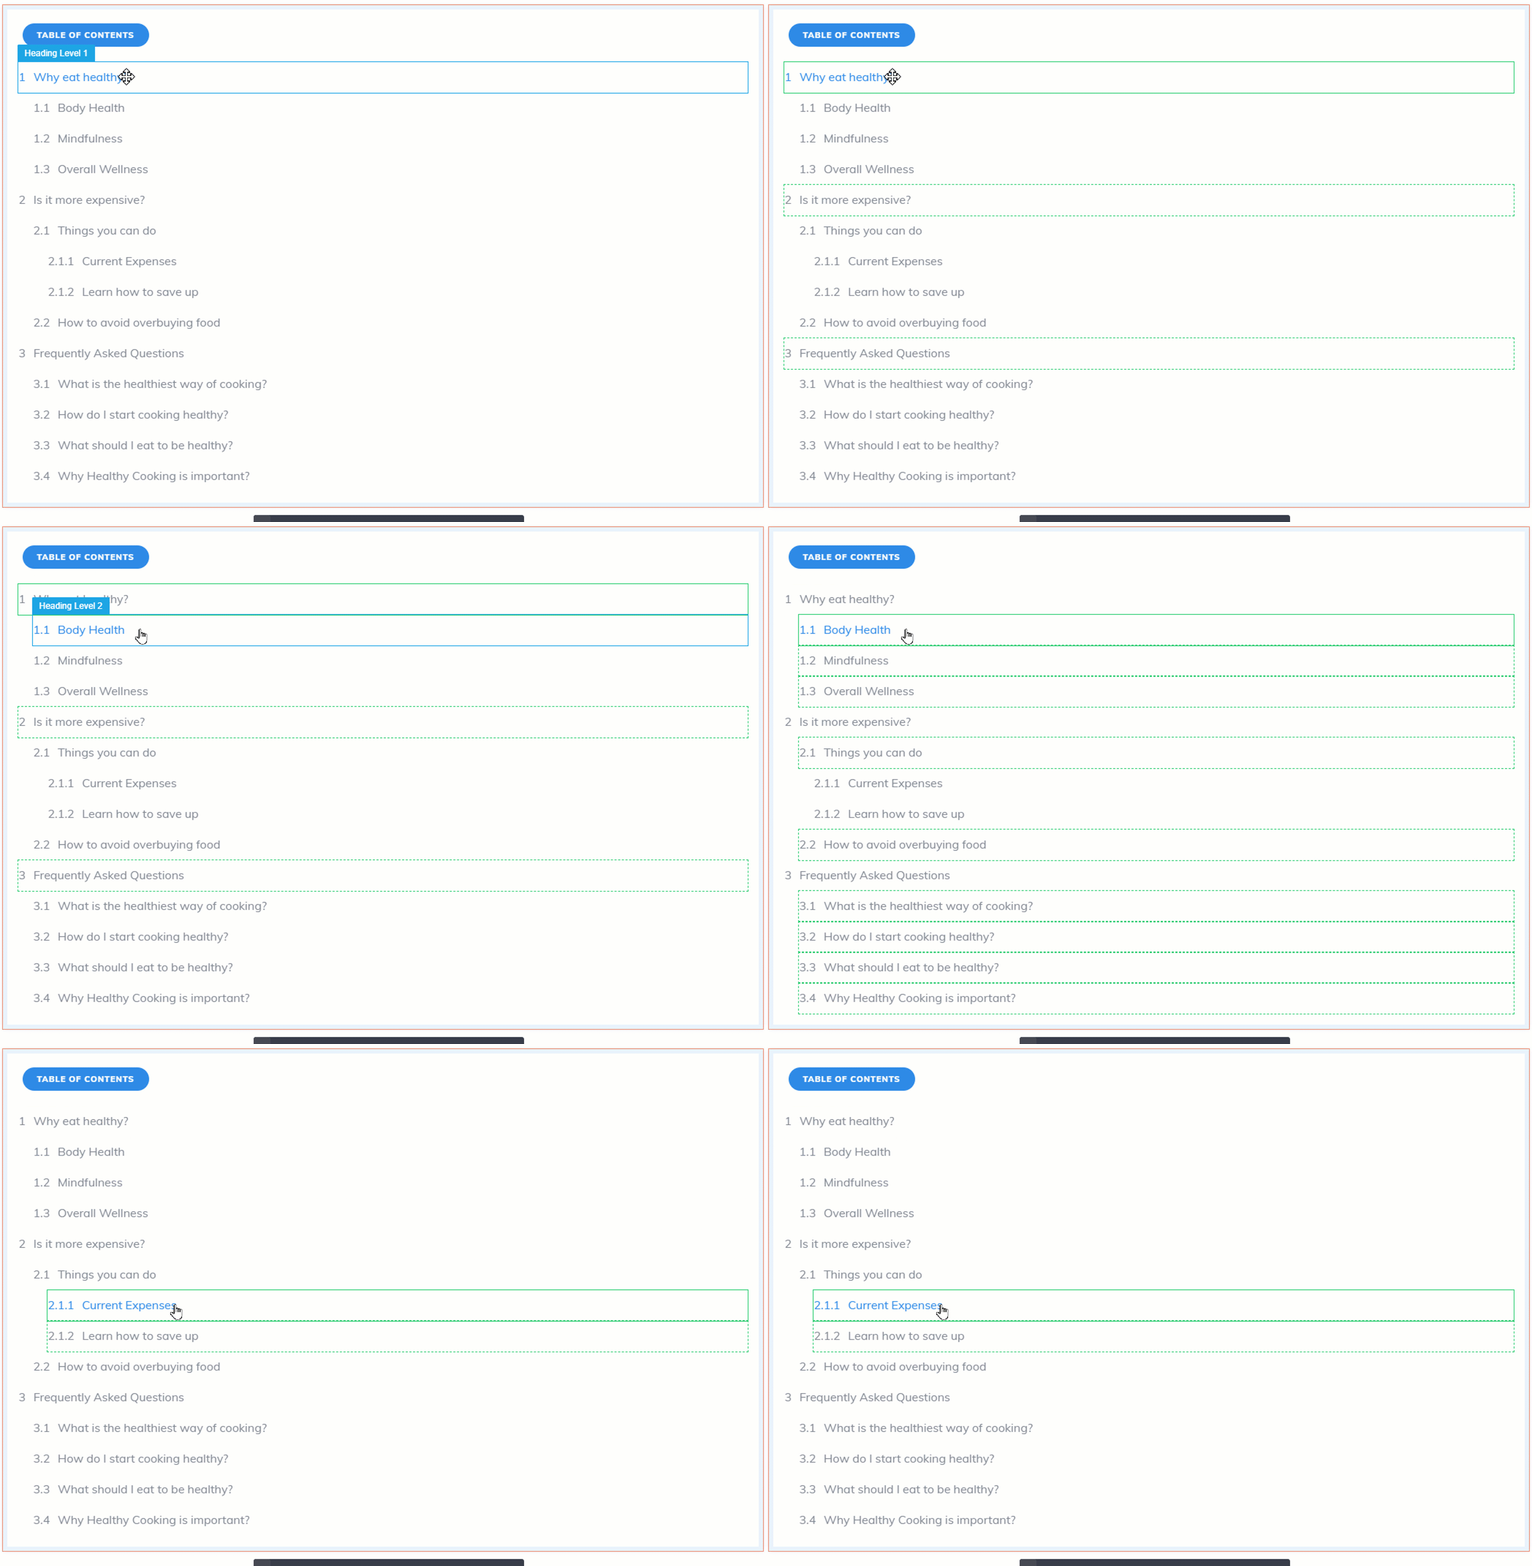
This way, when you modify something, it will be applied to all of the headings of the same level. For example, if I modify the font color while editing the “Heading Level 1”, this is the result I will get:

All of the “Heading 1” items will change their color.
Of course, if you want, you can select which level you are currently editing.
For that, feel free to use the dropdown below the “Currently Styling” option. Click on the field next to the option, to open the dropdown:

As mentioned and shown above, you can also select the “Grouped Heading Level” by clicking on one of the headings in the editor, and all of the other ones, of the same level, will be selected.
Then, from this dropdown, select the “Grouped Heading Level” that you want to edit:

When you finish customizing the different parts of the “Table of Contents” element, you can use the “Exit Group Styling” option from the “Currently Styling” section:

This will take you back to the “Main Options” of the element.
The way to exit the “Edit Mode” and save your modifications is to click on the orange “Done” button, which will take you to the “Main Options”, as well:

Learn more about the “Group Styling” feature here.
Edit the “Table of Contents” text
You are also able to edit the “Table Of Contents” text, while you are in the “Edit Mode”. This is a regular “Text” element, and you can click on it to modify and customize the text as you wish (using the left sidebar options, as well as the panel options):

Editing various states of the items
When editing each of the heading levels, you can edit them in all of the three states: “Normal”, “Hover” and “Highlight”.
To change the state that you are editing, after you select a heading level, click on “State: Normal”, from the top side of the left sidebar:

This will open a small dropdown menu, with all of the three available states:

Click on the state that you want to customize, and customize each state using the left sidebar options:

When you’re done customizing everything in the “Edit Mode”, click on the orange “Done” button, to go back to the main options of the “Table of Contents” element.
Use the Main Options
Colors
The first option, below the “Edit Table of Contents” one, is the “Colors” option. This will have a color box next to it, which you can change. If you want to do that, click on it:

This will open a color pop-up. In order to choose the desired color, either select it manually using the color picker or enter a HEX / RGB code in the dedicated field:

Moreover, you can set the opacity for the color. For that, you can either use the opacity slider, below the color slider, or you can enter a value (1-100) in the “Opacity” field.
You can also choose one of the already existing colors from the “My Colors” and “Theme Colors” sections.
After you are done, don’t forget to click on the “Apply” button to make sure all your changes have been saved.

Headings
This is a very important option for the “Table of Contents” element since here you can select which headings to be displayed and how to display them.
You will have to choose which type of heading to be shown. Simply check the boxes next to the heading types you want:

Update Table
After you make modifications to the headings, make sure to click on this “Update Table” option, for the “Table of Contents” element to update:

Columns
Next, you can change the number of columns in which the element should be divided, by selecting 1, 2 or 3 columns.
Click on the field next to the option, to open a small dropdown with all of the available options:

Then, choose the number of columns from the dropdown that opens:

Distribute Evenly
If you choose to display the content into 2 or 3 columns, then you can switch this option on, so that the items will be evenly distributed.
Here is an example of this option switched off, and then switched on, so that the items are distributed evenly:


To enable this option, click on the switch next to it:

Highlight
You can also choose to highlight some of the items of the element. Click on the field next to this option, to open the drop-down:

Then, choose the option that best fits, from the list of available ones:

Here are some examples of the three highlighting options:
-
“Current Heading”
In this case, only the current heading is highlighted:

-
“Current Section”
In this case, the current heading, as well as all of the previous headings in the current section will be highlighted:

-
“Progressive”
If you choose this, every heading up to the point where someone is reading will be highlighted:

Indent Size
The next option is called the “Indent Size”, and here is where you can choose the distance between a level of heading, and the next one.
You can do that by entering a number in the field, or by using the up and down arrows, like so:

List type
You can also choose how the headings should be listed within the “Table of Contents”. The default listing option will depend on the template that you have chosen.
Click on the field next to the option, to open a dropdown with the available listing options:
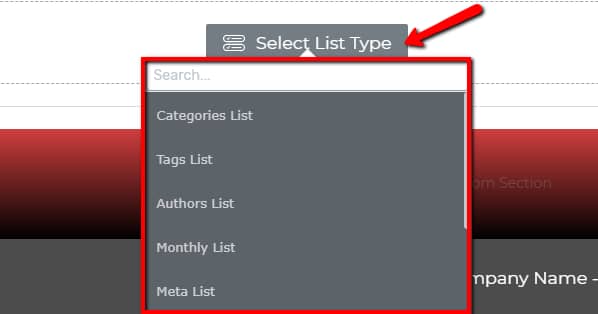
Then, choose one of the options from the dropdown:

-
“None”: the headings will appear in the “Table of Contents” listed by title:

-
“Numbered at top level”: only the top-level headings will be numbered:

-
“Numbered at all levels”: all heading levels will be numbered:

-
“Icons at top level”: the top-level headings will have an icon in front of them:

-
“Icons at all levels”: all level headings will have icons:

Allow table to be collapsed
The next option available in the left sidebar is called “Allow table to be collapsed”. By default this option is turned off:

You can activate it by clicking on the switch button:

This will automatically trigger two more customizable options: “Default State” and “Dropdown Animation”:

Default State
The “Default State” has two options you can choose from:

-
If you select the “Collapsed” option, then the “Table of Contents” will show up on your page as a collapsible element which you can expand on click:

-
If the default state is set to “Expanded”, that means that the “Table of Contents” will be displayed on the page in full size, with all the headings listed in it:

Dropdown Animation
This feature is set by default to “None”, which means that no kind of animation is applied to the “Table of Contents”:

If you click on the box next to the option name, a dropdown will appear from which you can choose the animation type you want to have applied on the “Table of Contents” when you collapse or expand it:

-
The “Slide” option will apply a slide effect to the “Table of Contents” when collapsed/expanded.
-
The “Fade” option will apply a fading effect on the “Table of Contents” when collapsed/expanded.
Selecting either of the two animation types will enable a new field called “Animation speed”, from which you can set the speed of the selected animation:

Text Size
You can quickly change the size of the “Table of Contents” text. For that, you can either use the slider below the option or enter a numerical value in the field next to the slider:

Line Spacing
If you want to modify the space above/below each of the items of this element, make sure to use this option, by grabbing the dotted lines and dragging them up and down:

Modify Headings
The last option available under the “Main Options” section is the “Modify Headings” one. Click on it in order to expand the options:

When you click on it, a small panel will open, with a list of all the existing headings. From here, you can edit each one, and even show which one to hide or show.
Edit/Rename a Heading
Next to each of the heading names, you will see a pencil icon. If you want to rename the heading, click on that icon:

Then, you can enter the new heading name in the field that appears. Click on the small check icon when you’re finished:

Hide/Show a Heading
Next to the pencil icon, there is one more option. This is called “Toggle Visibility” and it allows you to hide or show a heading, as well as the subheadings from the respective heading section.
Click on the eye icon in order to hide a heading:

As you can see, all of the subheadings of that heading section had also been hidden:

If you want to make one of these headings show, simply click on the eye icon again:

Sync
Lastly, you can also use the “Sync” option. If, after you have modified the heading names from the “Modify Headings” option, you click on the “Sync” option, the headings will go back to their names, as set in the actual paragraphs.
For example, I will change this heading from the “Modify Headings” options, from “Body Health”, to “General Health”, and save it:


The first heading from my “Table of Contents” element has now changed. Then, I will click on “Sync”:

As you can see, this heading will go back to the paragraph’s heading name:

These were all of the options from the “Main Options” section of the left sidebar.
Use the Rest of the Options
Of course, besides these, you can feel free to further customize the “Table of Contents” element with the use of the rest of the general options:

For all of these, we have separate articles, which you can find in our knowledge base. You can also find information about various Thrive Architect features and elements there.
I hope this article was useful for you. If that’s the case, make sure to leave a smile below 🙂