|
Note: Please note that the “Incoming Webhook” option has been renamed to “3rd Party Event”. Thus, the option from your Thrive Ultimatum Dashboard will differ from the one shown in the video tutorial. However, please keep in mind that its functionality remained the same. |
Thrive Ultimatum allows you to set the “Incoming Webhook” trigger type when choosing the trigger that should start your evergreen campaign.
You can read more about this trigger type and Incoming Webhooks in this article, if you need more information, or if you just want to see which autoresponders can be used while setting up this option.
This option can be used if you want to trigger a Thrive Ultimatum campaign at a very specific moment. This way, you can very easily create marketing or sales funnels. You can learn more about Incoming Webhooks here.
If you want to use this option alongside your Zapier account, you can do that, by setting up a Thrive Ultimatum campaign and then creating a new Zap.
The Zap can be customized in various ways. This flow will allow the Thrive Ultimatum evergreen campaign to be triggered at a certain, specific point.
Keep reading this article, as we’ll go through the entire process step by step, from setting up the Thrive Ultimatum campaign to creating a new zap and everything in between.
|
Example of such a setup: Your company is hiring. You’ve added a form on your site, where users can sign up and get scheduled for an interview. You want to reward the people that signed up and scheduled an interview via that form with a limited-time discount. When someone fills in the form, they can be automatically added to a Google Spreadsheet. At the same time, a webhook will be triggered, which will start a Thrive Ultimatum campaign, with a limited time offer. The users will be notified via email that they have received a limited-time promotion, which they can access by clicking a link from the email that they’ve received. |
In order to properly set up the entire flow, we will first have to create or edit a Thrive Ultimatum campaign and make the necessary settings. Then, we can create our Zapier workflow (the Zap). Here is how to do all that:
|
Important! Keep in mind that you will need a business Zapier account in order to create such a setup. |
Set Up the Thrive Ultimatum Evergreen Campaign
You will need to create an Evergreen campaign or edit an existing one. Please follow this step-by-step article if you need help configuring an Evergreen campaign from scratch.
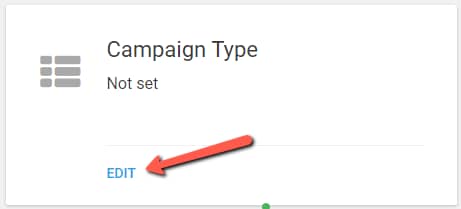
Once you have the campaign, you will have to choose its type. Click on “Edit”, to do that:
Choose the “Evergreen Campaign” type:

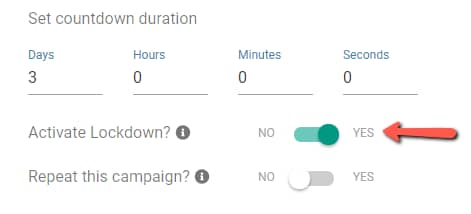
Next, set up the campaign duration, and then make sure that you switch on the “Activate Lockdown” option:
Then, you will see the three available trigger types. Click on “3rd Party Event”, to get started:

Just as the info note below the option says, using a webhook will start the campaign when an incoming webhook is received from a third party platform (an autoresponder for example).
You will have to choose the autoresponder from the next field. In this case, click on “Zapier Webhook”:

You will then be able to copy the URL of the webhook, which you will be able to see here. You will need this URL a bit later.
Make sure you save everything by clicking on the green “Save” button:

You can continue setting up the Display Options for the campaign.
Choose the Lockdown Settings
In order for the campaign to properly work, you will need to choose the Lockdown Campaign “Promotion”/”Pre-access”/”Expired” pages.
For that, click on “Edit” in the “Lockdown Campaign” card:

First of all, choose the “Pre-access” and ”Expired” pages:

If you need more information, you can read more about these pages here.
In the “Promotion Pages” section, choose the email service, in this case, we will have to select “Zapier”:

Then, add your promotion page:

Once you add the promotion page, a link will be generated right next to the field. This is the link that you will have to insert into the email that you send to your users. We will come back in a bit and copy this link.
Save everything to close this pop-up:

|
Important! Make sure that the campaign is running, and not paused.  |
The Thrive Ultimatum campaign setup is complete. We have the webhook link and the URL of the promotion page.
We can now head down to the Zapier website, log in to our account, and create a new Zap.
Create the Zap
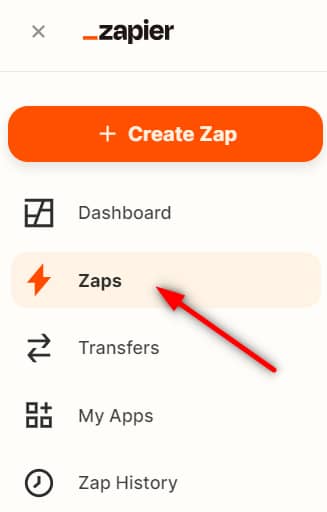
After you log into your Zapier account, go to the left sidebar of the dashboard and access the “Zaps” section (if you have already created a Zap), or simply click on “+ Create Zap”:
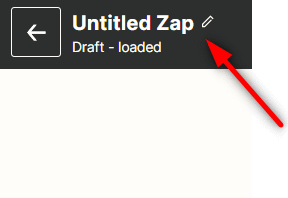
Before you begin adding a trigger or any actions, you can name the Zap, so that it will be easier for you to find it among your existing ones:
Add a Start Trigger – Form Subscription in Thrive Themes
When you first create a Zap, you will be asked to choose the trigger that will start it. In the example that I’ve proposed, the start trigger will be someone signing up using a form from my site.
Now, of course, this can be any form that I have connected to Zapier. But we’ll get to that part a bit later in this article.
- Select the app
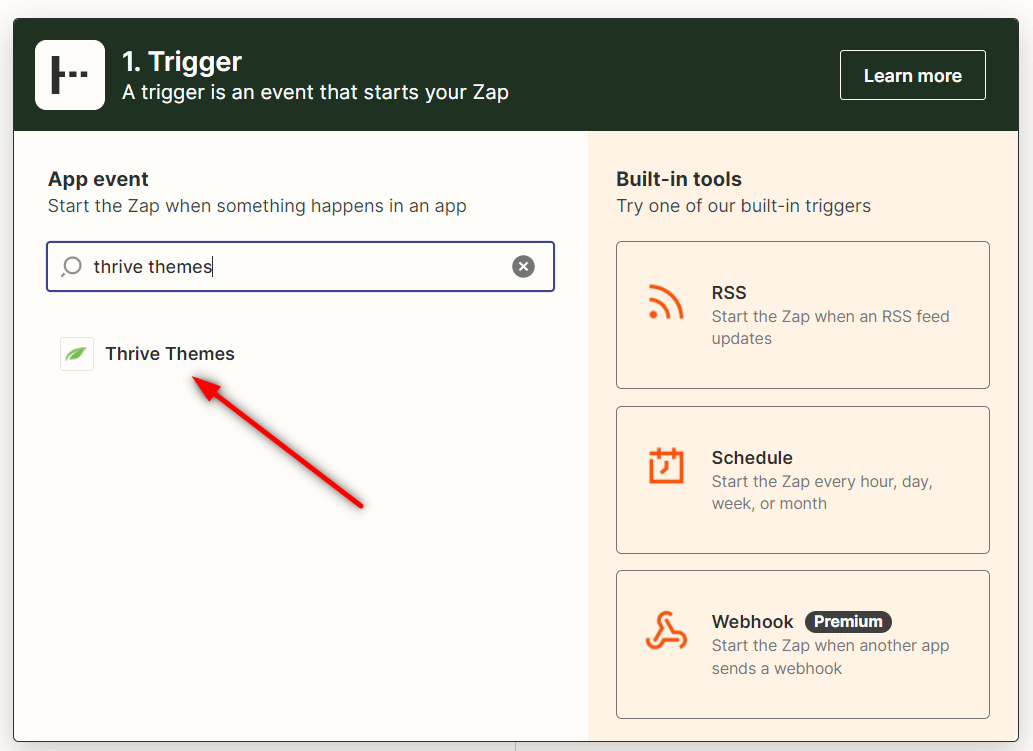
For now, we need to set the start trigger to “All Forms Subscription in Thrive Themes”. For that, in the “App Event” section, look for “Thrive Themes” and click on it, to select it:
- Choose the trigger event
After selecting the app, you’ll have to select the actual event that will trigger the Zap and start the flow. For that, click on the “Choose an event” field, and choose the suitable option. In my case, I will select “All Forms Subscription”:
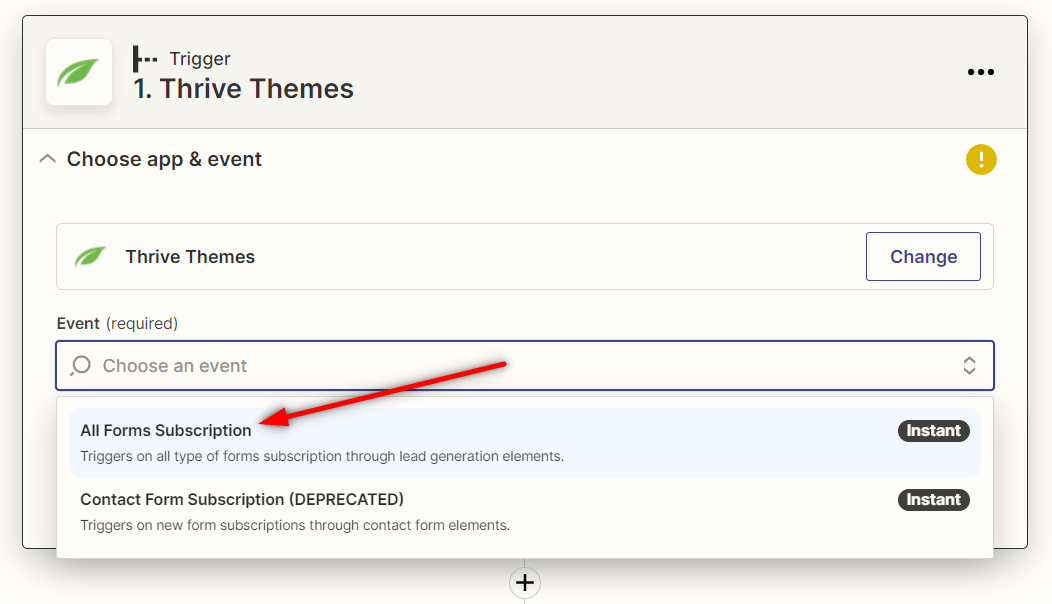
Again, this means that whoever signs up on my site, using a form that I have connected to Zapier using Thrive Architect, will start the Zap.
Click on “Continue”:

- Choose the Thrive Themes account
You will next have to choose the Thrive Themes account to be used:
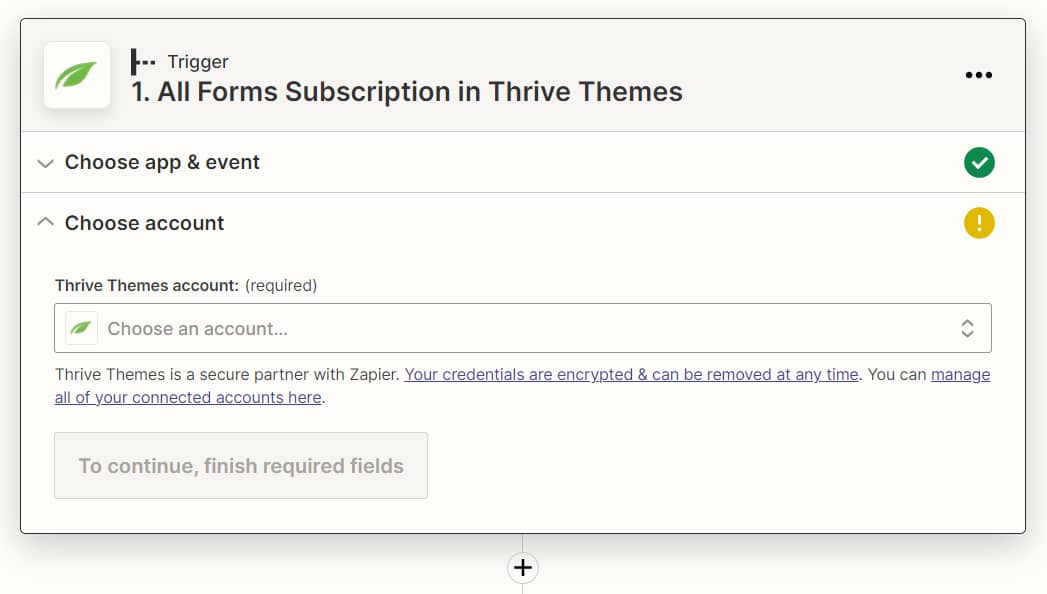
Click on the “Choose an account” field, and choose the one you want to use, in case you have added multiple ones. Click on “Continue” to move on to the next step:

You can also use the “Manage connected accounts” option to edit or add other accounts for various apps that you’re using.
- Test your trigger
At the end of each action or trigger that you add, you’ll need to test it out, in order to go to the next step. Click on “Test Trigger” to test the connection:

If the test has been completed successfully, click on “Continue” again, and you will be taken to the next step:
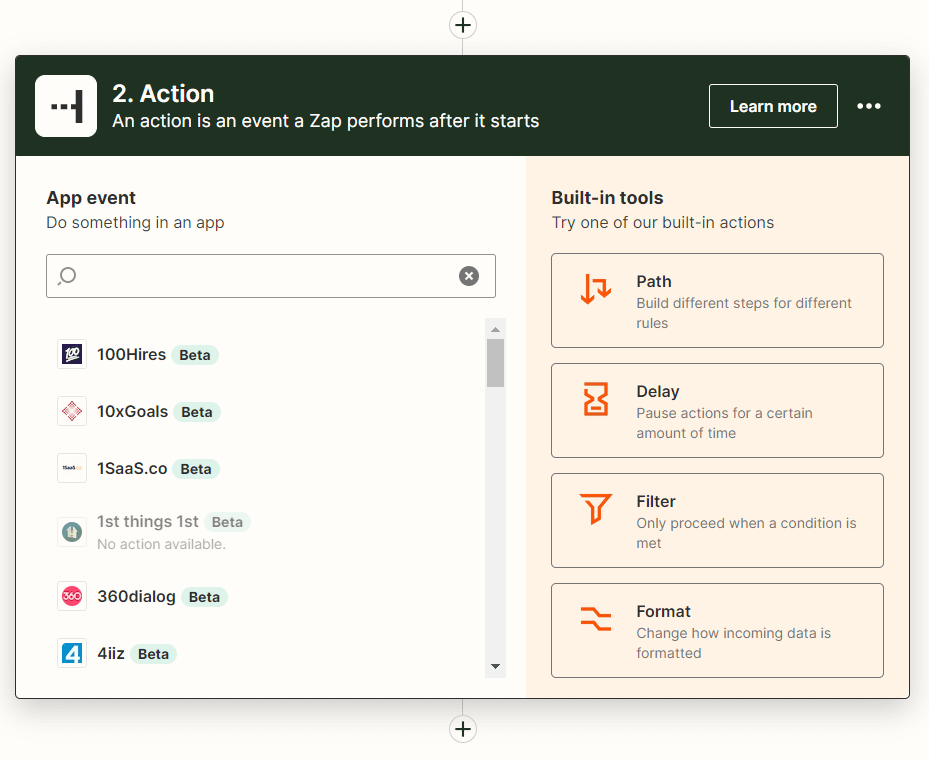
What I want to happen next is to add everyone that has signed up on my site to a Google Sheets spreadsheet. This is what I will set up next:
Add a New Action – Create Spreadsheet Row in Google Sheets
- Choose an app
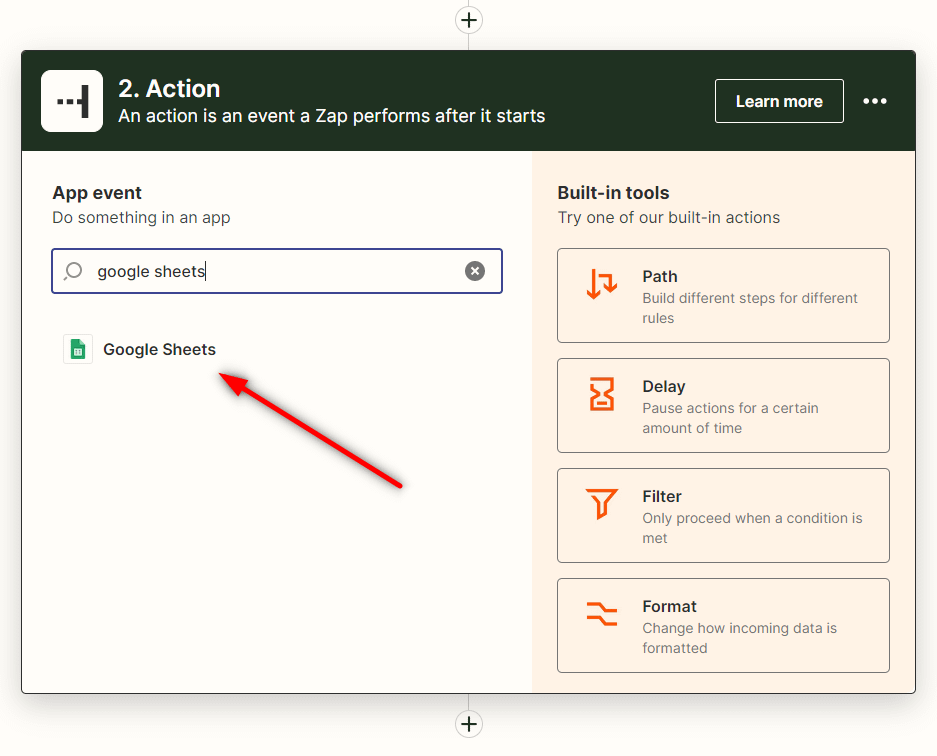
The trigger has been set. Now, let’s create the first action of the flow. Because I want to use a Google Sheets document, I will choose “Google Sheets” as the app here:
- Choose the action event
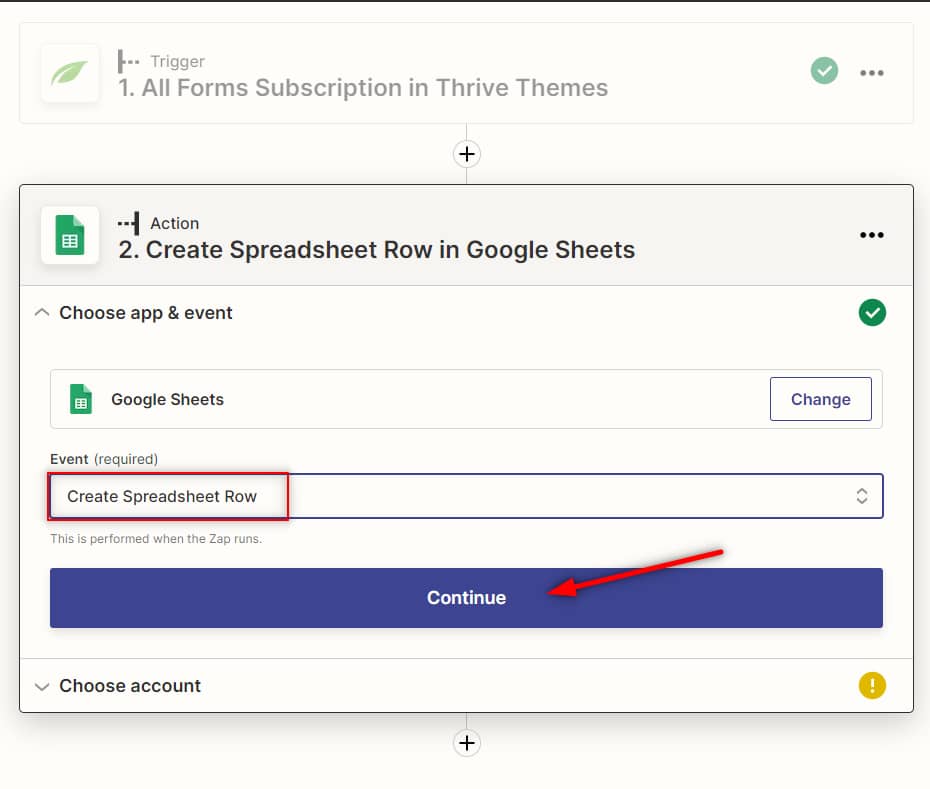
The action to be performed here, for the stated example, is to “Create Spreadsheet Row”:
- Choose your Google account
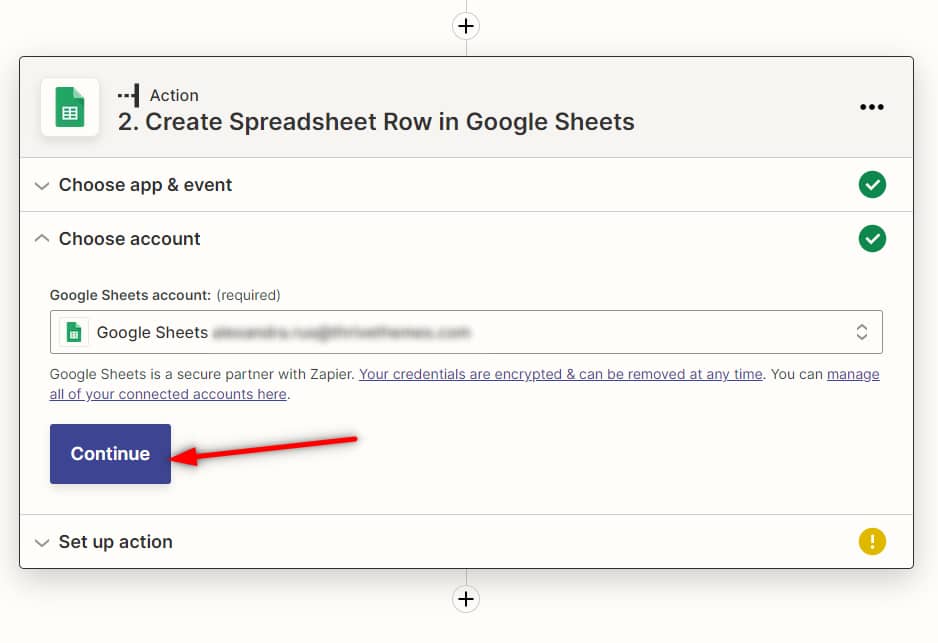
The next step is to choose the Google account, just like in the case of choosing the Thrive Themes account:
- Set up action
It’s time to choose what should happen with the new row that is going to be created, and what information should populate it.
Configure this action as you wish. Make sure that you create the Google Spreadsheet prior to this step, because you will have to choose its location next.
In the example, I said that I want a new row to be added, with the information of the applicant, so that I can later send out an email to those who signed up. This is how I will set up the action to obtain that:

- Choose the Drive where the spreadsheet is located;
- Choose the spreadsheet where you want the information to be added to;
Choose the worksheet;
- 5. 6. – These are the actual fields that you’ve created in your spreadsheet. For example, I have created three columns: “Name”, “Email” and “Details”:

Click on each of them, to select what information that the users complete in the form should populate each column.
When finished, click on “Continue”.
- Test action
Test your action, and you’ll be good to continue. Once your first action is ready, you’ll be able to turn on the Zap. We’re not ready yet, so we’ll skip this part and turn it on when we’re finished.
Now, we need to trigger the webhook. For that, we have to add another action. Click on the plus sign to do that:

Add a New Action – POST
I will now add an action that will trigger the webhook, and start the Thrive Ultimatum campaign.
- Choose an app
In the “Choose an app” field, start typing “Webhook” and choose the “Webhooks by Zapier” app:

- Choose the action event
Click on the “Choose an event” field, and from the list that opens, choose “POST”:

Click on “Continue”. Then, you will have to set up the action:

- The URL field – this is where you will have to paste the Webhook URL generated when setting up the Thrive Ultimatum evergreen campaign;
- Payload Type – choose “Form”;
- Data – in the first field, type in “email“;
In the field next to that, choose the “email” field, from the Thrive Themes form:

You can also use the other options, if you wish, but for this example, that was all that had to be set. Click on “Continue”.
- Test the action
As a final step, test this setup, as well, and let’s move on to the last action.
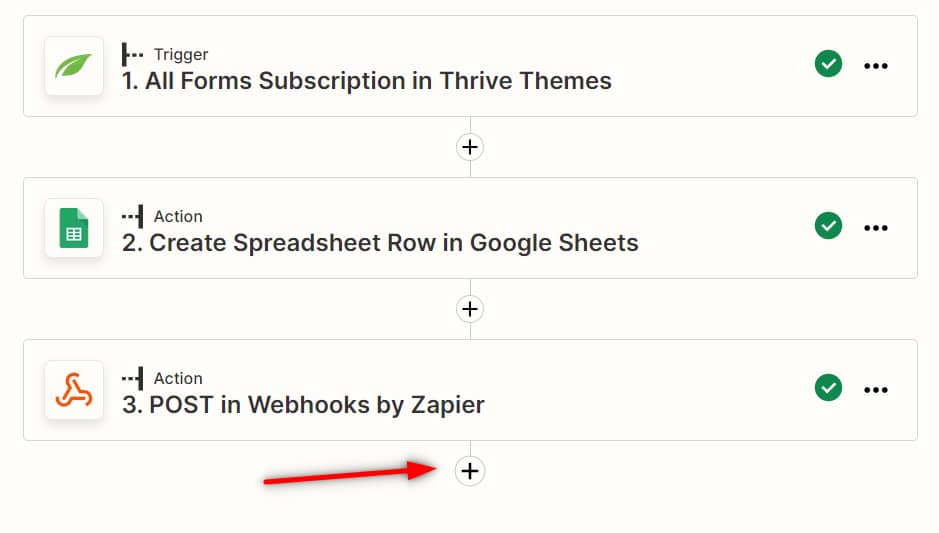
Click on the plus sign:
Add a New Action – Send Outbound Email
So far, when an applicant signs up on a form from my site, their information will be added to my spreadsheet. The webhook will be triggered, and the Thrive Ultimatum campaign will start.
|
Note: If you want, you can also add delays. For example, you can add a delay between the second and third actions, so that the webhook will be triggered only a few days after the person fills in the form.  |
What should happen next would be to send an email to the emails taken from the spreadsheet. For that, we need to set up the next and final action.
- Choose an app
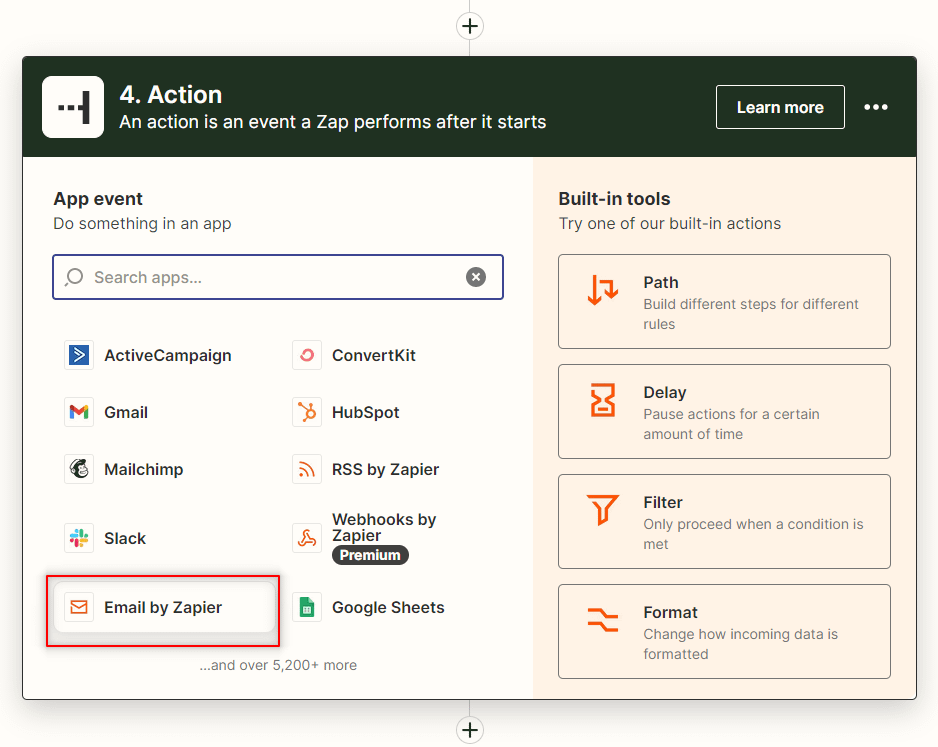
In the “App event” section, type in “Email” and choose the “Email by Zapier” app:
- Choose an event
In the “Action event” field, choose the “Send Outbound Email” option:
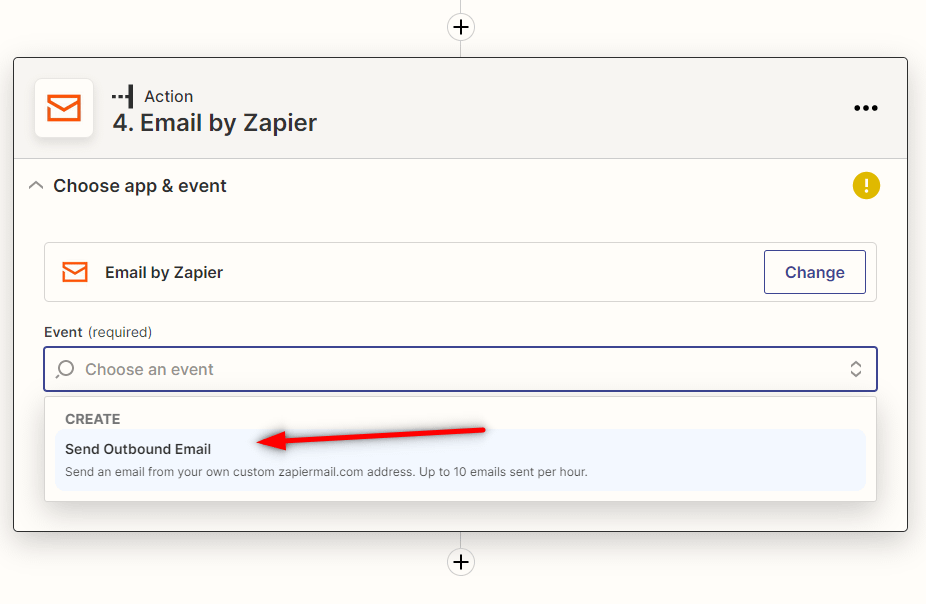
Click on “Continue”.
- Set up the action
You will now have to set up the email to be sent. For example, in this email, I want to include the promotion page URL, generated when I have set up the Lockdown settings, earlier.
This way, the email will include a link to that promotion page, and the page will also have the Thrive Ultimatum campaign on it, so whoever opens the link will know that they have a limited time to redeem the offer.
Here is an example of a setup for this email:

- “To: ” field – choose the email field (this can be the Thrive Themes one or the Google Sheets one), in order for the email to be sent to the correct email address;
- “Subject” field – enter the subject of the email that will be sent;
- “Body” field – this is where you can write the text to appear in the email, and this is where you can also add the promotion page, as you can see in the image above.
|
Note: The promotion page can be added as a link or as a button, using basic HTML code. For example, to add the page as a hyperlink, I’ve used this structure: |
|
Important! When adding the promotion page URL, you will also have to add an “email” value at the end. The promotion page will have this structure:
Place the cursor at the end of this structure, and choose an “email” value, as shown here: 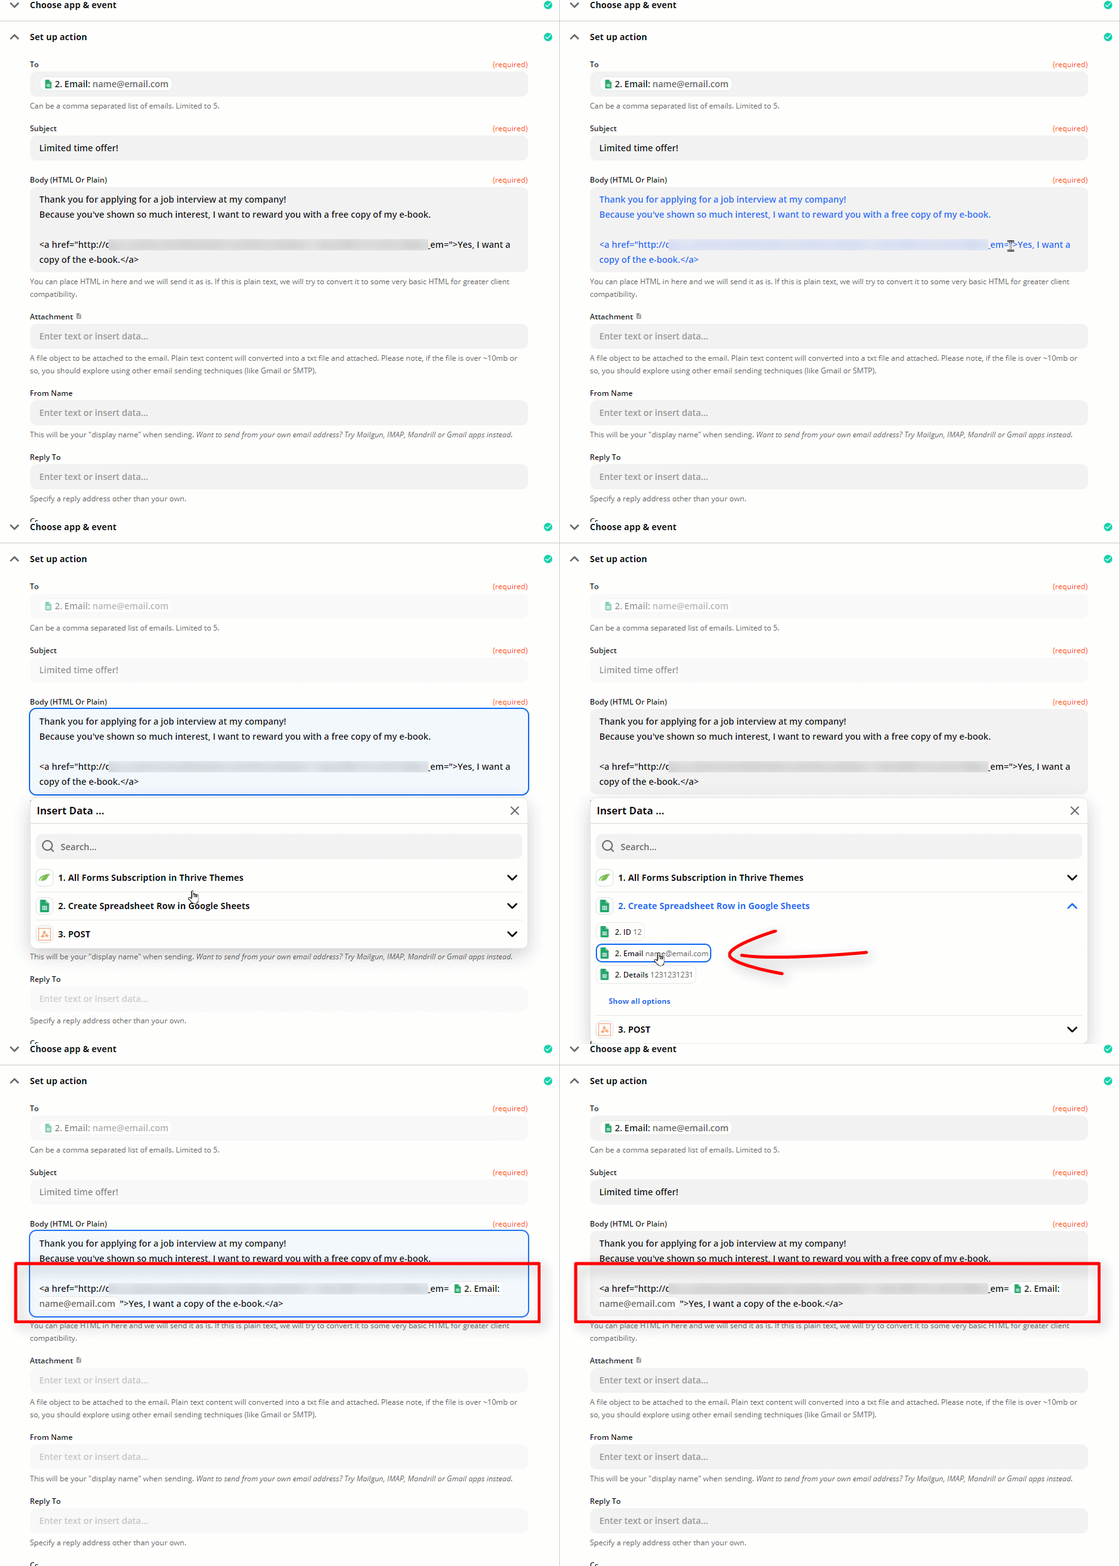 |
Click on “Continue” when you finish setting up the email.
- Test the action
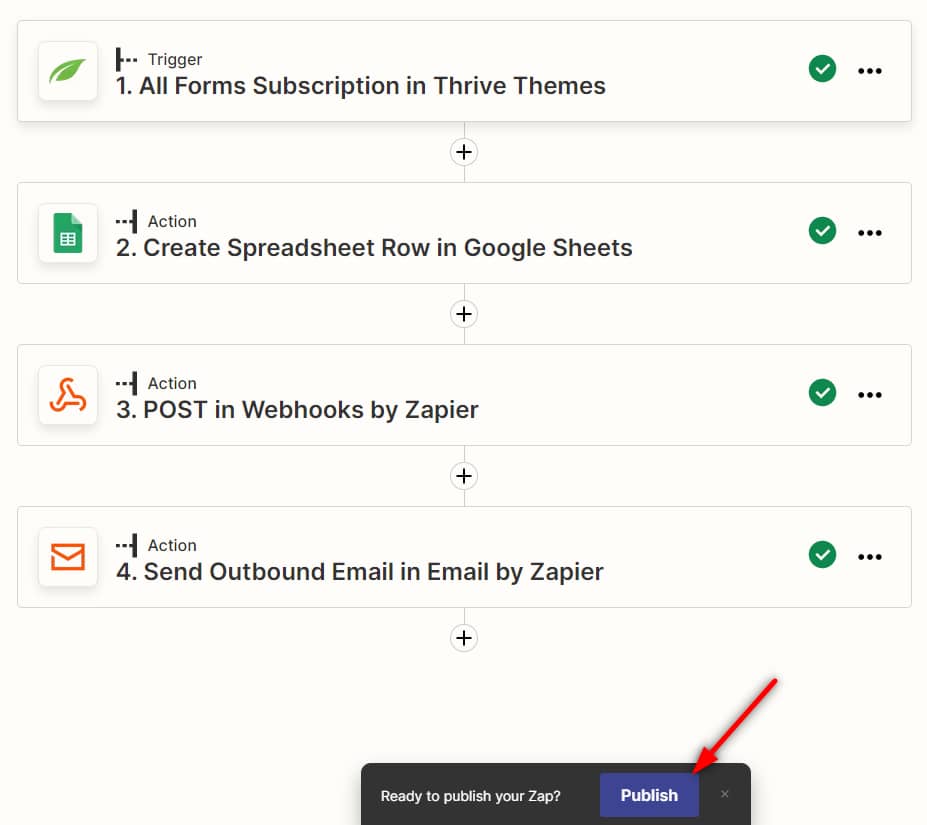
The last step is to test the action. All there’s left to do now is to publish the automation. The finished Zap should look something like this:
Create the necessary settings on your site
When someone applies to my interview using a form from my site, they start the Zap.
For this reason, we will have to make sure that the form (or forms) that we want to be used are connected to Zapier.
For that, I will now have to access my site again and open the page/post where the form is placed, and launch the Thrive Architect editor for that post/page:

Then, add a “Lead Generation” element to the page/post, if you have not already added one.
Next. configure the element and add a connection to Zapier. Optionally, you can also add the “Email Connection”, so that you will get notified each time someone fills in the form.
Connect the element to Zapier
In order to connect the element to your Zapier account, you will first have to access the API dashboard and configure the settings from there.
This article is a step-by-step tutorial on how to create this connection (including how to set up the “Lead Generation” element).

Create an “Email” connection
Optionally, you can also create an “Email” connection here, so that you get notified each time someone submits a form:

And that’s it! The setup is now complete.
Each time a person signs up using the form connected to Zapier, they will be added to my Google Spreadsheet:

After 2 days (the delay has been set for this amount of time), the webhook will be triggered, the campaign starts, and each person will get an email with the promotion page:

This is how you can set up the “Incoming Webhook” for a Thrive Ultimatum Evergreen Campaign, using Zapier and Google Sheets. Please remember that this article is showing just one example out of the many situations in which you can use this option.
I really hope this article was useful to you. If so, don’t forget to rate it, by leaving a smile below 😃