Zapier is an online tool that allows you to make a connection between various apps and services that you are using, in order to automate your work and thus, save time and effort.
Where does Thrive come in?
You can now make an API connection between your Thrive Themes account and your Zapier account. Once this is done, you will be able to integrate the “Lead Generation” elements and Contact Forms that you build with Thrive products, with the apps you have on Zapier.
- For example, if you do this, you will be able to integrate a “Lead Generation” element that you create on your website with your Slack account. This way, you will be notified on Slack whenever someone subscribes through the “Lead Generation” element.
But this is just one of the many possibilities here. It all depends on the flow you build and the apps you have in Zapier.
- Another thing you can do with this connection is to integrate the “Lead Generation” elements/Contact Forms with MailChimp or with a Google Sheet. In such cases, the information provided when someone subscribes/contacts you will be saved directly into the location you select on these platforms.
These are just a few of the use-cases when the Thrive Themes and Zapier API connection comes in handy.
Now that you have seen the ‘why’ of this API connection, take a look at the ‘how’ too below, to see how you can actually set up the Thrive Themes and Zapier connection and Integration.
Step 1. Get the API key and the Blog URL
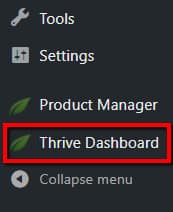
First, you will need the API key and the Blog URL from your Thrive Themes account. In order to get them, go to your WordPress admin dashboard and click on the “Thrive Dashboard” from the left sidebar to access it:
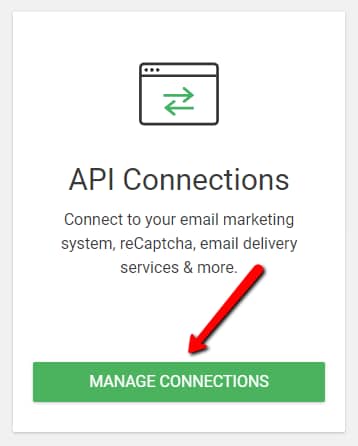
Then, look for the “API Connections” card and when you have found it, click on the “Manage Connections” button from it:
Here you will see a list of connections that you have already set up. Click on the “Add new Connection” section:

Now click on the “Select an app” field:

This will open a drop-down with the API connections that you can make. Look for “Zapier”. You can either scroll down until you see it in the drop-down, or start typing it in the field above the drop-down:

Once you have found it, click on it and the “Zapier” connection card will open. This card will contain the API key and the Blog URL that you need. Copy these two from the Zapier connection card:

After you have copied the API key and the Blog URL, click on the “Connect” button:

In a few seconds, you will see that your connection will be ready:

|
Note: In some cases, you might get an error message here, instead of the success one:  If this happens, but you’ve made sure that you’ve taken the same steps as shown in the tutorial, you can try one more thing before contacting the support team: checking your permalinks structure. We have encountered a few situations from where we’ve figured out that the WordPress Rest API doesn’t work with every permalink setting, and having those changed helped fix the issue. |
Then, continue with the next steps of the setup as shown below.
Step 2. Create a Zap & Connect it to the Thrive Themes account
Once you have the API key and the URL, log in to your Zapier account on zapier.com. After you are logged in, you can start creating a new zap.
Choose App
Clicking on the “+ Create Zap” button, will open a list with “Your Apps”. Look for “Thrive Themes”. If you do not see it in the list, just start typing it in the search bar:
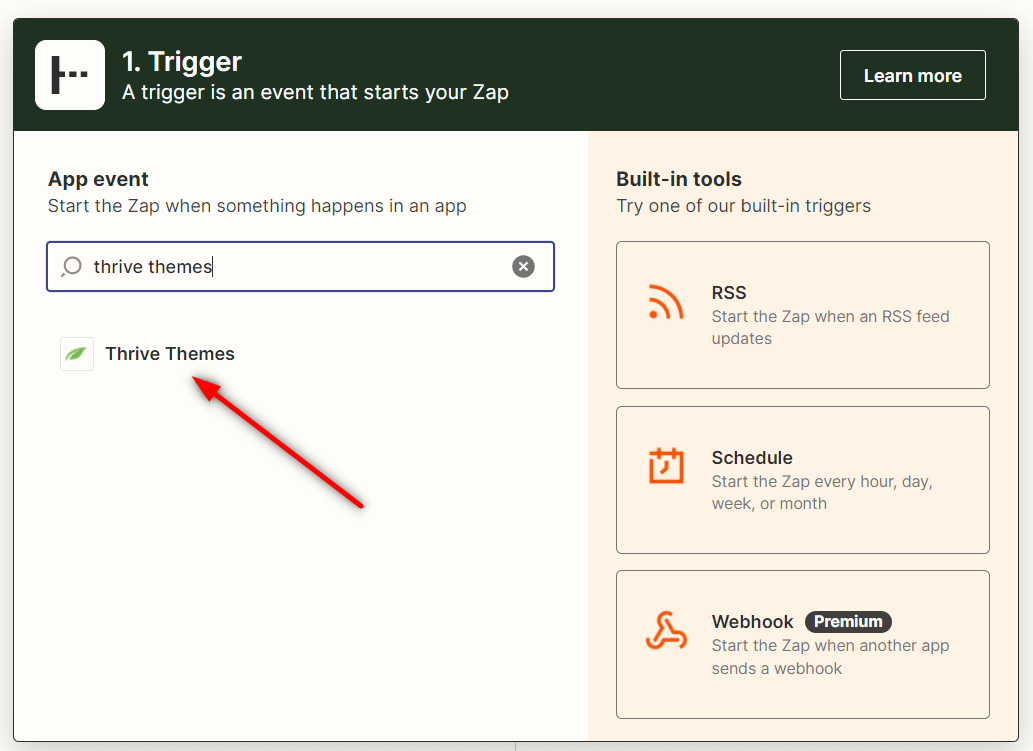
When you have found it, click on it to continue.
Choose Trigger Event
You will be forwarded to complete the other details of the zap:

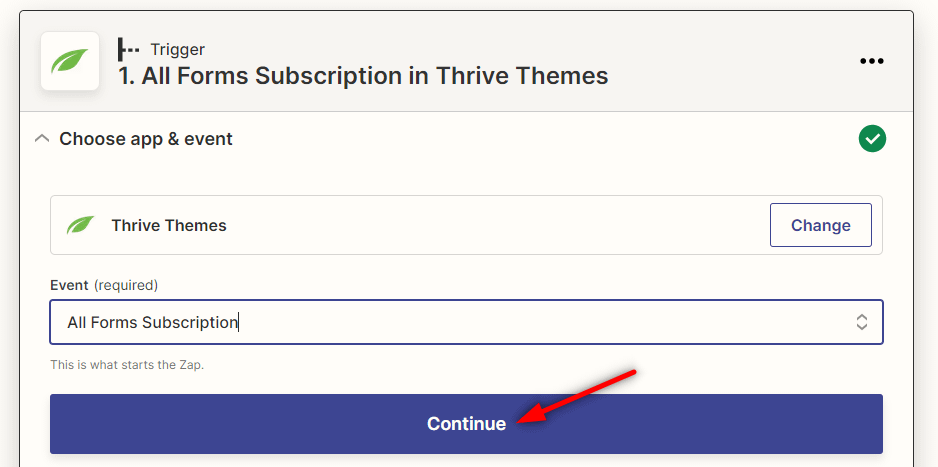
Since you have already chosen the app, the next required action is choosing a trigger event. Choose “All Forms Subscription” here.

|
Note: Since the “Contact Form Subscription” option has been deprecated, you should choose the “All Forms Subscription” option for the connection to properly work. |
After you have chosen the trigger event, the “Continue” button will appear. Click on it:
Then, you will be prompted to choose an account:

If you have previously set up your site, it will appear in this drop-down list, and you can simply select it from here:

If you have not previously set up any accounts, you can do that by clicking on “Manage connected accounts”:

This will take you to the “Apps” section of Zapier. Click on “Thrive Themes”, from the list of apps:

To configure a new website/account, click on “Connect”:

This will open a new window, where you will be required to enter the API key and the Blog URL that you have previously copied from your Thrive dashboard. Once you have done that, click on the “Yes, Continue” button from the window:

After you have done this, the API connection between your Thrive Themes and Zapier account will be ready and you can go to the next step by clicking on the “Continue” button that appeared:
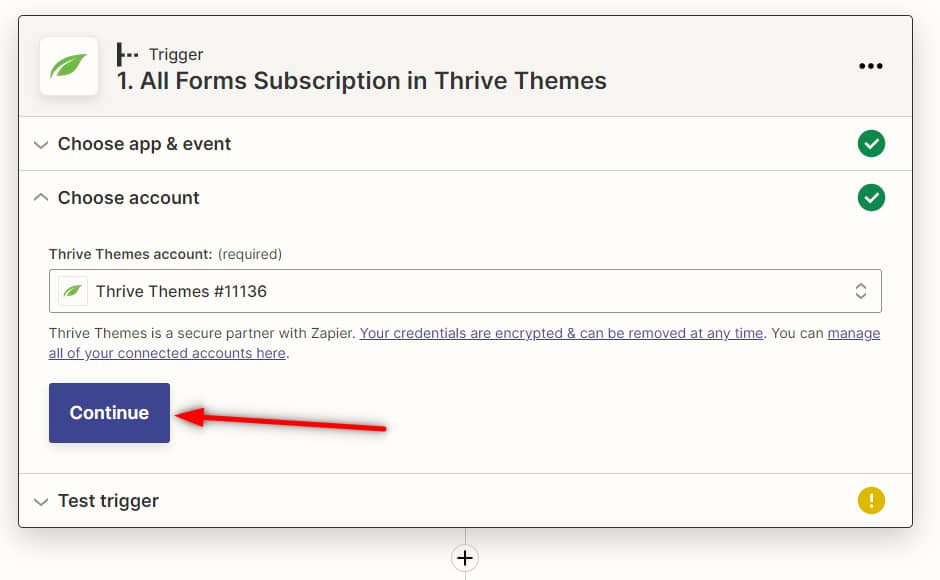
Test trigger
This is an additional step you will have to take. You can test the connection you have just made by clicking on the “Test Trigger” button:

Step 3. Set up the integration of your choice
After you have set up the connection, you will have to set up the integration part as well. This is where you choose one of your apps and integrate it with the connection you have just made.
Basically, at this step you choose where/how to be notified when someone will sign up using the “Lead Generation” element; or contact you through the “Contact Form” that you have added to your page with Thrive Products.
Choose App & Event
Once you have clicked on the “Continue” button, you will be taken to the Action step in Zapier. Here you will see a list of apps you can choose from. If you do not see the app you want to integrate with, simply start typing it in the search field.
When you find the app you want to use (either in the initial list or after searching for it), simply click on it:

Note: In this article, we will use “Slack” as an example for the app. Nevertheless, Zapier allows you to integrate your connection with many apps (such as Gmail, Trello, HubSpot, Dropbox, Intercom, Zendesk, and much more) depending on your preferences.
So, feel free to integrate the connection with whichever app you would like to, by selecting the respective app and setting up the necessary aspects for it.
After you have chosen the app, you will also have to select an event:
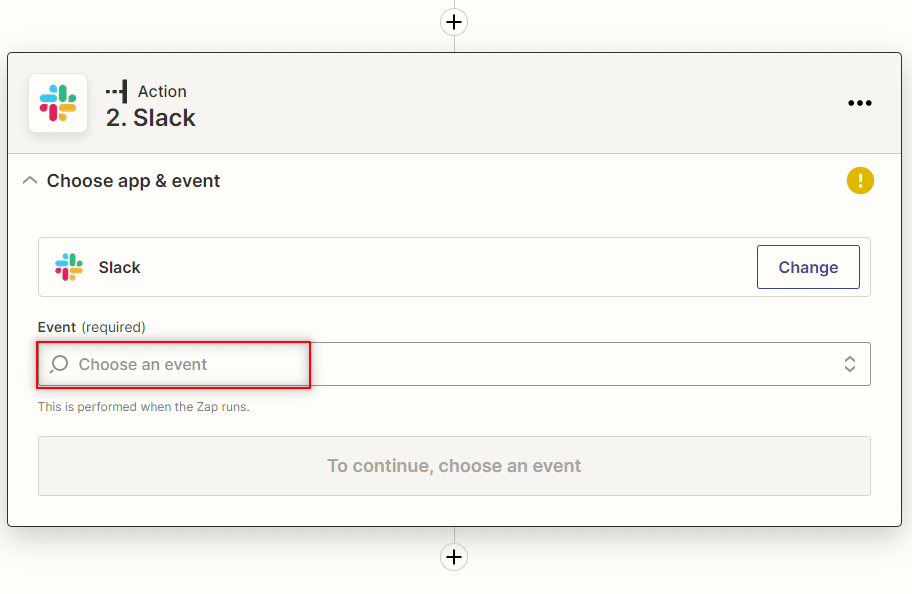
A drop-down list will open with all the possible events you can choose from. These events represent what will happen after someone subscribes/contacts you through the “Lead Generation” element or the Contact Form you have set up on your website:
You can choose to be messaged directly, to set reminders, to send messages in a channel, etc. Whatever you want to choose, just click on it and that “Action event” will happen when it is triggered (aka when someone subscribes or contacts you):
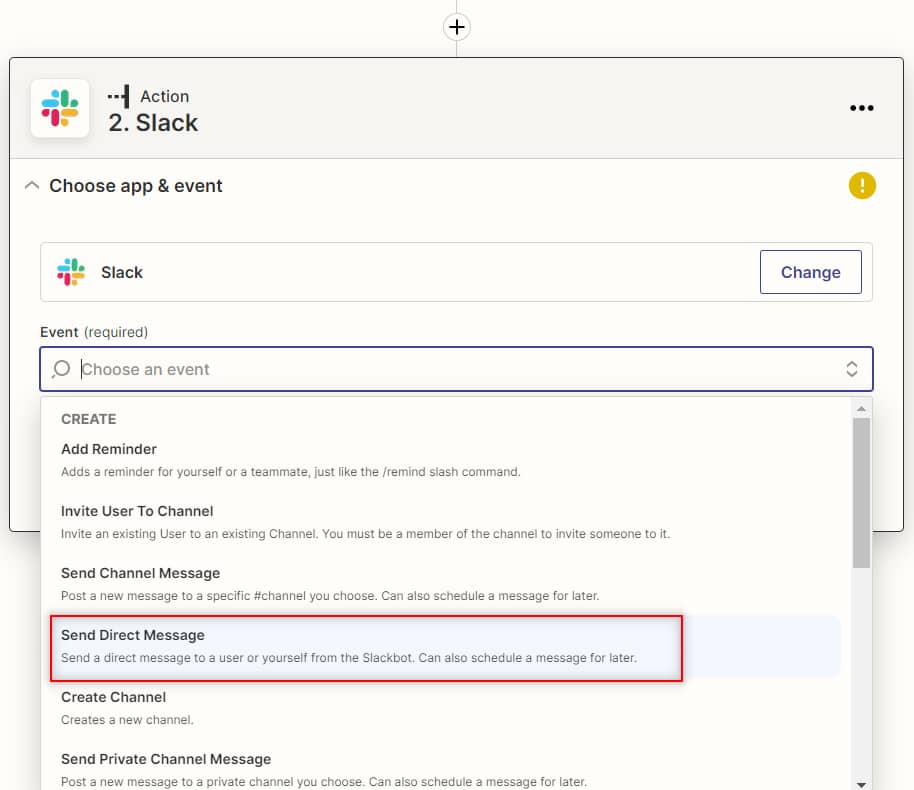
When the event is selected (in this case, sending a direct message in Slack), click on the “Continue” button.
Choose account
Then, you will have to sign in to your Slack account, if you are not signed in already:

In a new window that opened, you will have to first sign in to your Slack account and then allow Zapier to access the information needed from your Slack account.
Then you will be signed in and you can click on the “Continue” button again:

Customize Message
Next, you will have to customize the message that will be sent on Slack. There are various options/fields that you have to complete here, such as these ones:

The two most important fields, that are mandatory as well, are the “To Username” and the “Message Text” fields.
- To Username
Click on the “To Username” field to open the drop-down that contains the Slack users you can choose from. Then, simply click on the user you want Zapier to send the notification message to when someone subscribes/contacts you.
- Message Text
The “Message Text” field is important because this is where you have to set the information the message will contain along with the text of the message that will appear in Slack.
Let’s say you want the Name, Email Address, IP Address, and the Tags associated with the person who subscribes or contacts you. For each of these, you will have to enter a text and insert a separate field in the “Message Text” field.
Entering the text is simple, you just have to type in the text you want to be displayed in the message before the respective information. For instance, you can write “Email address”.
Then, if you want to insert email data, you can just click anywhere on the message text field and this drop down will show up:

Look for the “Email” field here and click on it to select it.
Once you select a field, it will automatically be inserted to the “Message Text” field after the text you have previously written.
Repeat this process until you include a text and a field for every information you wish to receive about the subscription/contact. Here is an example:

After you have finished customizing the “Message Text” field, continue with the other fields/options available for customizing your message.
When you have completed these, you can click on the “Continue” button to go on.
Send Test Message to Slack
Here you can test out how the setup works, by clicking on the “Test & Continue” button. This will automatically send a message, according to how you set it up to your Slack:
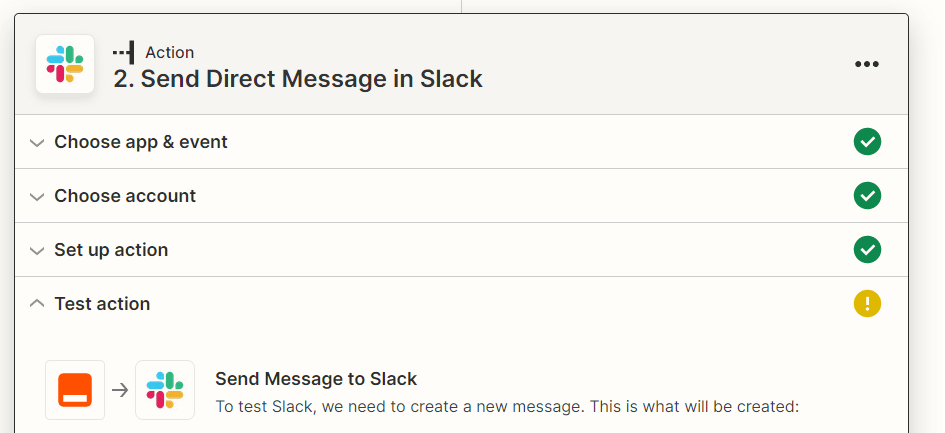
If you do not want to test the setup, you can skip this step by clicking on the “Skip Test” button.
Step 4. Finish and Publish the Zap
After you have completed the steps, all you have left to do is to publish the Zap:

How to use the Zapier connection
The next thing to do is to go back to your website and create a “Lead Generation” element or a Contact Form using your Thrive products (if you haven’t done this already) and then, connect them to Zapier.
After you have set up the connection described above, the Zapier connection will be available for the opt-in forms (Lead Generation elements, either used in Thrive Leads or Thrive Architect) and for the contact forms (set up with Thrive Architect) that you create on your website.
However, in order to use it, you will have to connect the opt-in forms/contact forms that you create on your website to the Zap(s) that you have made.
Here are the two tutorials explaining how to do this step-by-step:
Zapier PRO Accounts
If you have a Zapier PRO Account, then you can build even more complex Zaps (with paths/conditional steps) and connect them to the Thrive Themes account you have.
To find out more about this aspect of Zapier and such Zaps, please visit their knowledge base here.