In order to import content directly from Social Media to your website, you need to set up API connections between your Thrive products and the Social Media of your choice.
You can find a video tutorial below which will walk you through the entire process of setting up an API connection with Twitter:
This article will go through all the required steps for connecting to your Twitter account through an API connection.
Important!
Remember that these services are not used for lead generation or email marketing purposes. What they are used for is, for instance, setting up your Social Share Buttons, importing a Testimonial from Social Media, allow users to share your Social Share Badge, and so on.
Apply for a Twitter Developer Account
The first step in the process is applying for a Developer account.
In order to do that, you need to access the Twitter Application Management and be logged in to your Twitter account.
Then, click on the “Create an app” button, from the top right-hand side of the page:
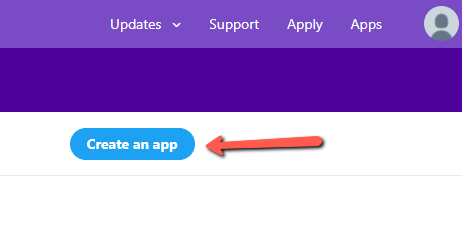
You will be notified that in order to create an app you also need a Twitter developer account, so click on “Apply” to proceed to the next step:
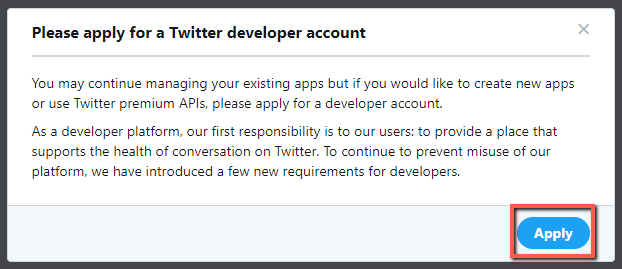
The next step in the process is deciding how you intend to use the Twitter developer platform:

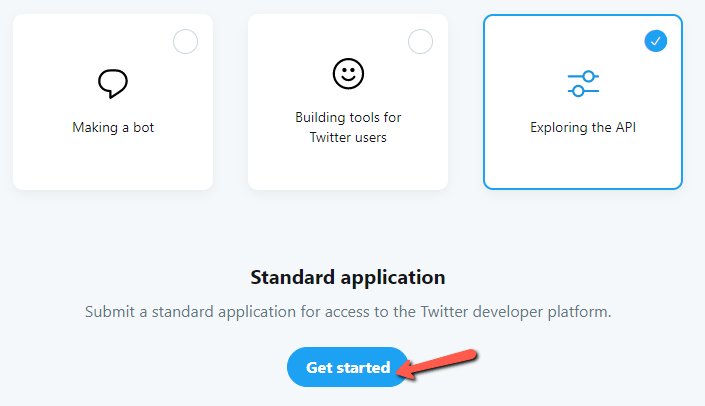
For this example, in which we are trying to set up an API connection, we have selected “Hobbyist”, which automatically triggered three additional options, out of which we have chosen “Exploring the API”:

With your selections complete, proceed to the next step by clicking on “Get started”:
You will next be prompted with a set of questions with regards to your basic info and how you intend to use the app, so make sure you fill in all the required fields and once everything is set, click on “Next”:

After you’ve filled in all the required fields, you will have to review your info:

If your details are correct, click once more on “Next”:

And lastly, the final step in the process is accepting the “Developer Agreement” terms, and clicking on “Submit application”:

Shortly after you do that, you will be notified that an email verification request has been sent to your inbox:

Check your mail and confirm it:

Create an App
With your Developer account confirmed, you will next have to proceed with creating an app.
After you confirm your email, you will be redirected to the “Developer Portal”, where, in order to start setting up your application, you’ll have to click on “+Create Project”:

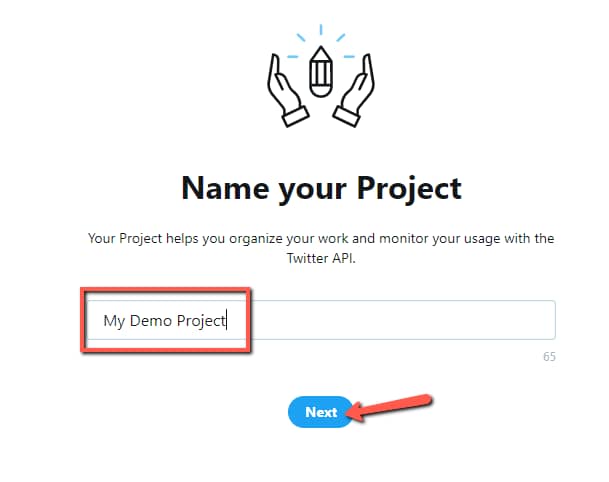
There are several steps in the process of creating the app, the first one being naming your project:
Next, you’ll have to select one of the options available in the drop-down list which describes how you intend to use the Twitter Developer platform:

The third step requires you to describe, shortly, what is your new project about:

And lastly, name your App and finalize the process by clicking on “Complete”:
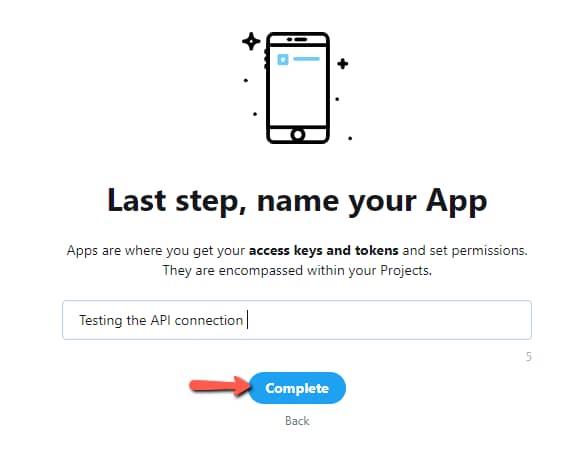
As simple as that, your App has been created, and you can now access the API tokens.
Get the Twitter API Keys
After your App has been created, your API key, API secret key, and Bearer token will be displayed on your screen.
For the API connection with Thrive Themes, you will need the API key and API secret key from here, the Bearer token is not needed.
Just as the notification says, this is the last time they are displayed, so if you want to use the currently available ones, make sure to copy them somewhere from where you can easily access them.
Besides the API key and API secret key, you will also need an Access token and secret, which you can get by clicking on the “get user tokens” hyperlink, just as shown below:

On the new page that opens click on the “key” icon, in order to view your API tokens:
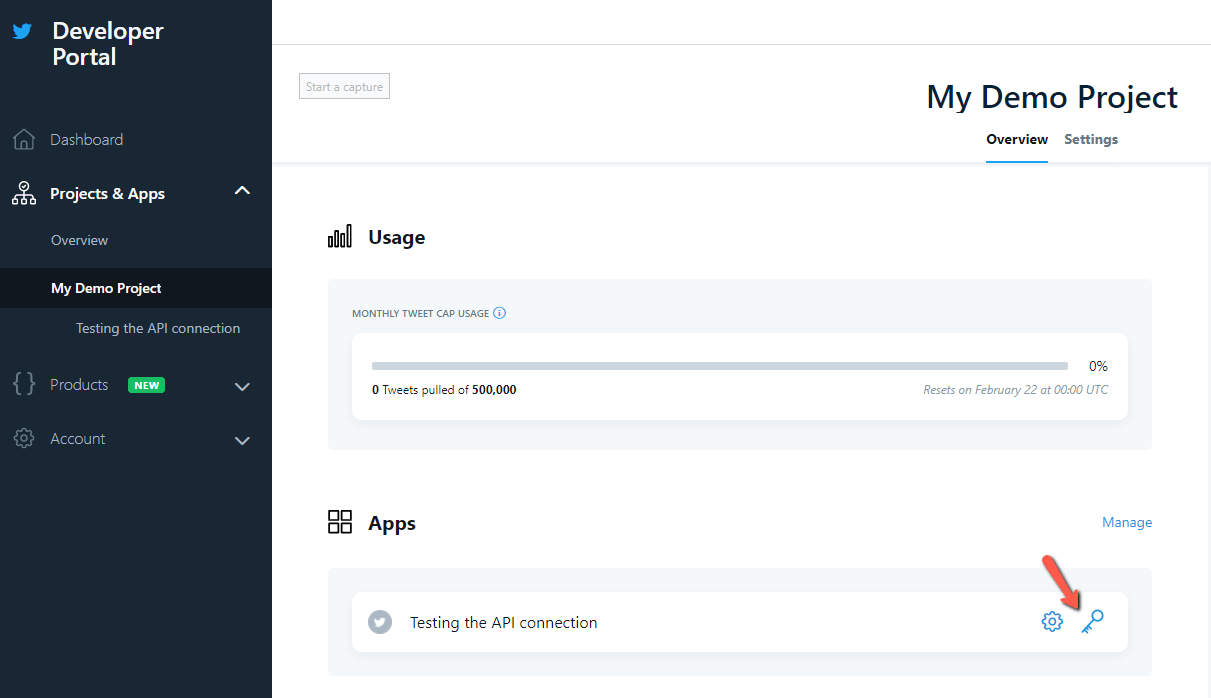
Note: you can also access this page if you select your App from the left sidebar options:

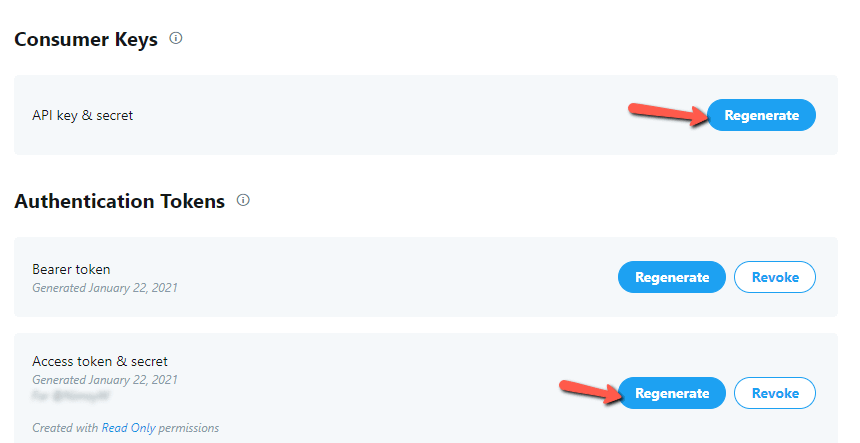
What you will need to do here is to generate the “Access token & secret”, both of them being required for the API connection:

As soon as you click on “Generate” your token and secret will be displayed, so make sure to copy these two as well somewhere you can easily access them when you are setting up the API connection:

If your tokens and keys have been lost, you can always return to your dashboard and regenerate them if needed:
Add the Keys to your Thrive Dashboard
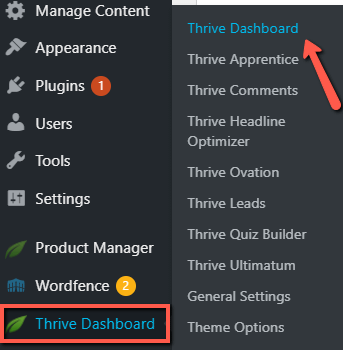
To start setting up the API connection with Thrive Themes, log into your WordPress account and go to your Thrive Dashboard:
Look for the API Connections card, and click on “Manage Connections”:
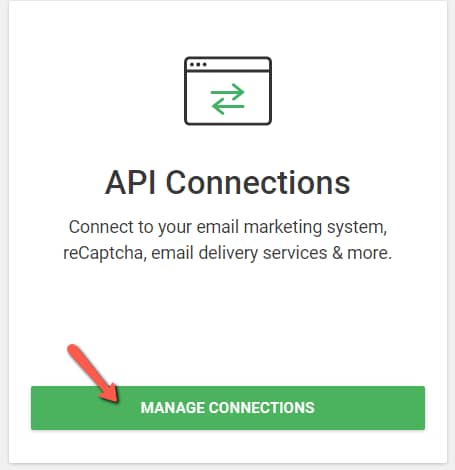
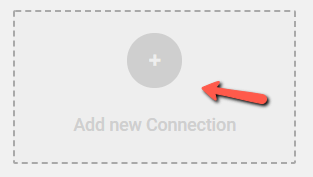
In the new window that opens, you will be able to see the already set up integrations. In order to add a new one, click on “Add new connection”:
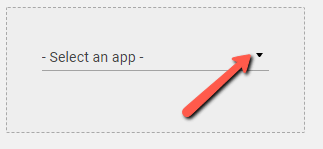
Open the drop-down list in order to view the full list of available apps:
Look for “Twitter” within the current list, either by scrolling down until you find it under the “Social” section, or type in the name in the search field:

After you select “Twitter” as your app, you will see this connection card where you have to paste in the access tokens and API details that you have generated in your Twitter Developer Portal.
Paste them in the corresponding fields, and click on “Connect”:

If your connection is successful, you’ll see this notification:
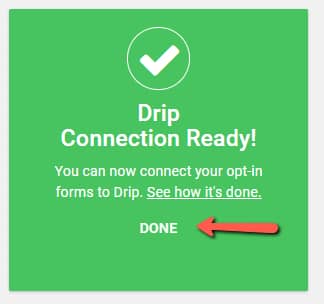
The Twitter connection card will appear in the list of integrations once you click on “Done”, and you can always return to this dashboard if you want to further test, edit or remove the connection:

Your API connection with Twitter is now set up and ready to be used in instances such as importing content directly from your social media account to your website.
You can find below several examples of when your API connection would come in handy:
- How to Use the Social Share Element
- How to Import a New Testimonial using Social Media
- How to Edit your Thrive Quiz Builder Social Share Badge
Moreover, you might also be interested in these two articles, if you want to connect more social media apps for similar purposes:
Hopefully, this article about how to get your Twitter access tokens and API keys and set up your API connection with Twitter was useful to you.