Thrive Themes products connect with Sendy through the API. Watch the video below to learn more:
This article will show you how to connect a Sendy account to your website, with the help of a “Lead Generation” element, or a Thrive Leads opt-in form.
Get the Sendy API keys
To connect to Sendy, you first need to create an account and be logged in. Then, from your account, you need to get the following API details: the “Installation URL” and the “List ID”.
As Sendy is a self-hosted newsletter application, the “Installation URL” for the API connection will be the URL of your Sendy account dashboard, so you can copy it from your address bar:

Next, you need to copy the “List ID”. In order to get it, you first have to select a brand from your Sendy dashboard:

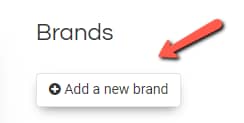
Note: If you haven’t created a brand yet, click on the “Add a new brand” button from your Sendy dashboard, and then follow the configuration steps:
In the new window that opens, click on “View all lists”:

Next, hover over the list for which you want to set up the connection, and the ID will become visible:

Add the keys to your Thrive Dashboard
In order to start using Sendy with one of your forms, you’ll first have to make sure you have created a valid connection in your Thrive API Connection dashboard.
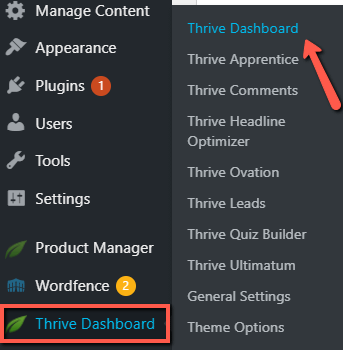
First, access the Thrive Dashboard from your WordPress admin dashboard:
Here, scroll down until you find the API Connections card, and click on “Manage Connections”:

Now click on “Add New Connection” in order to start setting up the Sendy integration:

Open the drop-down list to view the full list of available integrations. You can either scroll down and look for the Sendy field or just type in the name in the search field:

After you select Sendy from the list, you will see this card, where you can add the API details:

Paste the “Installation URL” that you’ve copied from your address bar:

Next, paste the “List ID” in the corresponding field and press “enter” in order to properly add the key:

Once done, click on “Connect”:

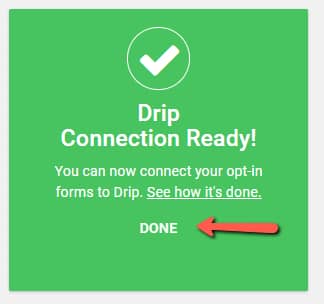
If the connection is successful, you’ll get this notification message:
Important!
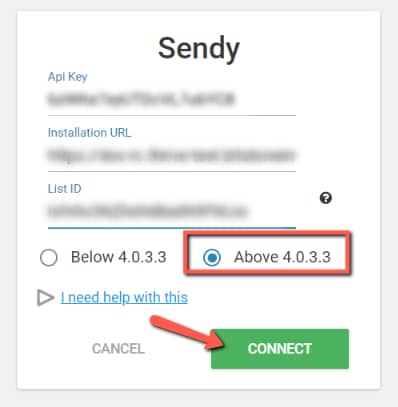
If you plan to integrate “Above 4.0.3.3”, then the process is slightly different as you will also need the API Key from your Sendy account:
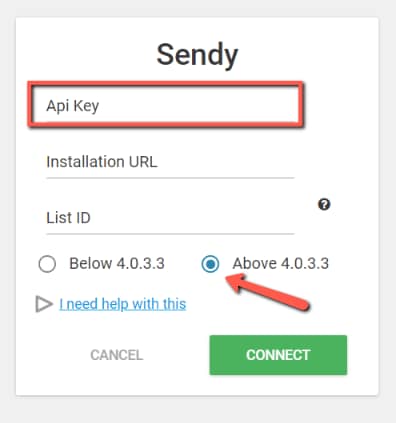
Firstly, you have to log into your Sendy account as the “Main User”. The Sendy “Main User” is the email you set when you first installed Sendy.
Next head over to the “Settings” section of your account and you will be able to copy the API key from the page that opens:
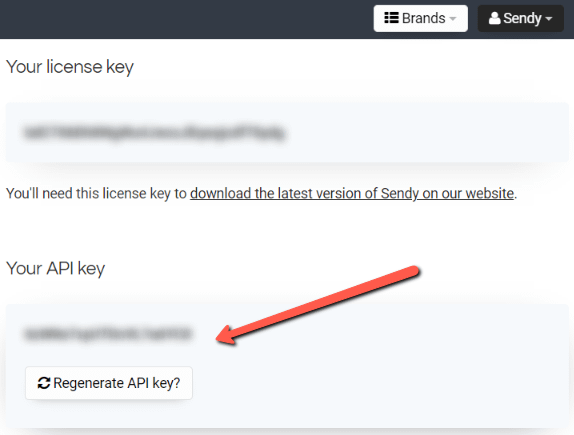
Back in the Thrive Dashboard, you can paste the required details in the API connection card, just as detailed in the steps mentioned above:
You can always return to the API Manager dashboard and (1) test, (2) edit, or (3) remove the connection:

Connecting Sendy to a “Lead Generation” element
After you have set up your API Connection with Sendy, you are ready to connect it to a “Lead Generation” element.
In order to do that, open the page or post on which you want to add the “Lead Generation” element and look for it in the right sidebar:

Drag and drop the element to your page, and select a template for it:

After you’ve done that, you will notice that the main options of the element will appear in the left sidebar:
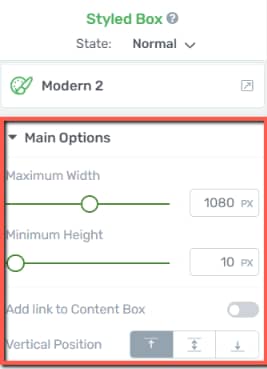
If you want to learn more about what each option does, make sure to read this dedicated article about how to use the “Lead Generation” element.
1. Add Connection
In your left sidebar options, look for the “Connection” section and make sure is set to “API”:
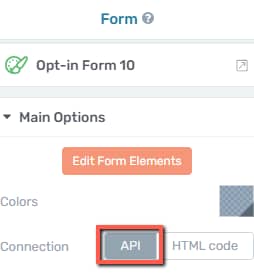
Next, click on “Add Connection”:
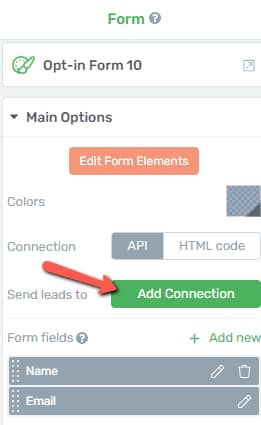
Connection
In the pop-up window that opens, click on the downwards pointing arrow to open the drop-down list, and look for the Sendy integration:

Once you select it, you will be able to proceed with the next step, which is setting up your mailing list.
Mailing List
You will notice that in the same “Connection” pop up window you can select the mailing list which you want to use for this connection:

Note: Just as detailed in the note section of the pop-up, the mailing lists from your Sendy account will not be listed here with their name.
Instead of the mailing list name, you will be able to view here the mailing list’s corresponding List ID (identical to the one you copied and pasted in the API connection card).
When you have selected both the integration service and the mailing list, you can click on “Apply” and return to the left sidebar options:

2. Set up the form fields
Now that the API was successfully created, you can start setting up the form fields:
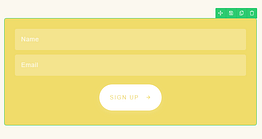
We do have a separate section dedicated to setting up these fields, so make sure to read it in the article linked here.
Save all the changes by clicking on the green “Save Work” button from the bottom left side of the screen and your API connection si ready to be used:

Connecting Sendy to Thrive Leads
As mentioned at the beginning of this article, you can also connect your Sendy account to an opt-in form from a Thrive Leads group.
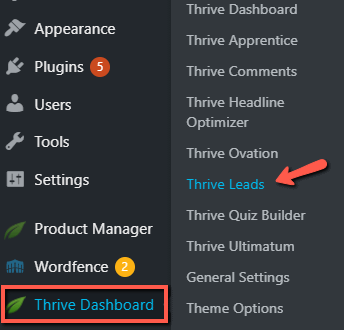
For that, you can go back to your WordPress admin dashboard, hover over Thrive Dashboard and select Thrive Leads from the sub-menu that opens:
Next, look for the lead group that has the opt-in form you want to connect and click on it to expand it:

A lead group might have more than just one opt-in form, so make sure to look for the form that you need, and once found, click on the “Edit” icon:

In the dashboard that opens, click on “Edit Design” next to the form you want to customize:

This will take you to the Thrive Architect editor, where you can select the “Lead Generation” element from the template:
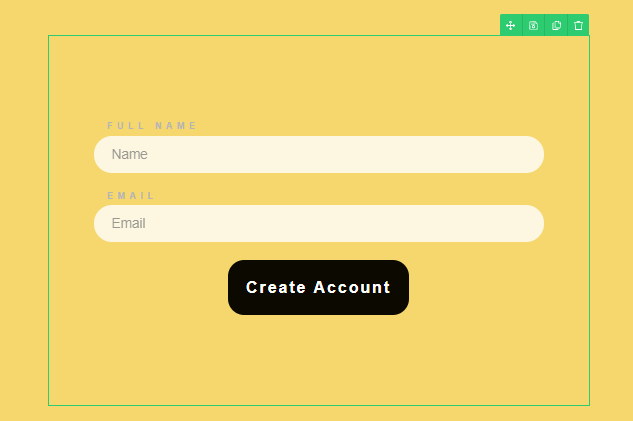
This will enable the left sidebar set of “Main Options”, allowing you to start setting up the connection:

As you can see, you can now connect your opt-in form to Sendy by following the steps described above for connecting to a “Lead Generation” element:

These are the steps for connecting your Sendy account to your site, with the help of a “Lead Generation” element or a Thrive Leads opt-in form.
If you want to read more about API Connections and how they work, make sure to check out our knowledge base articles.