Thrive Themes products connect to Postmark through their API. Follow the video below to learn how this is done:
This article will explain how to use Postmark for the Asset Delivery feature in Thrive Leads.
|
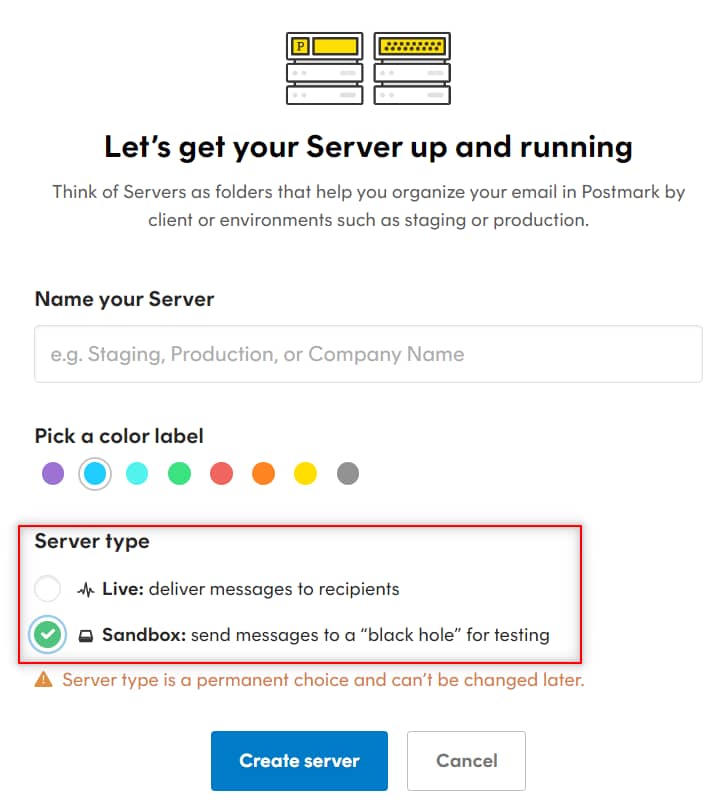
Important! Postmark uses two types of servers – “Live” server type (that will start sending your e-mails as soon as you activate it) and a “Sandbox” server type (the messages will be sent to a ‘black hole’ for testing purposes; so no actual e-mail will be sent to your contacts). So make sure to keep this in mind while setting up your connection, as you have the option of choosing the type of server you would like to create. If you want to send emails using your Postmark API connection, use the “Live” server type. The “Sandbox” server type is used for testing purposes and will not send out any emails, even when the API connection is working correctly. For this example, we will be using the “Sandbox” server type. |
Here are all the necessary steps for creating and using an API connection with Postmark:
How to set up the API connection with Postmark
Get the API keys from your Postmark account
In order to get access to your API details, you first have to log into your Postmark account. For this type of connection, you will need your account e-mail address and an API key.
The Postmark approved e-mail address is the address under which you registered for your account.
The API key, on the other hand, can be accessed after you create a server within your Postmark account.
Create a Server
After you’ve logged in to your account, click on “Create Server”:

Next, name your server and pick a color for it if you want.
Then, just as already mentioned earlier in this article, you get to pick the type of server you would like to create. If you want to send emails using your Postmark API connection, use the “Live” server type. The “Sandbox” server type is used for testing purposes and will not send out any emails, even when the API connection is working correctly:
You can read more about how to set up your server and get it approved on the Postmark Support Center page.
For this example, I’ve created a “Sandbox” type of server.
In the new window that appears on the screen, look for the “API Tokens” tab and click on it:

Here’s where you will be able to find the “Server API token”. Now simply copy it, as you will need it for the API connection in the Thrive Dashboard:

Insert the API key to your Thrive Dashboard
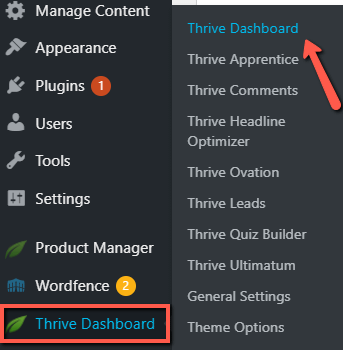
The next step of the process is setting up the connection in your Thrive Dashboard. In order to do that, go to the Thrive Dashboard section of your WordPress admin dashboard:
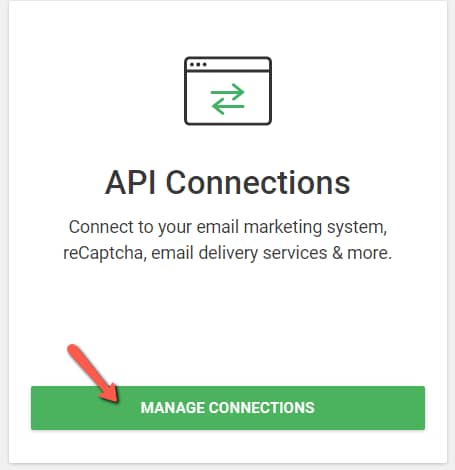
Scroll down until you see the “API Connections” card click on “Manage Connections”:
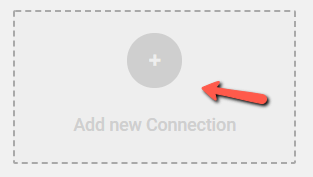
Now click on “Add New Connection” in order to start setting up the Postmark integration:
Open the drop-down list to view the full list of available services:
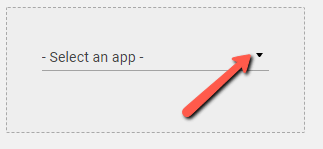
Once you find Postmark, select it:

Add all the required details (Postmark-approved email address and API key) in the corresponding fields and click on “Connect”:

If the connection was successful, you will receive this notification:
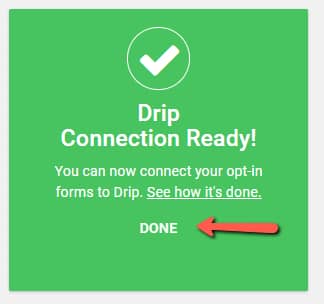
After you click on “Done”, you’ll see three additional options in your Postmark connection card, which you can use to test (1), edit (2), or remove (3) the connection:

Enable Postmark in Asset Delivery
In order to enable the service, you have to head back to your Thrive Dashboard, and look for the Thrive Leads card:

Hover over the three dots located in the upper right corner and select “Asset Delivery” from the drop-down list:

If you already have “Asset Delivery” set up, then click on the green status icon:

This will open the list of connections, where you can proceed with choosing “Postmark” as your preferred one:

We have a dedicated article that explains how to set up your “Asset Delivery” details, should you want to read about it more in-depth.
All the other connections will be automatically disabled, and your e-mails will be sent through Postmark.
These are the steps for creating a connection with Postmark.
You can read more about e-mail delivery services and supported API connections in the below-listed articles:
List of Current API Connections Supported
What Are Email Delivery Services For? (Asset Delivery Feature)
Hopefully, this article was useful to you. If so, don’t hesitate to reward it with a smile below 🙂