A frequently asked question is: does Thrive Leads support the Ontraport marketing automation system? The answer is: yes, it does! Here’s a video that walks you through the setup process:
Get the Ontraport API key
To connect to Ontraport you first need to login into your account. After you logged in, hover over your profile icon in the top right corner of the screen, and from the drop-down list that opens, select “Administration”:
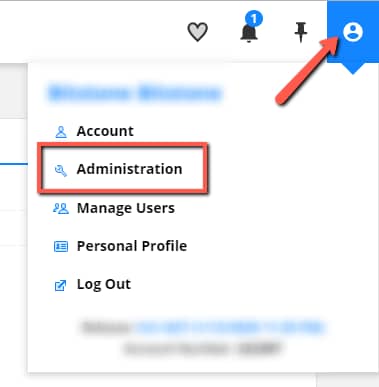
Next, look for the “Integrations” section of your left sidebar:

On this new page, click on the first section, which will take you to the “Ontraport API Instructions and Key Manager”:

Create an Ontraport API key
In this new window, click on “New API key”:

You will need to complete the API Application, and then set the name of your key and select the owner of the key, make sure you provide the necessary permissions to the user:

After you saved your key, you will be redirected to your API key list where you can find the “APP ID” and the “APP KEY”:

Add the keys to your Thrive Dashboard
With all these details set up, you can proceed with creating the connection in your Thrive Dashboard.
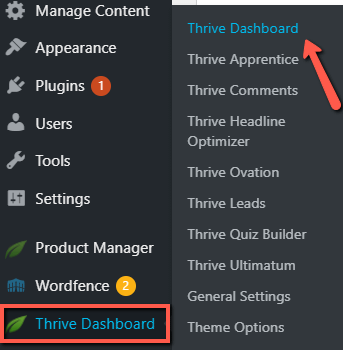
For that, go to your WordPress admin dashboard, and select Thrive Dashboard from the left sidebar:
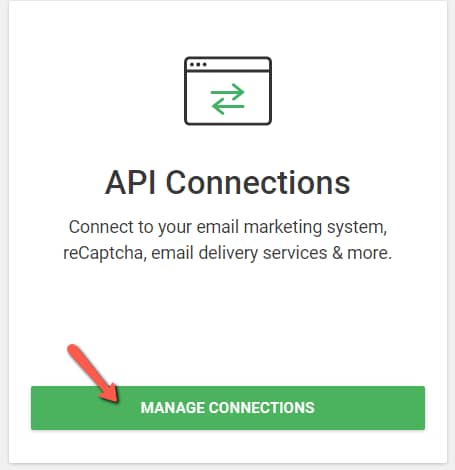
Click on the “Manage Connections” button of the API connections card:
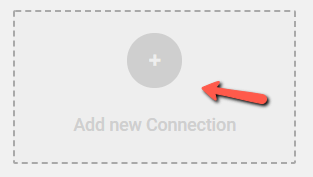
You will be taken to the API Manager, where you can see the full list of available integrations. Click on “Add new connection”:
Then, click on the “Select an app” drop-down to view the full list of services:
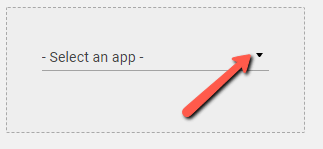
Select Ontraport from the list, either by typing in the name in the search field or by scrolling down until you find it:

After that, the Ontraport connection card will open, where you have to complete the “Application ID” and “API key” fields:

Paste in the corresponding details which you’ve copied from your Ontraport account, and click on “Connect”:

You will get a success message if everything went well:
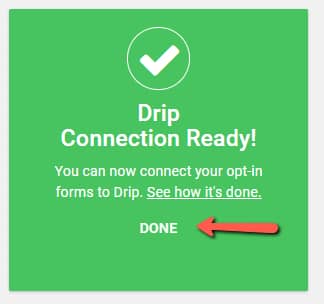
After you click on “Done”, three additional options will appear on your Ontraport card, and you can use them to test, edit to remove the connection:

Connecting Ontraport to a “Lead Generation” element
Now, you’re all set to connect the Ontraport account to a Thrive Architect “Lead Generation” element. For that, open a page or post on which you want to set up the connection.
Click on the plus sign from the right sidebar, and look for the “Lead Generation” element:
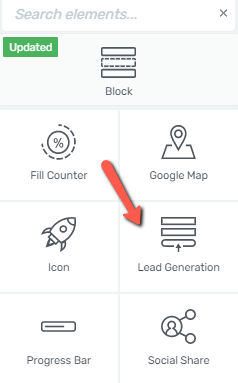
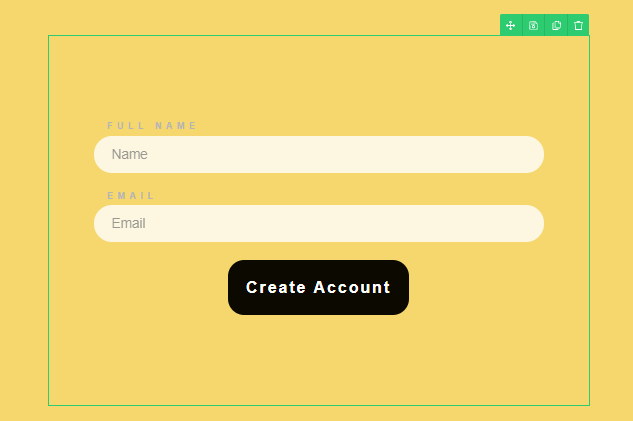
Drag and drop it to your page, and choose a template from the template library. As soon as you do this, the element will appear on your page:
1.Add Connection
Once the element has been added to your page, its “Main Options” will appear in the left sidebar:

You will see that by default the “API” option is selected in the “Connection” section of the “Main Options”:
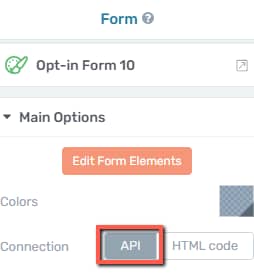
This needs to be set as such in order for the connection to work.
Connection
Now go to the “Send leads to” section, which is below the “Connection” one and click on the “Add Connection” button:

Open the drop-down list to see all available services:
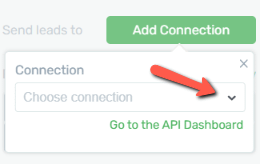
Look for the Ontraport connection. Once found, select it:

Now that your selection has been saved, you can start setting up other aspects of your connection.
Campaigns/Sequences
You next have the option of choosing to which campaign/sequence you want to have the subscriber added once the form is submitted:

Choose the option you want, depending on what you have set up in your Ontraport account.
For example, if you select “Campaign”, you will be promoted with a new drop-down list, from where you need to select the campaign to which you want to add the new subscriber:

Once everything is set up, click on “Apply” and return to the “Main Options”:

2. Set up the form fields
The following section of the left sidebar is dedicated to setting up the form fields for your connection. You will see different form fields here, depending on what template you have chosen for your “Lead Generation” element:
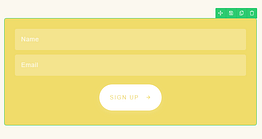
We do have a separate section dedicated to setting up these fields, so make sure to read it in the article linked here.
When you have finished with customizing your left sidebar options, make sure to save all the changes by clicking on the green “Save Work” button from the bottom left side of the screen:

Your connection is not ready to be used, and whenever a visitor signs up through your form, he or she will be added to your Ontraport mailing list.
Connecting Ontraport to Thrive Leads
Another way of connecting your forms to Ontraport is through a Thrive Leads form.
If you want to do that, access the Thrive Leads dashboard, by hovering over the Thrive Dashboard section of your WordPress admin dashboard:
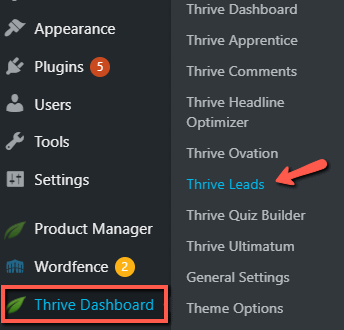
Next, look for the lead group which has the opt-in form you want to use for this connection, and click on it to view the full list of forms:

Click on “Edit” next to the form you want to access (in this example a “Widget”):

This will open a list with all the “Widget” types of forms. Look for the one that you want to add the connection to, and click on “Edit Design”:

The form will open in the Thrive Architect editor. You will then be able to select the “Lead Generation” element and connect it to your account:
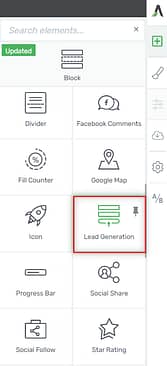
Click on the element to open its options in the left sidebar:

As you can see, the options are identical to the ones described above in the <<Connecting Ontraport to a “Lead Generation” element>> section. You can follow the exact same steps for connecting your Thrive Leads form to Ontraport.
Now whenever someone fills in one of these forms, you should be able to find them in your Ontraport account.
This is how easily you can connect your Thrive forms to Ontraport. If you need more information about various Thrive Themes features or products, make sure to check out our articles and tutorials, here.
I hope this article was useful to you. If so, please make sure to leave a smile below 🙂