Thrive Themes products connect to MailerLite through their API. Follow the video below to learn how this is done:
This article might be useful to you if you are looking for a way to use the email marketing services of MailerLite with one of your Thrive Themes opt-in forms.
Here are all the necessary steps for creating and using an API connection with MailerLite:
Get the MailerLite API key
In order to get hold of your API keys, you first need to make sure you have a MailerLite account.
Then, log in and click on your account icon from the top right-hand side of the screen:

From the drop-down list that opens, select “Integrations”:

This will take you to the Integrations dashboard. Here, click on the “Use” button next to the first section, called “Developer API”:

Now you will be able to view the API key, and copy it for later use, as well as read additional API documentation if you want to learn more about the MailerLite integrations process:

Add the keys to your Thrive Dashboard
The next step of the process is setting up the connection in your Thrive Dashboard. In order to do that, go to the Thrive Dashboard section of your WordPress admin dashboard:

Under the “Thrive Features” section you will be able to find the API Connections card, Click on “Manage Connections”:

In order to connect to MailerLite, you’ll next have to click on “Add new connection”:
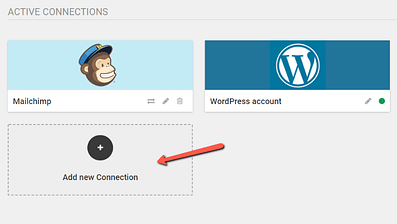
Next, open the drop-down list to view a full list of available services you can choose from and select MailerLite:

Once you do that, you will be prompted to insert your API key, that you’ve previously copied from your MailerLite account:

Paste your key in the corresponding field and click on “Connect”:

You’ll receive a success notification once the connection was created. Click on “Done” to return to the API manager:

Your MailerLite connection card will become visible in the dashboard, alongside three additional options that you can use to test, edit, or remove the connection:

Now your MailerLite API connection is up and running, you can go ahead and start the integration with the “Lead Generation” element, or with a Thrive Leads opt-in form.
Connecting MailerLite to a “Lead Generation” element
We’ll first go through the steps for connecting MailerLite to a “Lead Generation” element.
Open the page or post on which you want to set up the connection, and once you do that, drag and drop a “Lead Generation” element to your content:
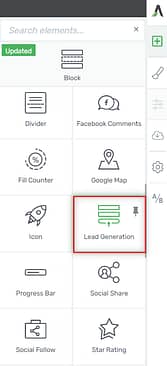
Pick a template for your element, and as simple as that your form has been added to your page:

1. Add Connection
In order to connect this element to your MailerLite account, you’ll have to set up the connection from the “Connection” section. Make sure “API” is selected:
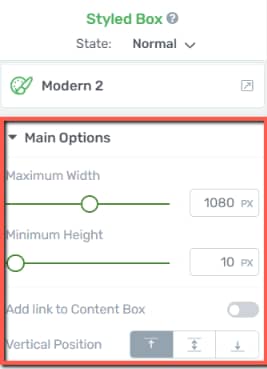
Connection
And then you can click on “Add Connection”, and this will open a small pop-up with a drop-down list:

Open the list and select MailerLite as your connection:

Once you do that, MailerLite will be added as your connection for this form:

Mailing List
The next step is selecting the mailing list which you have previously created in your MailerLite account.
Open the next drop-down available in the pop-up, and select your preferred mailing list:

Once everything is set up, you can click on “Apply” and return to the “Main Options” of the element:

2. Set up the form fields
Next, you can start setting up the form fields. Depending on what type of template you have chosen for your “Lead Generation” element, you will have different kinds of form fields available in the left sidebar:
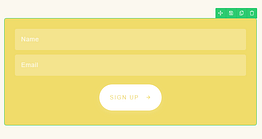
The fields can be customized, and you can add new fields if you want, rename them, or even remove the ones which you do not need. You can find out more information about how to do that, in the dedicated section of the “Lead Generation” article, here.
You can also decide what happens after the form submission – you can redirect the user to another URL or display a success message:

These options too are described in detail in the “Lead Generation” article linked above.
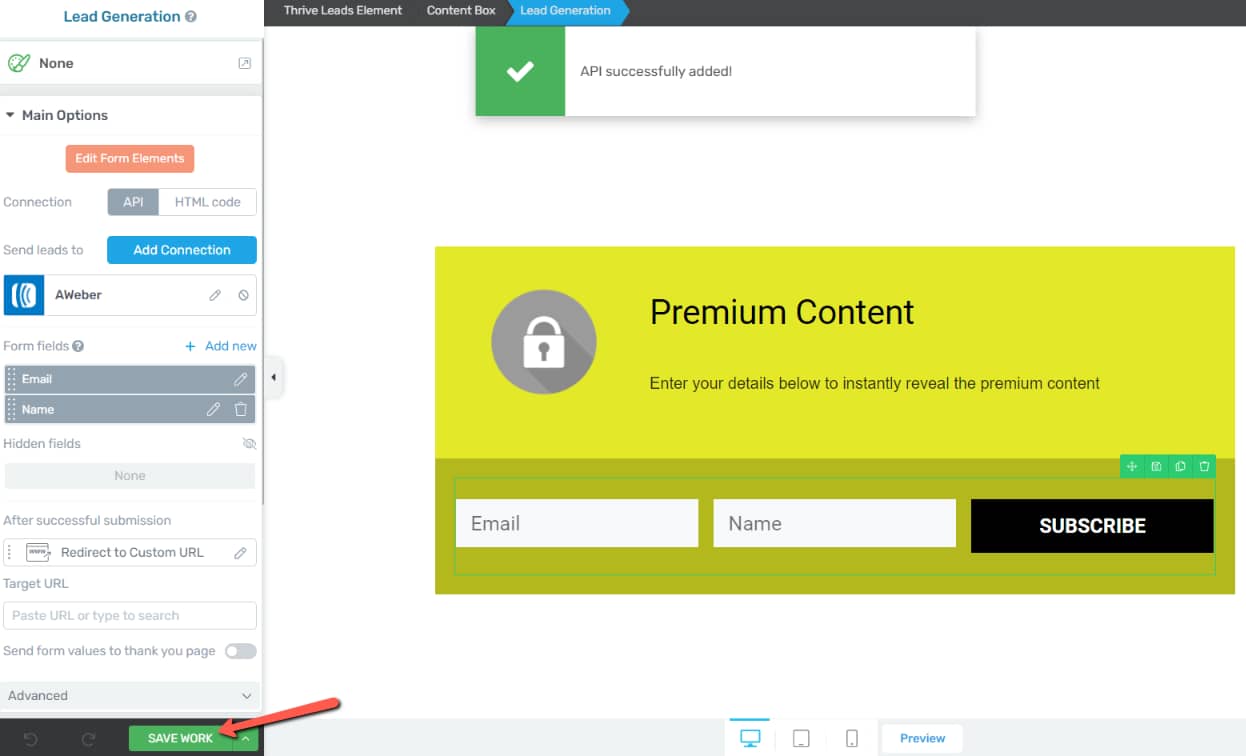
After you are done with setting up the left sidebar options, make sure to save all the changes, and as simple as that your form is ready to be used:
Connecting MailerLite to Thrive Leads
You can also use your MailerLite account for a Thrive Leads integration, with one of your opt-in forms.
In order to do that, access the Thrive Leads section, from your Thrive Dashboard:
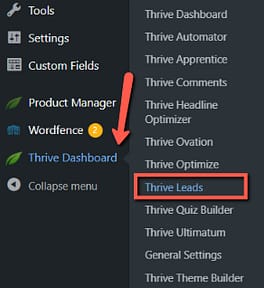
This will take you to your Lead Groups page, where you can select the one you want to use for the connection. Simply click on it to expand it:

A Lead Group might have more than just one opt-in form. Click on the “Edit” button next to the form you want to access (in this example, a “Ribbon” type of form):

And in the newly opened dashboard, click on “Edit Design” next to the “Ribbon” you want to edit:

This will automatically take you to the Thrive Architect editor, and you can go ahead and select a template for your form:

After the form has been added to your page, hover over different parts of it and look for the “Lead Generation” element. Once found, select it:

The “Main Options” of the element will instantly appear in the left sidebar, and you can start setting up your connection just as previously described in this tutorial, for connecting MailerLite to a “Lead Generation” element:

Now, whenever someone fills in one of these forms, you should be able to find them in the “Subscribers” tab of your MailerLite account:

Important!
If you have set up the “double opt-in” feature in your MailerLite account, your visitors will have to confirm their subscription before showing up in your Subscribers list:

Hopefully, this article about how to set up and use an API connection with MailerLite was useful to you.
If you need more information about various Thrive Themes features or products, make sure to check out our articles and tutorials, here.
Also, don’t hesitate to rate this article with a smile below, if you found it helpful 🙂