When you first install and activate a Thrive Theme Builder theme, this comes with “Demo Content”. You might have seen this in the pre-designed templates, that you can start using once you install and activate the theme.
It is important to understand that this content is a standard one, which you should change when customizing the templates for your website. Here are some ways in which you can utilize the “Demo Content”:
Using the Demo Content in the Content Drop-Down
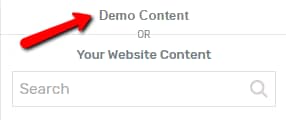
When editing the templates, in the top right corner of the editor, you have the “Content Drop-Down”. This allows you to see how the template looks like applied to one of your pages, posts, or list pages:

From this drop-down, you can either load the content of your pages/posts directly, or you can choose to use the Demo Content:

If you choose this, the “Content Drop-down” will close, and “Demo Content” will be loaded on your template. You can then start customizing it to fit your own site.
Please make sure to check out this article, for more information about the “Content Drop-Down” and how you can use it when editing a Thrive Theme Builder template.
Change the Demo Elements
When you want to customize the “Demo Content” of a template, in order to make the template fit your website and your own pages or posts, there are some things that you should remember to set/change.
Once the “Demo Content” will be loaded on the template, after you select it from the Content Drop-Down, you should remember that some parts will not change with it. You will have to change, for example, elements placed in the “Header”/”Footer” sections. Here are some examples of elements that you should modify:
Content
Of course, when you select the “Demo Content”, the “Post Content” element will contain a standard text, that you should change, before applying the template to other pages/posts. We do have a more comprehensive article about this element, here.
Buttons/Call to Action Elements
If the template has any “Call to Action” elements, keep in mind that they are demo ones. This means that, if you do not insert an URL in the “Target URL” field, the “Call to Action” element will not serve any purpose.


Header/Footer section elements and items
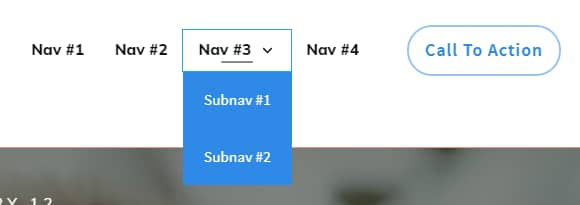
All of the items from these sections will not be customized, as well. For example, the menu from this “Header” section will have to be customized for it to be suitable to my website, as the menu from the “Demo Content” looks like this:

Global Information
The “Global Information” is an important aspect, as well. The “Demo Content” might come with some “Business Social Links” elements, for example.
However, if you do not set up the global information for these, when someone will try to access them, nothing will happen. Please check out this article, if you need more information about setting up global fields.
Ready-made Homepages
Another thing that should be mentioned here is that, in the fifth step of the Site Wizard, you have chosen a ready-made homepage, which comes with “Demo Content”, as well.
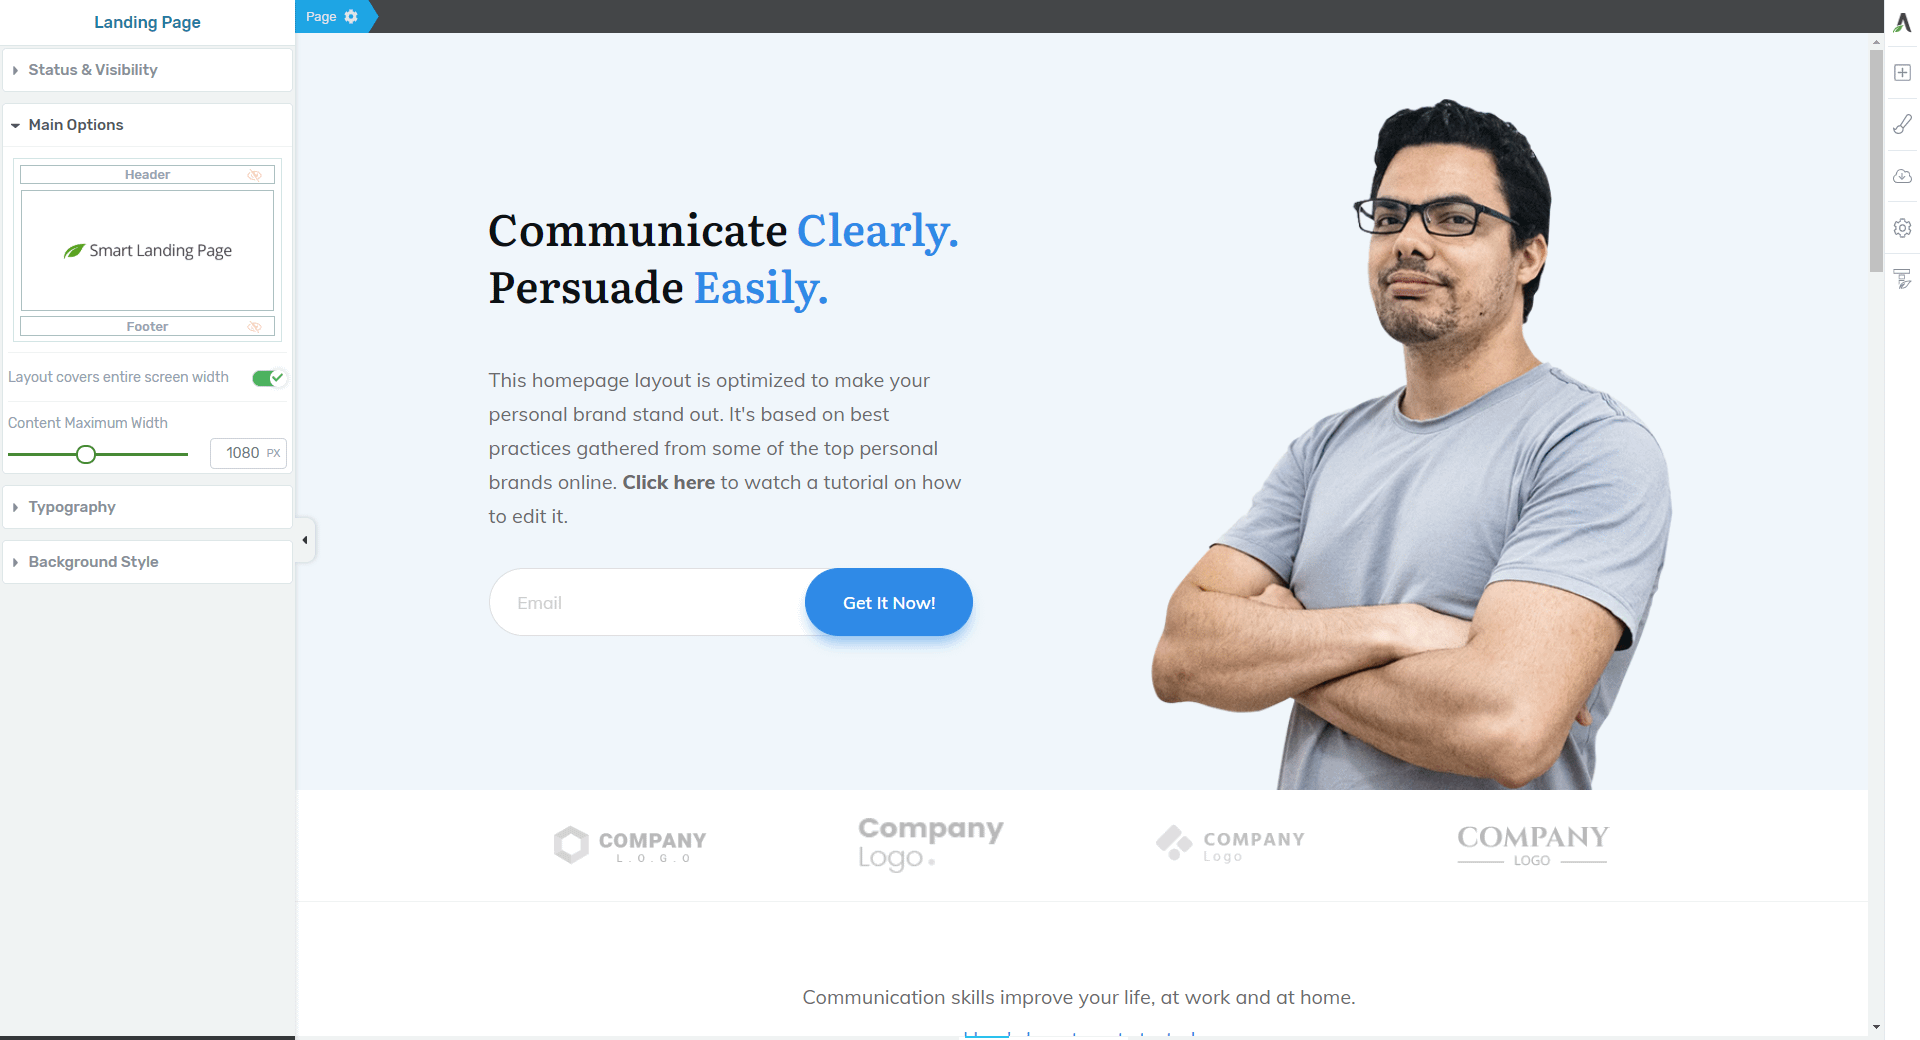
However, if you want to customize this, you should keep in mind that this is actually a Thrive Landing Page, and the editing process differs a bit from a normal template.
When you go to the “Templates” section, you will see that, when you hover over the Homepage Template, the option will be called “Edit Landing Page”:

As mentioned above, this template will act like a Thrive Architect Landing Page. This is why, when you click on the “Edit Landing Page” option, you will be taken to the Thrive Architect editor, instead of the Thrive Theme Builder one:

However, feel free to edit the “Demo Content” from here, just as advised in this article.
For more information about the Thrive Theme Builder templates and more, feel free to take a look at the Thrive Theme Builder section from our knowledge base.
I hope this article was useful for you. If that’s the case, please rate it with a smile below 🙂