This article will go through the sections that can be found in the Thrive Leads dashboard and how each option can be used.
In order to access the plugin, you will have to hover over “Thrive Dashboard”, in the left sidebar of your WordPress admin dashboard, and click on “Thrive Leads”:

The dashboard will open, and you will see a few different sections here:

-
1 – Today’s Summary
-
2 – Reports, Settings and Advanced Features
-
3 – Lead Groups
-
4 – Lead Shortcodes
-
5 – ThriveBoxes
-
6 – Signup Segue
We’ll go through each section, one by one.
Today’s Summary
In this section, just as its name suggests, you will be given a summary of the stats gathered during a day by your forms. There are three stats provided here:
-
Unique Impressions
This is the number of visitors that have accessed the site in a day, that haven’t visited the site in the past 30 days:

Clicking on “View More” will show you detailed information from the “Reports” section.
-
Conversions
This is the number of people that have submitted their details through a Thrive Leads opt-in form in the current day.

Clicking on “View More” will show you detailed information from the “Reports” section.
-
Conversion Rate
This number shows the conversions expressed as a percentage of unique impressions.

Clicking on “View More” will show you detailed information from the “Reports” section.
You can read more about these stats and what they tell you in this article:
Reports, Settings and Advanced Features
On the top right side of the dashboard, there are four main options:

→ Lead Reports
The first option here is the “Lead Reports” one, which will let you take a look at all sorts of stats brought in by your Thrive Leads forms. Click on the option, to open the “Reporting” section:

The “Reporting” dashboard will look like this:
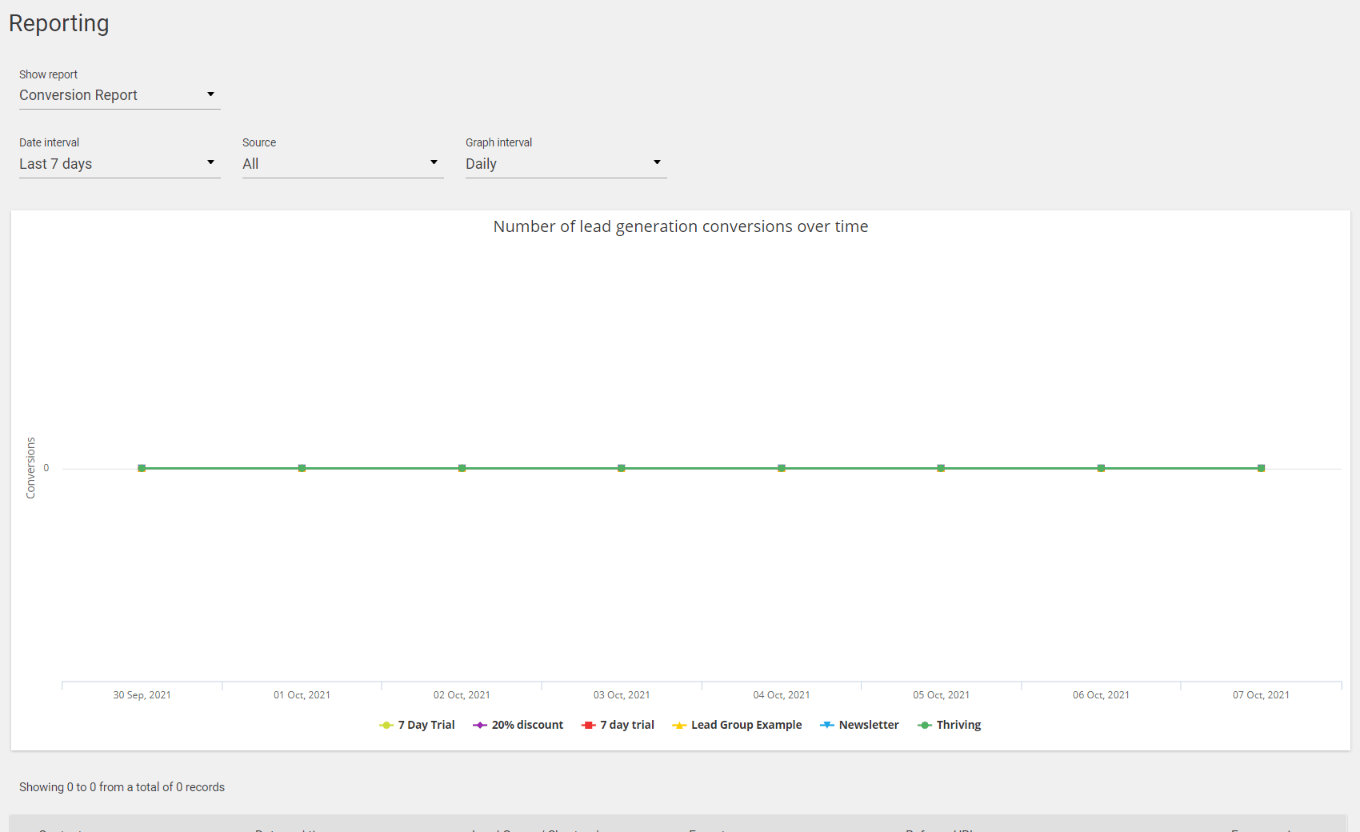
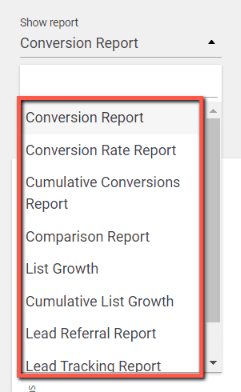
You can use the “Show Report” dropdown to choose which type of report you want to see:
And you can also customize the reports using these options, to choose the date interval, from which source the data should be taken, and the interval of time:

And on the lower side of the page, you’ll see some extra information about each record.
→ Advanced Features
Next to the “Leads Reports” section, you’ll see the “Advanced Features” one:

If you click on it, a sub-menu will open with some more options:

-
Asset Delivery
The first item on the sub-menu is the “Asset Delivery” one. If you click on it, you will be taken to a page from where you can set up the asset delivery options:
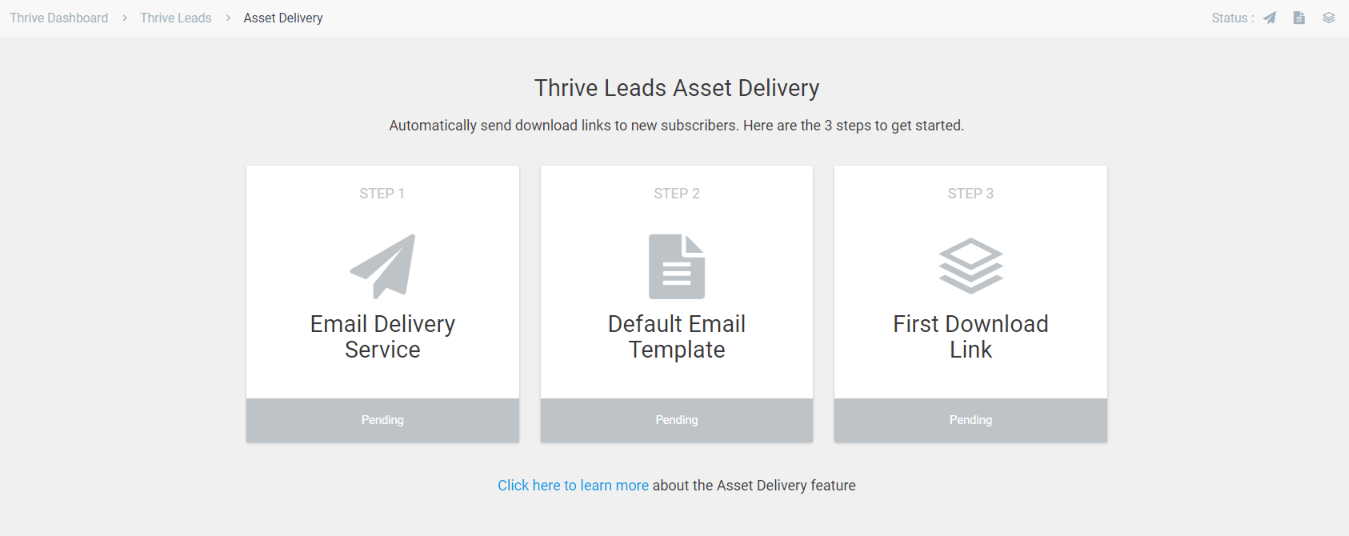
You can go through each step, to set up the feature.
Please take a look at these resources, if you need more help with this feature:
-
Asset Delivery Feature: Automatically Send Download Links to New Subscribers
-
What Are Email Delivery Services For? (Asset Delivery Feature)
-
Leads Export
Should you want to see a list with detailed information about the leads gathered by your Thrive Leads forms, this is where you can find it. Clicking on the “Leads Export” option will take you to a page with the name and email of the users that have completed your forms in the selected time interval, as well as the data gathered by the form, the date, etc. You are able to edit these entries or delete them if you wish to do that.

-
Smart Links
The third option found here is the “Smart Links” one, with the help of which you can decide which forms should be displayed, depending on where your visits are coming from.

For more details about this feature, please check out this article:
→ Settings
Next, in the top right section of the Thrive Leads dashboard, we have some general options:

If you click on the “Settings” section, a sub-menu will open, with the available options:

Here’s what each of these options does:
-
Lazy Load Forms
You can use the “Lazy load forms” option if you want to enable lazy loading for your Thrive forms. This will increase the loading speed of your website, and help with its core web vitals optimization.
All you have to do in order to enable this feature is to click on this toggle:

We have written two articles related to this option, and you can check them out here:
-
Reset Cached Statistics
Thrive Leads caches the number of impressions and conversions for each Lead Group, Shortcode, ThriveBox and Form, to improve the overall performance of the plugin. You have the option to purge the cache and re-build these stats by clicking on this button:

-
Logs
Lastly, from this section, you are able to clear all of the Thrive Leads logs that have been archived. To do that, click on the “Clear Logs” option:

→ Share the love
The last option here is the “Share the love” one, which will let you easily spread the word about our product:

These are the options found on the top right side of the Thrive Leads dashboard. The next section of the dashboard is the one with the Lead Groups, Shortcodes, ThriveBoxes and the Signup Segue.
For these features, we have written multiple articles since we’ve released the plugin, and we’ll list them in each section below:
Lead Groups
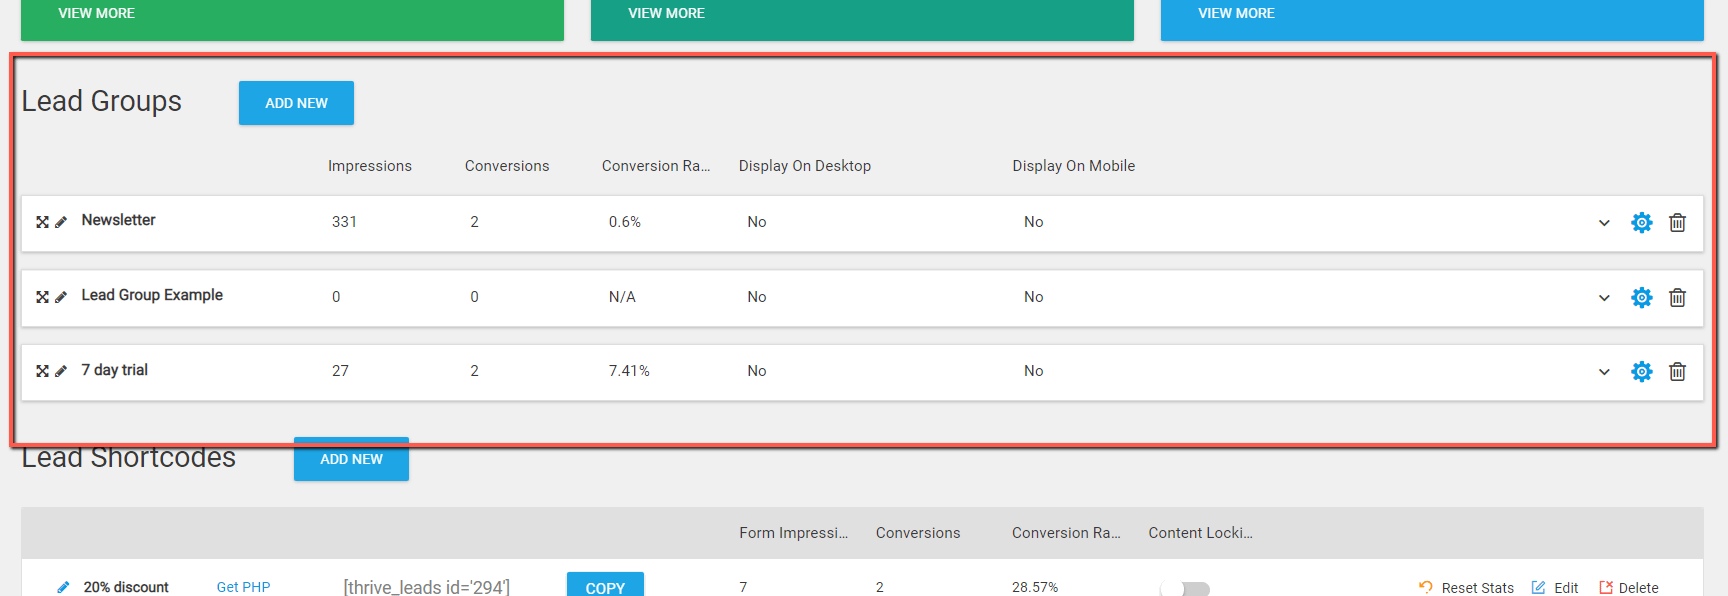
With the help of Lead Groups, you’ll be able to create and use multiple opt-in forms at the same time, on the same pages.
You can easily set the forms to appear in multiple places and you can also choose how often you want them to appear.
Please take a look at these articles for more information about Lead Groups:
Lead Shortcodes
Next in the dashboard, we have the Lead Shortcodes section:

A shortcode form looks exactly like the post footer form – that’s the only form type that you can create with a shortcode. Check out this article for more information on them:
ThriveBoxes
The next section of the dashboard is the one from where you can set up ThriveBoxes on your site. ThriveBoxes are the forms that pop up on your pages/posts.

See this article for more information on how to create and display them:
Signup Segue
This is the last feature available in the Thrive Leads dashboard, and it can be used in order to quickly signup people on your site.
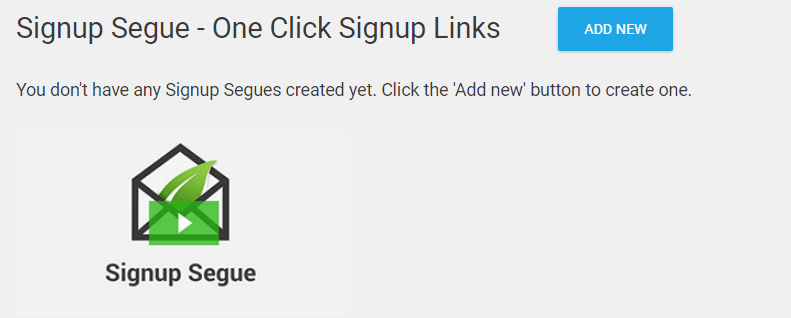
Check out more information on how to use the feature here:
These are the available features and options that can be accessed and use while browsing through the Thrive Leads dashboard.
I really hope this article was useful and, if so, don’t forget to leave a smile below 😄