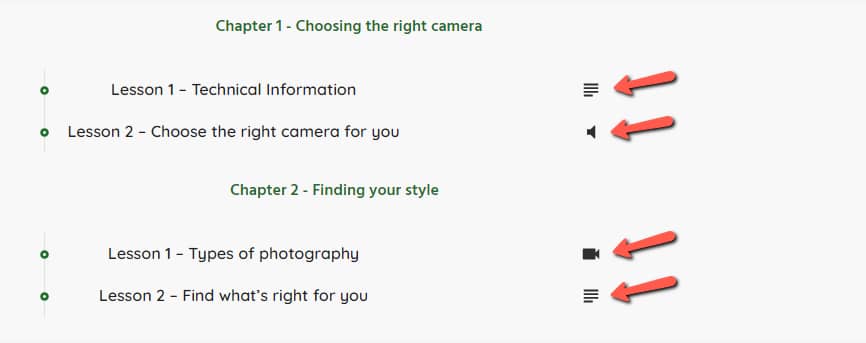
If you’re using a “Lesson List” element on your site, there is an option that can help you quickly add the lesson type icons right next to each lesson displayed within the element:

Here is how to do that:
First of all, open the page/post/template on which you have added the “Lesson List” element using the Thrive Architect editor.
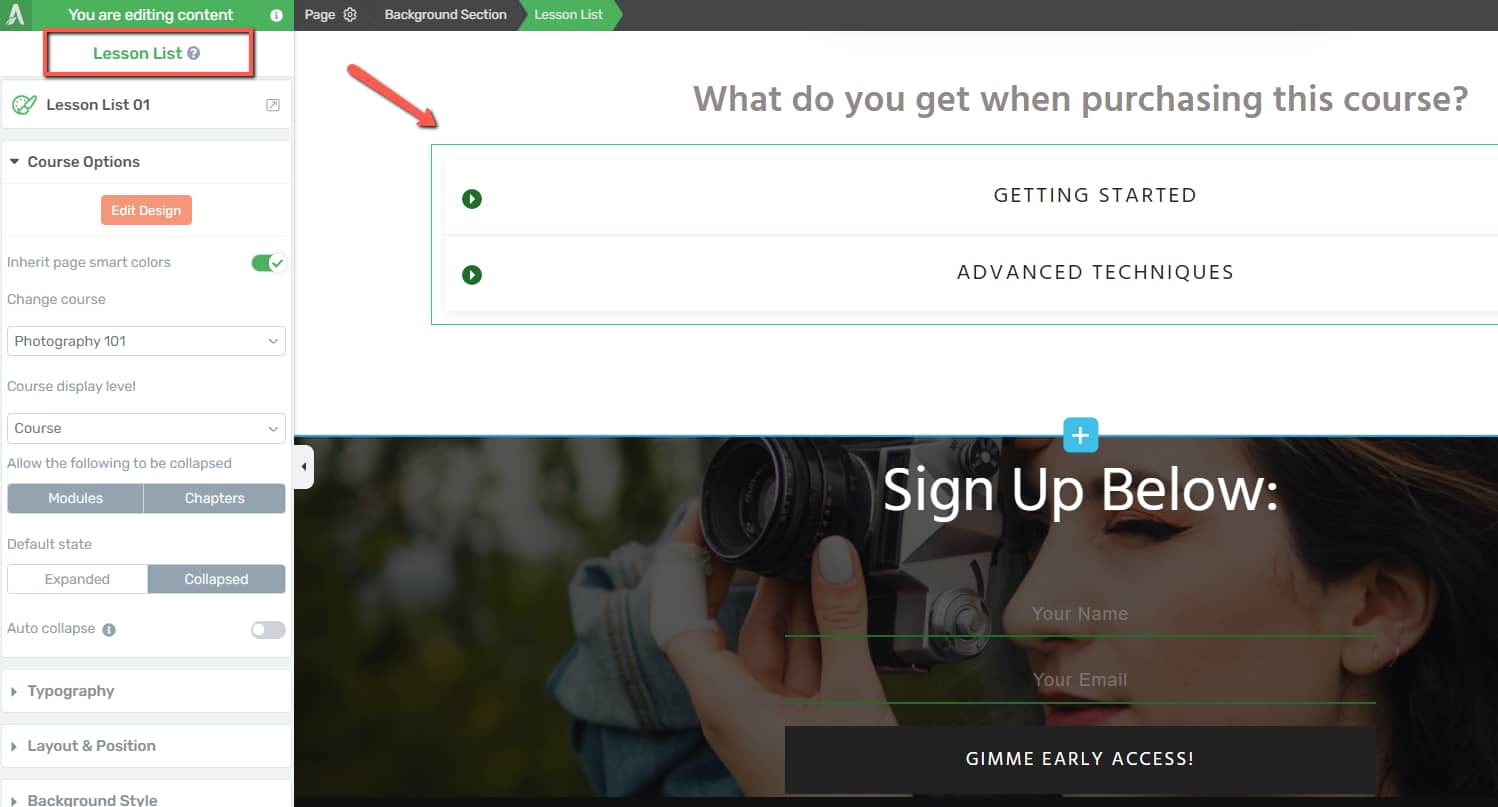
Then, either select the element or add it to the editor just as described here, so that its options appear in the left sidebar:

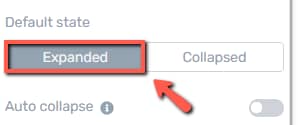
Make sure that the default state of the element is set to “Expanded”:

Next, enter the “Edit Mode” of the element by clicking on “Edit Design”:

Once you do that, click on any element inside the “Lesson List” element, as we want to get to its breadcrumbs:

You will notice that once you select any item, the breadcrumbs will appear on the top side of the editor. Select the “Lesson” item:

This will open the “Lesson” options in the left sidebar, amongst which you will see the “Show lesson type icon” one. To enable it and display the icons, simply click on the switch next to the option:

The icons will appear inside the “Lesson List” element, and you can move them if you are not happy with their default placement:

If you want to customize these icons, all you have to do is select any of them (while you’re still in the “Edit Mode” of the “Lesson List” element), and the icon options will appear in the left sidebar:

Once you finish editing the icons and the element itself, click on the orange “Done” button to exit the “Edit Mode” and make sure you save everything.
This is how you can enable the lesson type icons when using the “Lesson List” element in Thrive Architect or Thrive Apprentice.
To take it a step even further, you may also add dynamic text next to the icons, if you want to also include the “Text” /”Audio”/”Video” text next to the icons, as seen here:

If you want to achieve that, enter the “Edit Mode” of the “Lesson List” element again, and click on the plus sign from the right sidebar to open the list of elements that can be added to the editor.
Look for the “Text” element and drag and drop it right next to one of the icons:

The “Text” element will be added to each lesson. With the default “Enter your text here…” text selected, go to the panel options section and click on the Dynamic Link option:

A pop-up will open, and you will be able to start using the dynamic link feature to automatically add the type of lesson next to each one. Click on the first field, to select the dynamic text source:

From the list of options that appears choose “Apprentice Fields”:

And a second “Source” field will appear. Click on it to open the list of options:

Choose the “Lesson type label” option and click on “Insert”:

This is what the element looks like now, as the dynamic text will be inserted:

You can also add one more “Text” element next to the one that uses dynamic information, and populate the second one with static information if you want. This way, the text next to the icons can say “text lesson”, where “text” is the dynamic part, and “lesson” is the static one.
To do that, add one more “Text” element next to the one that you’ve just added, in the same manner:
And, of course, you can customize and adjust everything to your liking:

You will end up with a “Lesson List” element that looks something like this:

You might also be interested in this one, in which we’ve shown some ways to integrate the “Lesson List” element into your online school.
For more information regarding Thrive Suite and its various products and features, please check out our knowledge base.