With our new plugin, Thrive Ultimatum, you can create scarcity campaigns for your products. What are scarcity campaigns?
Scarcity campaigns are all about limiting the time in which an offer is made available. As already proven time and time again, using time sensitive offers increases your campaigns conversion rates.
In this article you will learn the steps and the resources you need to create your first Thrive Ultimatum campaign.
First, you need to install and activate the plugin on your WordPress website as you would do with any other Thrive Theme plugin: How to install a Thrive Theme plugin.
To start using the product, as you do for any other Thrive product, go to your Thrive Dashboard. Look for the corresponding Thrive Ultimatum card:
Click the “Ultimatum Dashboard” button to open the plugin’s dashboard. This is where you can create your first Thrive Ultimatum campaign:
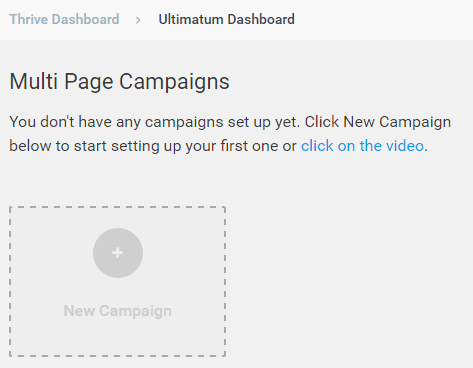
Click the “New Campaign” box. This options box is displayed:
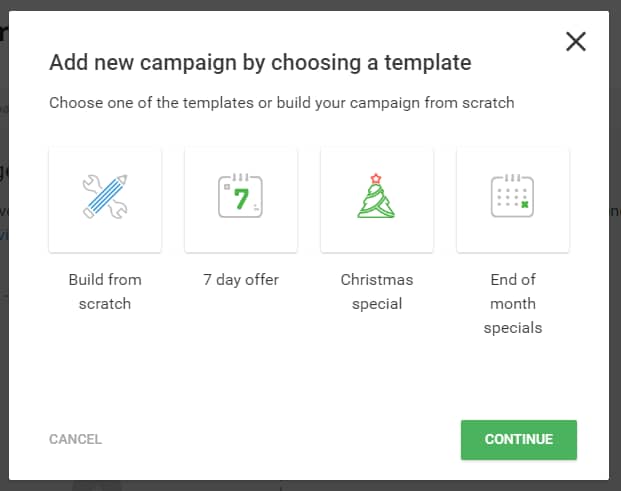
In this article, we will walk you through the steps on how to build your campaign from scratch, in which you start building up your campaign from zero.
If you wish to use one of the other available templates, you can learn more about them in these articles:
Select campaign template
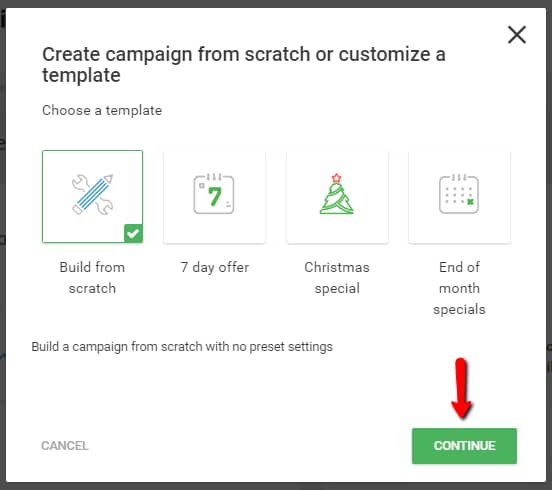
If you decided to build a campaign from scratch, you need to select the “Build from scratch” template and click the “Continue” button:
Then, you have to enter a name for your campaign and click the “Continue” button. The name of the campaign is never displayed publicly and is only visible to your website administrators through the Thrive Dashboard:
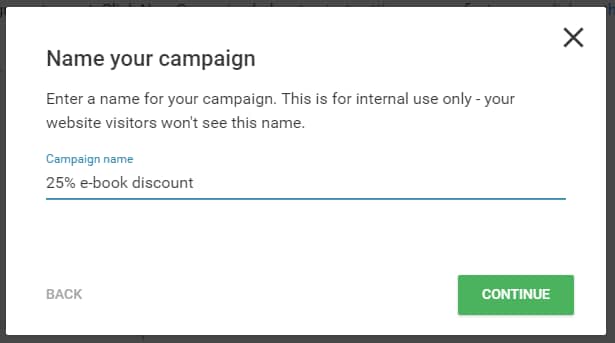
Next, you are forwarded to your campaign’s dashboard to continue its setup. On this screen, you can always rename your campaign, should you need to do so:

Set a campaign type
On your campaign’s dashboard, small pop-ups inform you what the next step of the setup is. As you can see, you now need to select a campaign type:
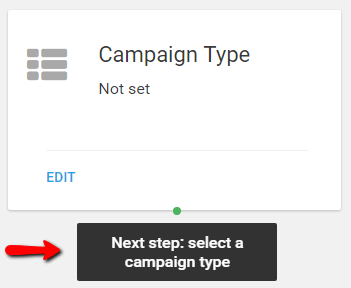
You can either click the black pop-up or the “Edit” button. In the lightbox that opens, choose the campaign type and set it up:
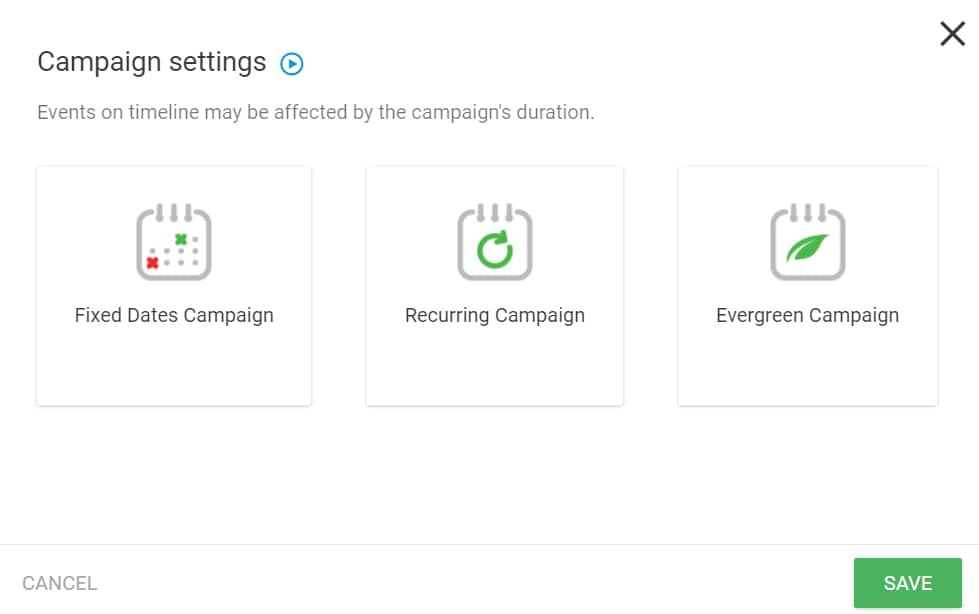
If unsure, hover your mouse over the options and read the additional information. The descriptions provided will help you choose the appropriate campaign type:

As you can see, there are three campaign types you can choose from. Click on the links below for further information on how to set up those campaign types:
After you have chosen the campaign type and finished its setup, you need to click “Save” and the campaign type will be set. Now, in your campaigns dashboard you will see the choice you made and its setup description:

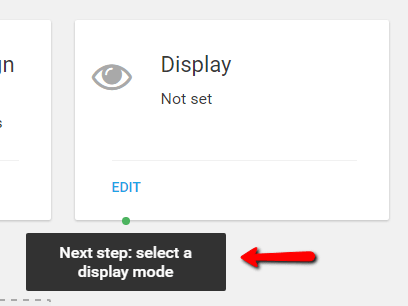
Next to the campaign type, you will see a new small pop-up pointing you to the next step in your campaign’s setup:
Select a display mode
Click the black pop-up or the “EDIT” button to open the display settings lightbox. Here you can set up where you want this campaign to appear, namely on which pages/posts/custom posts/categories/etc. you want it displayed:
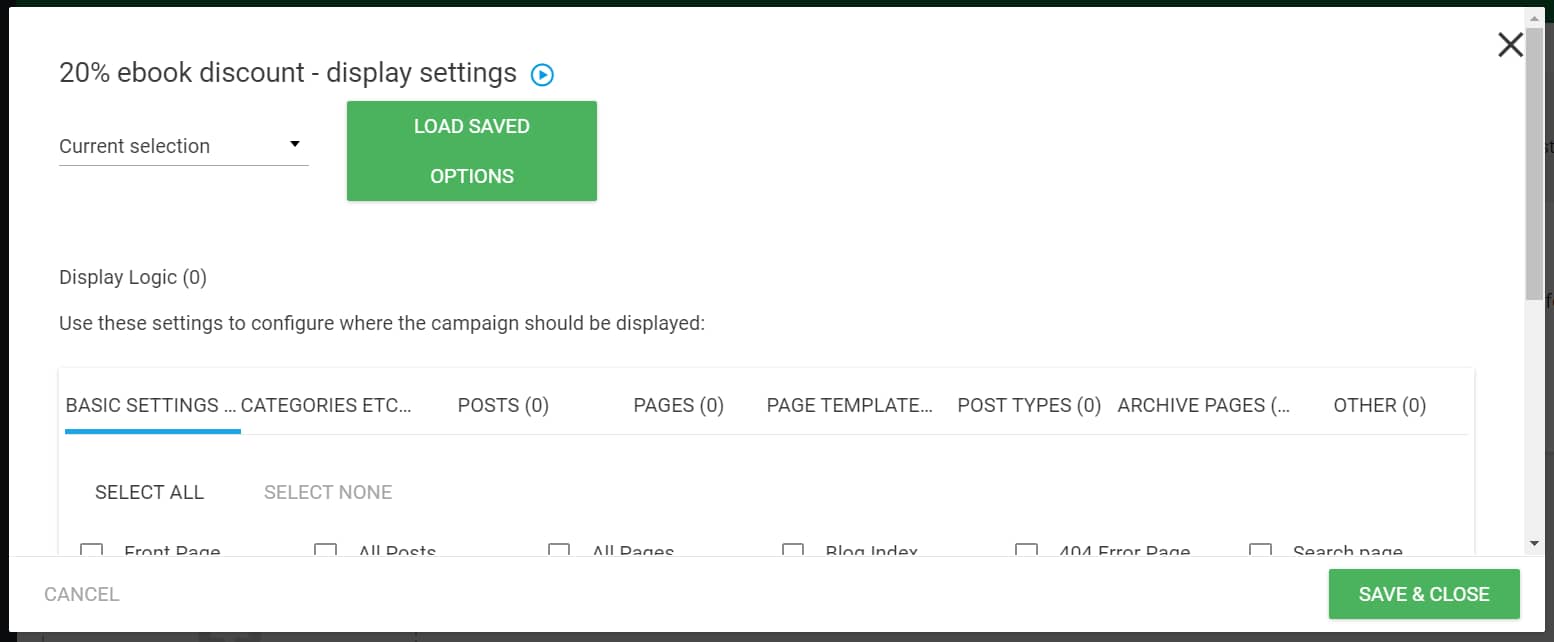
The display settings for Thrive Ultimatum campaigns work in the exact same way as for Thrive Leads. Follow this instruction video to learn how you can create display logic for your campaigns:
After setting the display settings for your campaign and saving changes, you can see the setup added to the “Display” card:

Create a countdown timer design
As shown, once the display settings of your campaign are set, you are instructed to create a countdown timer design:
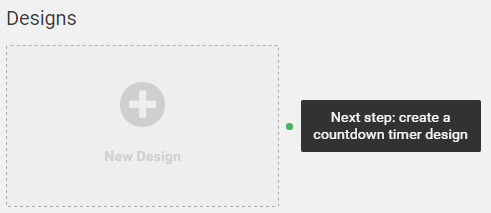
Click “New Design” or the pop-up message to add a new design. You can choose from the following options:

- Top ribbon – shows at the top of the screen;
- Bottom ribbon – shows at the bottom of the screen;
- Widget – displays in any widget area on your site;
- Shortcode – display a shortcode design in your content.
To learn more about how to choose and edit a design type, read this article:
In a campaign, you can have only one of each design type and you can add a new one by clicking the “New Design” button:
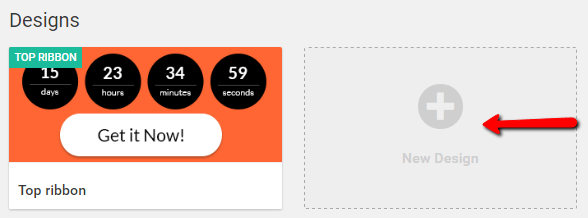
As expected, here you can only choose one of the three remaining design types:

Start the campaign
At this point, with the current campaign setup, you will have created a simple campaign. You can start it by scrolling at the top of the campaign dashboard and changing the status of the campaign from paused to running:

You can always switch the campaign status back if needed.
Advanced features
Besides the mandatory steps which allow you to create a simple campaign from scratch, you can also take advantage of our additional features, to improve and customize your campaign.
Lockdown
In the upper-right section of your campaign’s dashboard, you can find the Lockdown feature. As you can see in the image below, this campaign is currently open, but you can enable the lockdown feature, by clicking on the “Activate Lockdown” button:

A new lightbox appears, where you can activate the lockdown feature and set it up accordingly:

Using this feature, you add an extra layer of security to your promotion page and use this to your advantage. You do this by forwarding visitors that end up on that page, before or after the campaign started/ended, to other pages that you customized to offer further information or other offers.
Note: To make sure your search list is always displaying accurate results, try adding the searched content between quotation marks.
For more information on what every setting of the lightbox does and how to configure your lockdown, you can check out this article:
Timeline
In the left part of the campaign dashboard, at the bottom, you can find your campaign’s timeline:
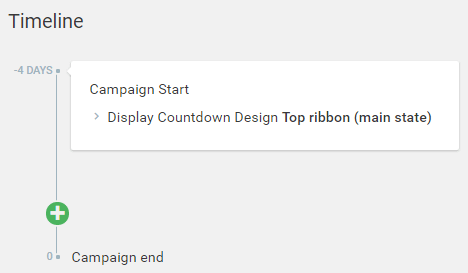
In the campaign timeline, you can see what events are set throughout the duration of your campaign. You can also add new events to the timeline, by pressing the add new event button:

For more information on how to use the timeline for your advantage, you can check out this article:
Conversion Events
Next to the timeline feature, you will find the conversion events feature:

Conversion events are events that can be triggered when the user performs a desired action on the website. In Thrive Ultimatum they can be used to stop a campaign or start a different one when a conversion is registered or the user visits the conversion page.
You can find more information on how to set up and how the conversion events work in this article:
Once the advanced features of your campaign are configured and you are happy with the campaign you created, follow the step explained throughout this article and start your campaign.