After you have installed and activated Thrive Apprentice on your WordPress website, you can access it, by hovering over the Thrive Dashboard menu item and then, selecting “Thrive Apprentice”:

Or, if you access the Thrive Dashboard page, you can look for the Thrive Apprentice card and click on it:

Selecting the Page Where the Courses Will be Displayed
If you access the plugin for the first time, you will see this lightbox:
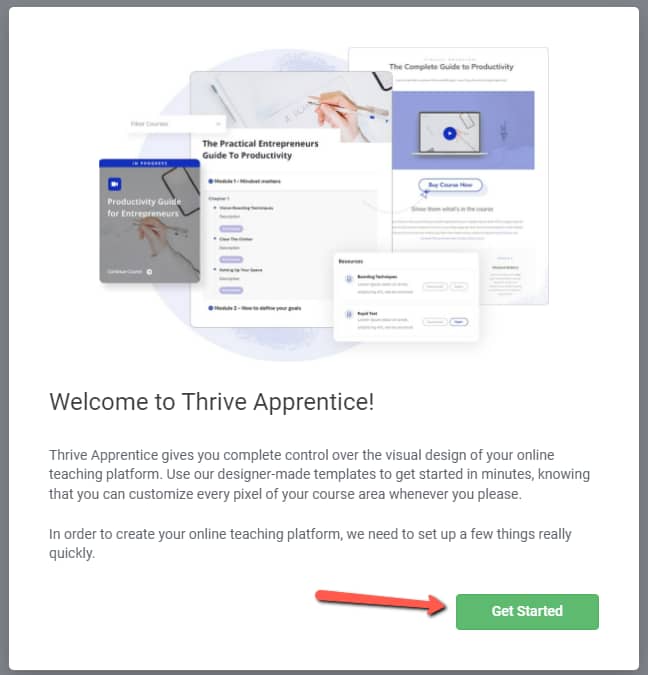
After you click on the “Get Started” button, you will be taken to the next step, where you can either select the page on which all of your courses will be displayed, or you can simply create a new one:
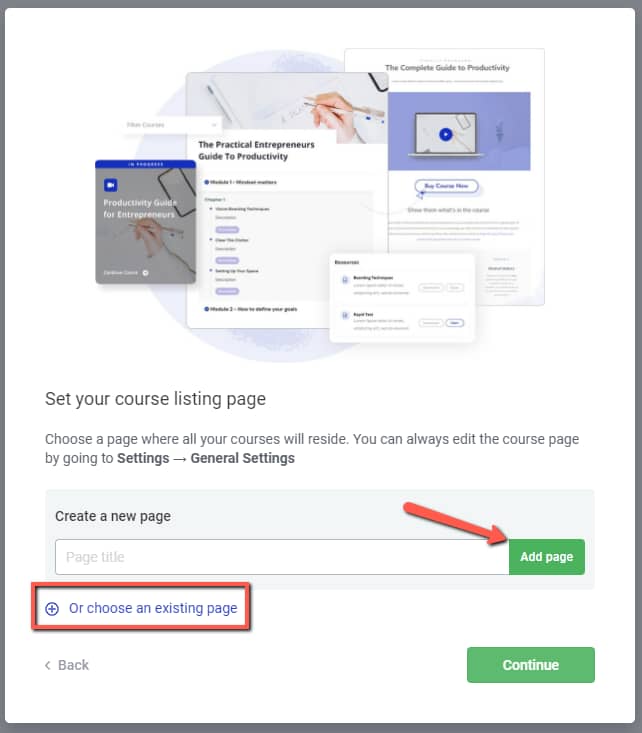
I’ve added a new one:
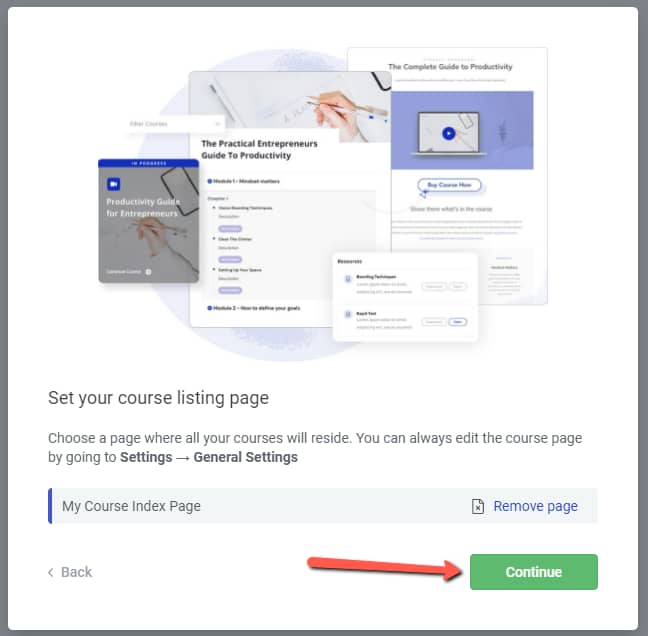
You can always change it later, from the “General Settings” of your Thrive Apprentice:

To find out more about this aspect, don’t forget to check out our article about the Thrive Apprentice General Settings.
Going back to accessing the plugin for the first time, after you have defined your course index page, you will be taken to the final step of this process, which is creating a design for your online school:
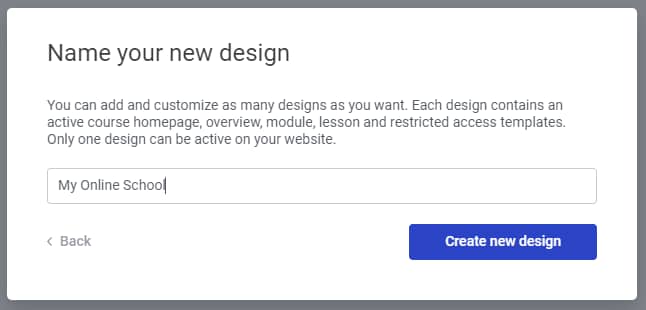
After you click on “Create new design”, the Apprentice School Wizard will open:
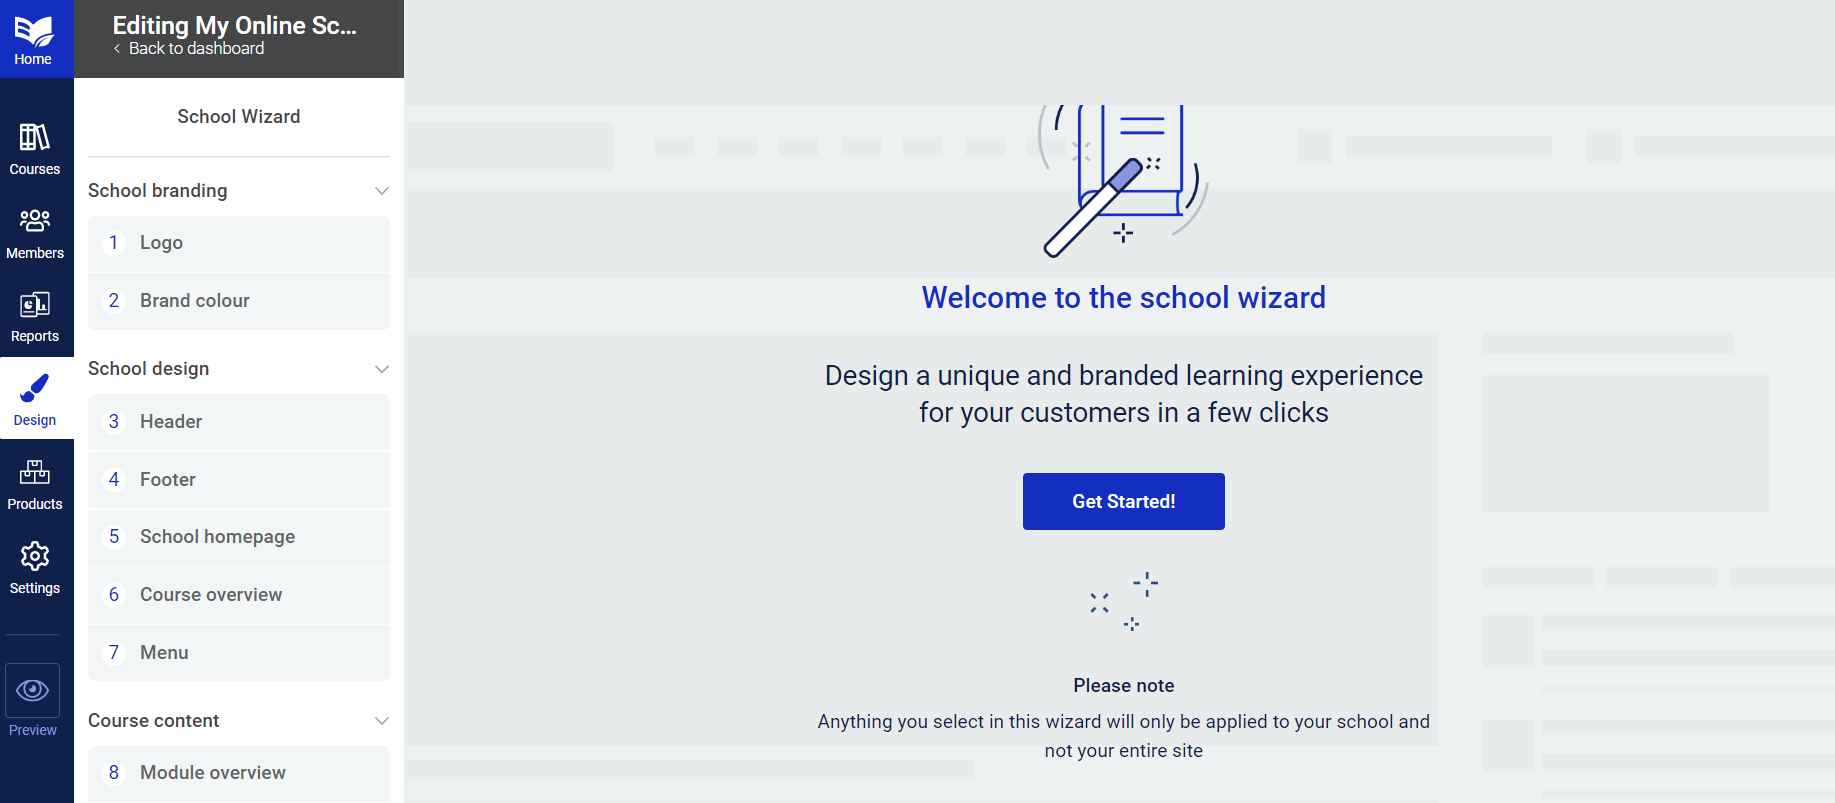
Here’s an article that take you through the process of setting up the wizard:
Adding and Setting Up a New Course
After you’ve customized your online school design, you can move on to the next step, which is setting up your new course. In the Apprentice Dashboard, in the left sidebar, go to the “Courses” section:

To add a new course, click on the “Add Course” button:

This will open the “Course details” dashboard, from where you will set up the course:
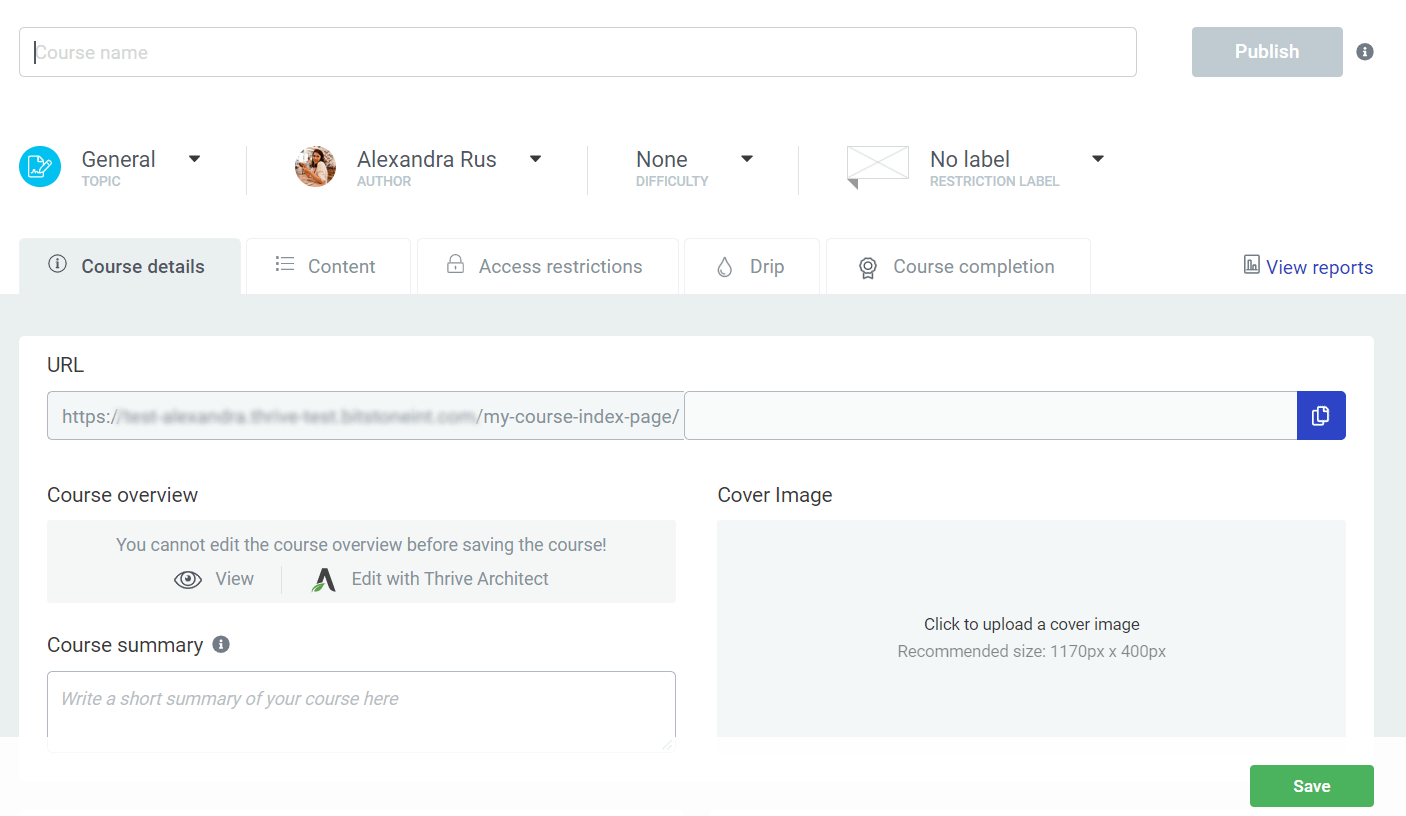
Here is how you can set up all of these options.
Course Name
After you’ve added the course, you can give it a name:
URL
Below the course name field notice that there is another field through which you can customize the permalink of this specific course:

Course overview and Course summary
The next step is to add a course overview and a course summary:

In the “Course overview” section is where you can add some information letting the students know of what’s included in the course.
If you click on “View”, you will be taken to the overview page to have a look at the overall design:
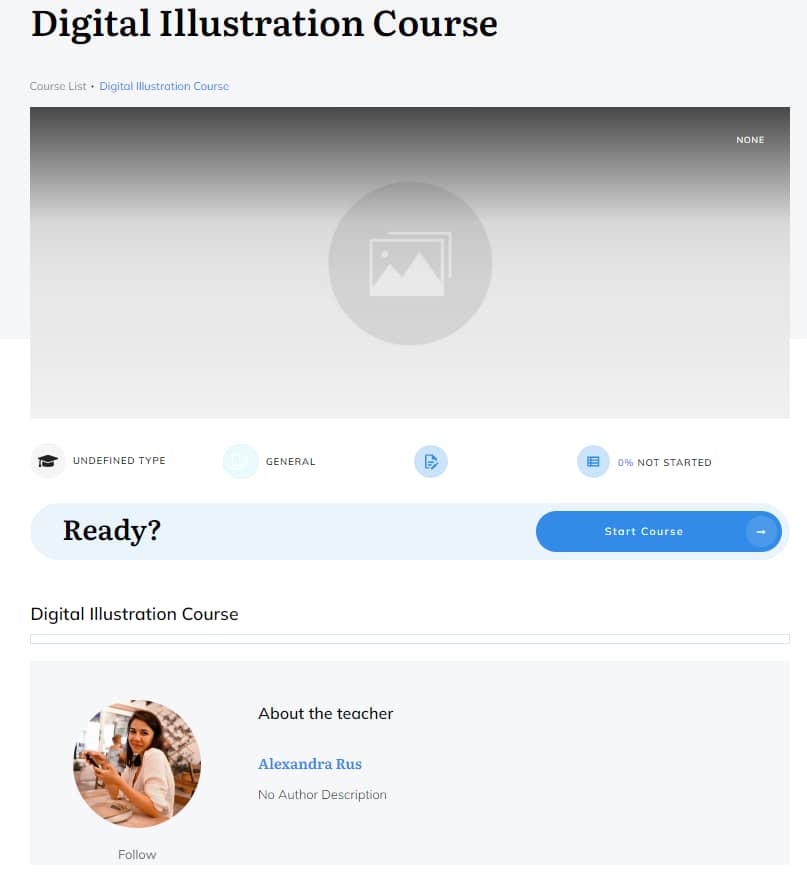
If you want to change it, then simply edit the page with the Thrive visual editor, and customize it as you best see fit.
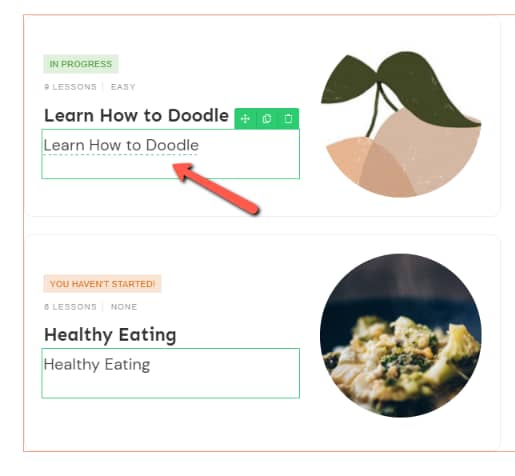
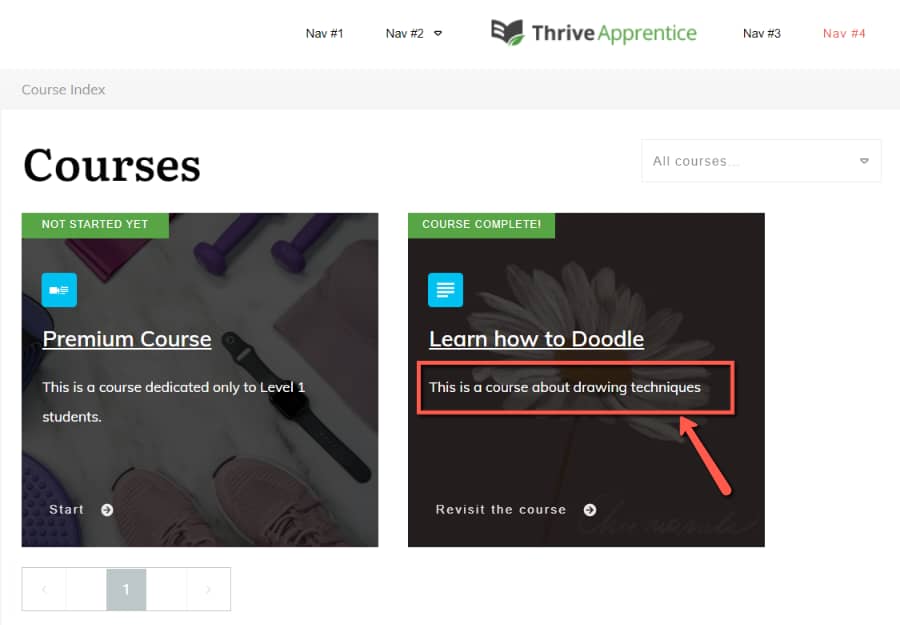
The information you add in the “Course summary” will be displayed on your course index page:
Note: Keep in mind that in order to add a course overview, you first have to add a course name and save the course. `
Once you name your course and save it, you will be taken directly to the “Content” tab but you can return to the “Course details” directly from this view:

Cover Image
Next to the description box, you can notice the “Cover Image” card. Uploading a cover image to your course can give it a more refined look that will be more attractive to your users:

Important!
There are some recommended dimensions here, due to the fact that the image needs to fit perfectly in the cover section. If you are using the Legacy editor, then you should upload a cover image that comes as close as possible to the 1170 x 400 px dimensions.
If you are using the new Thrive Apprentice visual editor, you can input any size image you want.
This is an example of how a cover image will look like on a course:

Author Settings
Below the overview and summary sections, you will notice the “Author settings”:

This will open the section with the respective settings. There are two available options here: the “WordPress user bio” and the “Custom bio for this course”:

WordPress user bio
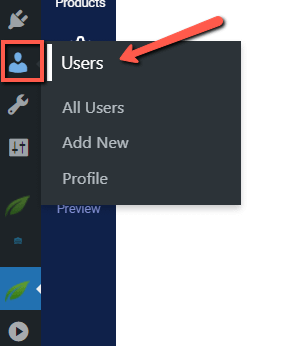
This is the default “Biographical Info” that can be found on the user’s profile in the “Users” section of your WordPress admin dashboard:
Custom bio for this course
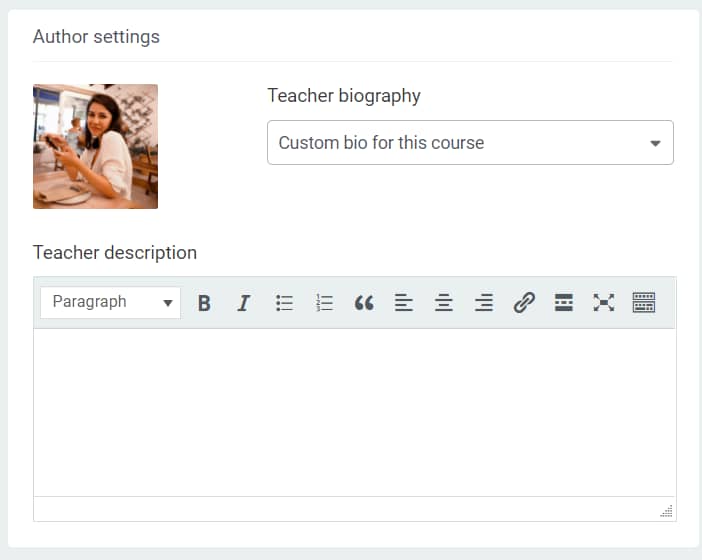
However, you can also choose to add a custom bio for the teacher of this particular course. Simply click on the little down arrow from this section to open the drop-down, and choose the “Custom bio for this course” option.
This will open the “Description” section, where you can insert the custom biography:
Teacher Image
After you have completed the bio as well, the last thing to do is to choose an image to be displayed for the teacher of the course.
The image that first appears here will be the one associated with the WordPress user you have chosen as the Teacher of the course.
However, you can simply click on “Remove” and upload a new one if you want:
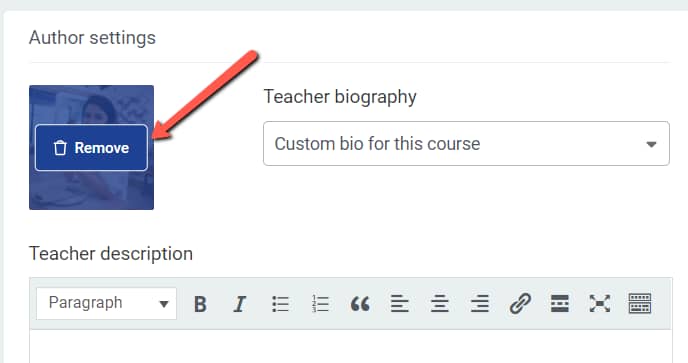
This will take you to the Media Library, where you can choose the image you want to add or replace the current one with (upload it first, if it’s not in the library yet).
Note: The information you have set in the “Author Settings” will be shown on every lesson from the course like this:

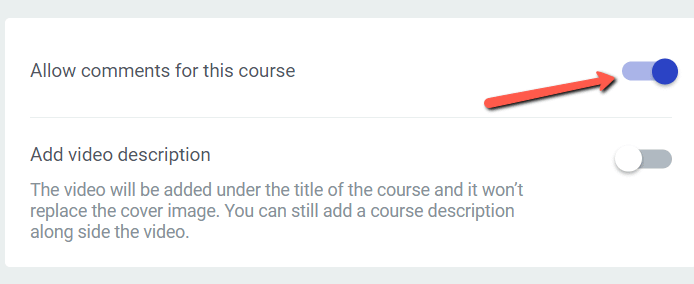
Allow comments for this course
Just as its name says, here you can choose whether or not you want to allow comments to be placed on the page for this course. The comments can be enabled with the use of this toggle:
Add video description
Next, if you want to choose a video description for this course, you can do that. All you have to do is enable this option:

Once you enable it, some more options will appear below. Firstly, to choose the video source, click on this field:
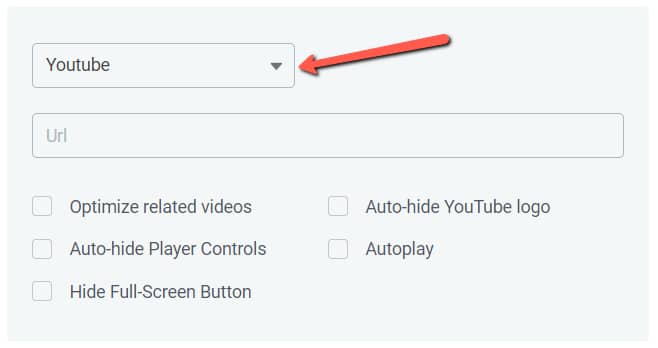
This will open a list of all the video sources that you can choose from. Click on the one that hosts your video:

Youtube
If the video that you want to insert in the course description is a Youtube one, then select this option. Then, right next to the source field, you will see the URL field, and here is where you can insert the link of the video:

Then, you can also check some of the options that are available only for the Youtube videos:
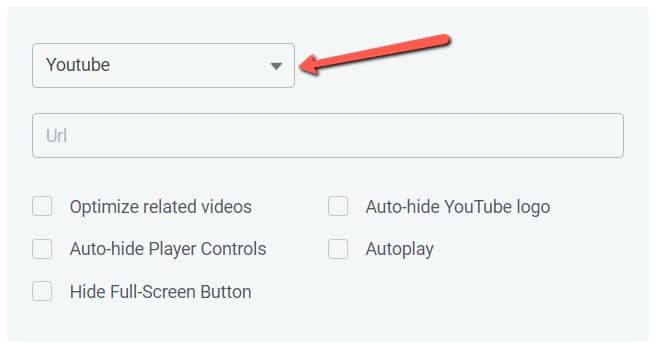
- Optimize related videos: checking this option will make the related videos show at the end of the video;
- Auto-hide YouTube logo: if you choose this option, the source logo from the video will hide automatically;
- Auto-hide Player Controls: if you need the play controls (such as volume, play/pause) to not be visible, check this option, and they will be hidden automatically;
- Autoplay: if this option is selected, the video will automatically start playing when someone accesses the course;
- Hide Full-Screen Button: checking this option will make the Full-Screen button not visible;
Vimeo
If the video that you want to add the description to comes from Vimeo, make sure to select that from the list of sources, and then enter the URL of the video in the field right next to the source:

Wistia
You can also add a video from Wistia. Simply choose this source, and enter the video URL in the field next to the source field:

Custom
You can also add a video from a custom source, by entering the Embed Code of the video, in this field, that appears when you select the “Custom” source:

Important!
The video here has to have the <iframe> tag. Here is an example of how the embed code should look like:
<iframe width=”x” height=”y” src=”http://example.com/wp-content/uploads/file_example.mp4“</iframe>, where you should replace these values with your own:
- x and y should be two numerical values, the width and the height of the video container
- http://example.com/wp-content/uploads/file_example.mp4 represents the URL of the video that you want to upload
- you can also add some more attributes here, to customize this video (such as allow=”accelerometer; autoplay; encrypted-media; gyroscope; picture-in-picture”; allowfullscreen, frameborders, etc.)
Save the Course
Once you have been through all the steps mentioned above, mandatory or not, you can go ahead and save your course using the “Save” button from the bottom right part of the page:

Start Adding Content
However, you cannot have a course without any lessons. So, the next step is to add at least one lesson to this course. In order to do this, open the “Content” tab from the course page:

Then use the plus sign, which will appear once the tab is open, to start adding content to your course.
Find out how to create and publish your first Thrive Apprentice lesson in this article:
Furthermore, you can also organize your lessons in chapters and then, the lessons as well as the chapters in modules.
Publish/Unpublish a Course from the Course Page
Once you have published at least one lesson, you can publish your course, as well. For that, you can use the “Publish” button from the right side of your course page:

Once you have published the course, you will also be able to unpublish it at any given moment. You can do this from the same place, by clicking on “Unpublish”, when necessary:

Publish/Unpublish a Course from the Thrive Apprentice Dashboard
Moreover, in your Thrive Apprentice dashboard, where you have all your courses displayed, you will be able to quickly publish/unpublish a course by clicking on the small red/green circle from the top right corner of the course cards:

If the circle is red, then the course is unpublished. If you click on the red circle, it will turn green, meaning that you have just published the respective course:

Access Restrictions
Back in the main course dashboard, you can use the options from the “Access Restrictions” tab to make the course available only for certain users. Here’s where you can tie your course to a product and lock it so that only certain members of your website have access to it:

For example, if you want the visitors of your website to subscribe before accessing the course, then you can make the course available only for logged-in users.
Here are some resources from our knowledge base that you might find useful:
Also, in case you will want to have paid courses, then you can set up a connection between SendOwl and Thrive Apprentice and after that, you can make the course available only for those users who have bought your course.
This is how you can create and publish your first course.
If you want to learn more about other features available in Thrive Apprentice, such as the drip functionality or issuing completion certificates, make sure to check out these articles from our knowledge base:
- Using the Drip Campaign Templates in Thrive Apprentice
- Issuing Student Certificates in Thrive Apprentice
Lastly, if you found this article useful, don’t hesitate to rate it, below 🙂