In Thrive Architect, you can create a page that, after a certain amount of time after being accessed, will automatically scroll down to a certain element, as seen here:

The effect of auto-scrolling down a page after a certain period of time can be achieved with the help of a “Content Reveal” element.
You can provide an ID for an element of your choice, situated in a lower part of your page. Then, we are going to construct an URL using that ID, and this URL will lead us directly to that element when accessed.
Then, add a “Content Reveal” element, that has no other elements inside it. An empty element will not show up on the front end of your site, but you can still use its functionality, just like in this case.
You can then use the “Redirect to URL” option of the “Content Reveal” element in order to have the page redirected after a certain period of time. The URL to be added in the “Redirect to URL” field will be the previously constructed URL.
This way, when someone accesses the page, after the set amount of time passes, they will be redirected to the URL that we have constructed and that will link to a specific element from the same page.
As a more specific example, I will create a page that automatically scrolls down to a contact form, 5 seconds after someone has accessed it.
Here are the steps in which you can achieve this on your page:
1. Use the HTML Attributes option to provide an ID for an element
In this article, I will use a “Content Box” element as an example, but please remember that you can provide an ID for any Thrive Architect element.
Providing an ID for the element to which we want the users to be sent will help us construct the redirect link.
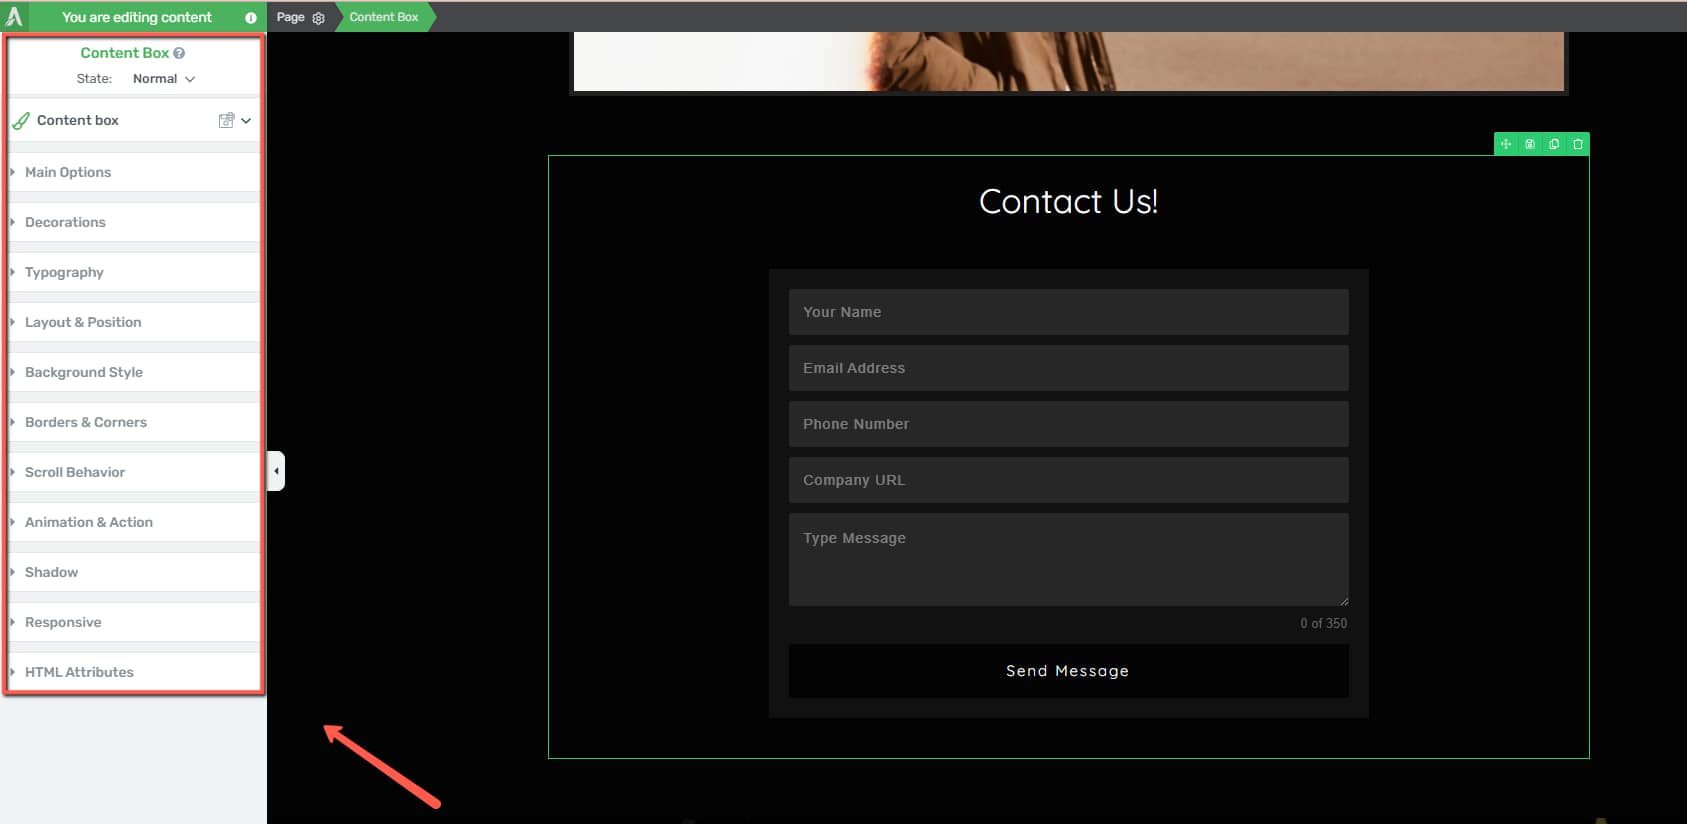
To do that, select the element to open its options in the left sidebar. In my case, I will select my “Content Box” element, in which I have placed a “Text” element and a “Contact Form” element:
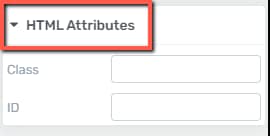
In the left sidebar, click on the “HTML Attributes” section to expand it:
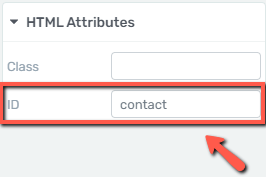
In the “ID” field, enter an ID for the element, as a way to label it and later construct the URL:
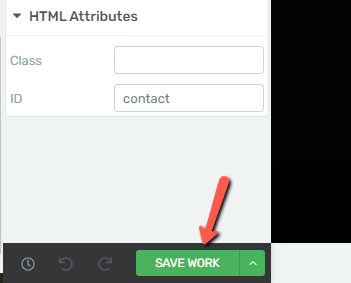
Save the page, to save the ID:
2. Construct the URL using the ID
Now that the element has been labelled, we can construct the redirect URL. For that, we will need the URL of the page on which we’ve been working:
https://mysite.com/example/All you have to do then is to add an “#” at the end of the page, and add the ID that you’ve provided for the element, like so:
https://mysite.com/example/#contactAnd this is the URL that we are going to use for the “Content Reveal” element.
3. Add a “Content Reveal” element to your page and set it up
The third step is to add the “Content Reveal” element and add the number of seconds and redirect URL to it.
- Add the element
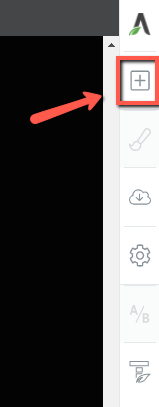
Firstly, add the element anywhere on your page. For that, click on the plus sign from the right sidebar of the editor, to open a list of all the available Thrive Architect elements:
Look for the element and grab it, once you find it:

Then, drag and drop it anywhere on the editor:
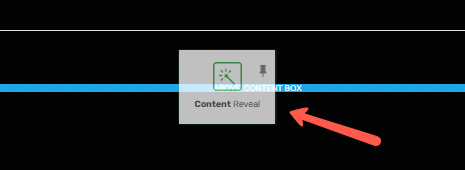
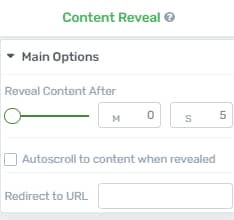
As the element is placed, its options will appear in the left sidebar of the editor. We will use the ones under the “Main Options” section:
- Set the amount of time
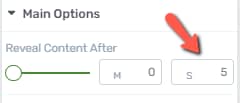
Using the “Reveal Content After” option, you can set the amount of time after which the page will scroll down (in this example, it is set for 5 seconds):
- Redirect to URL
In the “Redirect to URL” field, we will have to insert the URL that we have previously constructed:
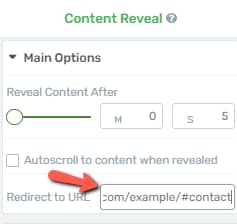
Apart from that, you should leave the “Content Reveal” element empty, with no elements inside it:

This way, it will not show up on your page.
Save everything and you’re all set! And now, when the page is accessed, it will automatically scroll down to the “Contact” section, after 5 seconds.
Of course, this was just an example of a way in which you can achieve this. The flow can be customized as you wish, and the element can be used in many different ways.
I hope this article was useful. For more information about Thrive Suite, please check out our knowledge base.