If you are looking for a way to create an automation between Zapier, Klaviyo, and your Thrive Themes account, then this article might be useful to you.
You can basically use Zapier to automatically move information between multiple web apps. The Zaps you create will allow you to automatically update spreadsheets, send e-mails or send information to other websites on which you have an account.
1) Connect Zapier to your website
Naturally, in order to start creating your first Zap, you have to make sure that you have an active connection set up between your Zapier account and your Thrive Themes.
We have covered the steps for doing this in an article available in our knowledge base, which you can also find linked below:
After your connection is active, your Zapier connection card will become available in the API connection dashboard:

Now, you can go ahead and connect a “Lead Generation” element to your Zapier account.
2) Connect a “Lead Generation” element to Zapier
Open the page or post on which you plan to create your connection, and add a “Lead Generation” element to your content.
Here as well we have created a dedicated article that takes you through the steps for connecting a “Lead Generation” element to Zapier:
Once the form is set up, it can be used by anyone who wants to register for your newsletter, offers, and promotions.
3) Create the Zap
As already mentioned, Zapier facilitates the automation between your Thrive Themes account and a third-party autoresponder, which, in this case, is Klaviyo. Since Thrive Themes does not have a direct API integration with Klaviyo, you can connect to it through Zapier.
For that, you will need to log into your Zapier account and create a Zap:
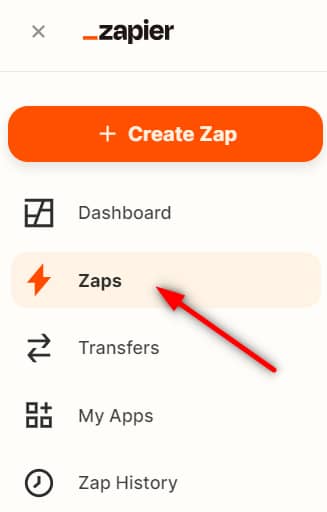
- Name the Zap
Then, go ahead and name your Zap if you want, so that you can easily find it later on:

- Choose the trigger event
You’ll next have to define the trigger event, which, in this case, will be the submission of a form from your website. Use the search field to look for Thrive Themes, and select it from the list:
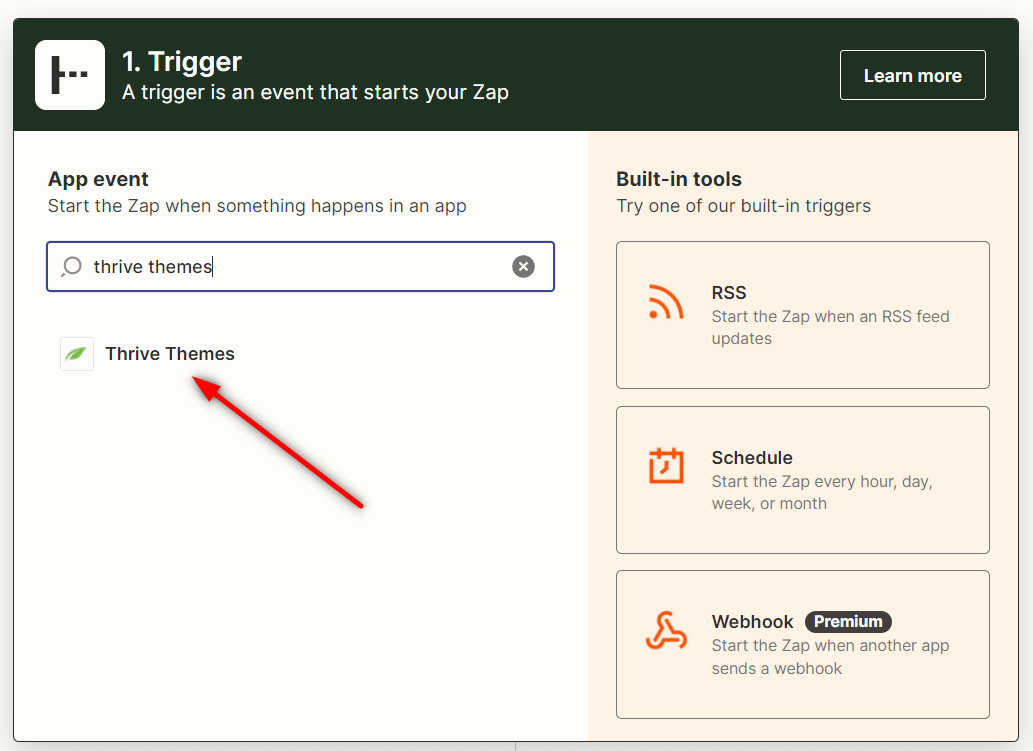
Open the “Trigger Event” drop-down list and make sure it’s set to “All Forms Subscription”:

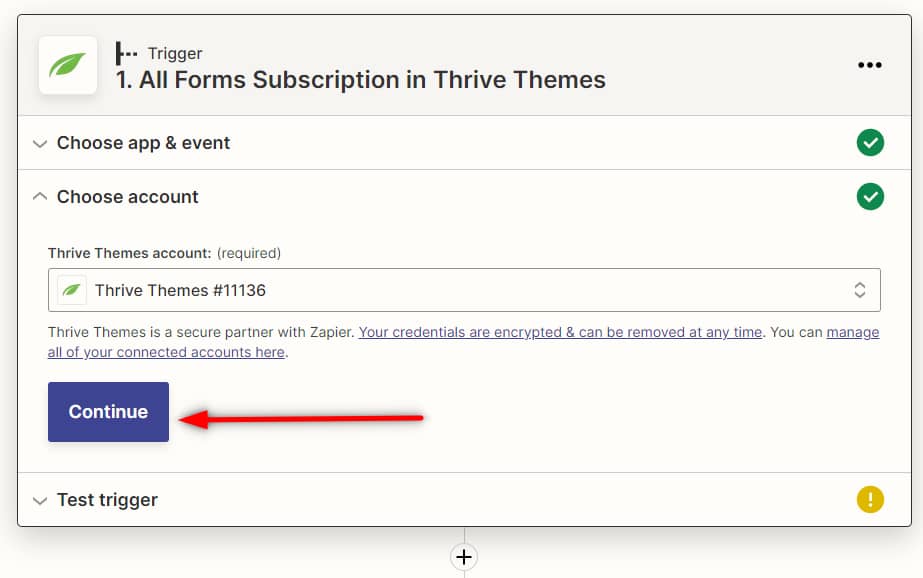
After configuring all this, your trigger card should look like this, and if so, click on “Continue”:

You will next have to select the Thrive Themes account that you want to associate with the current workflow. If you haven’t done that yet, you can find out how to do that in this article linked here.
If your account is already configured, then you can simply open the drop-down list, look for your account and select it from the list. When done, click once more on “Continue”:
Lastly, you will have to test the trigger that you’ve just set up:

The test will run in the back-end and, if the trigger is set up correctly, you can proceed to the next step.
- Choose the action: Klaviyo
This is the step where you’ll have to decide what should happen after the submission of a form. So, in other words, you will set the action for your Klaviyo app, so that every person who fills out and submits the form, will be added to your Klaviyo mailing list.
First, in the “Search apps” field, look for Klaviyo:
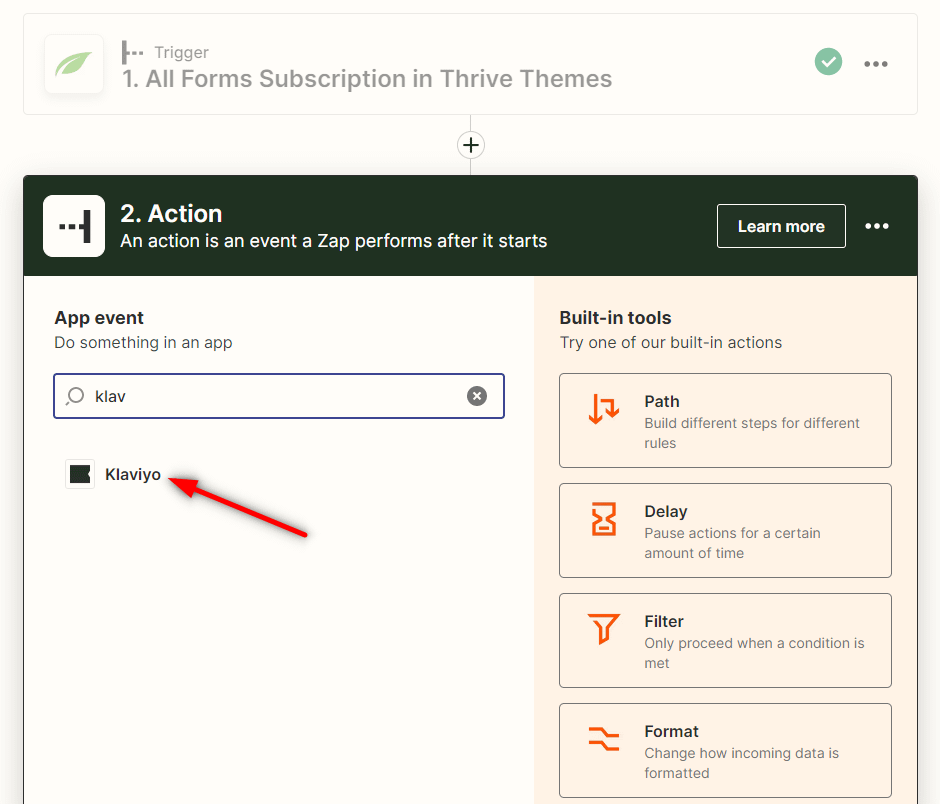
You’ll next have to choose an action event, that will be performed when the Zap runs:
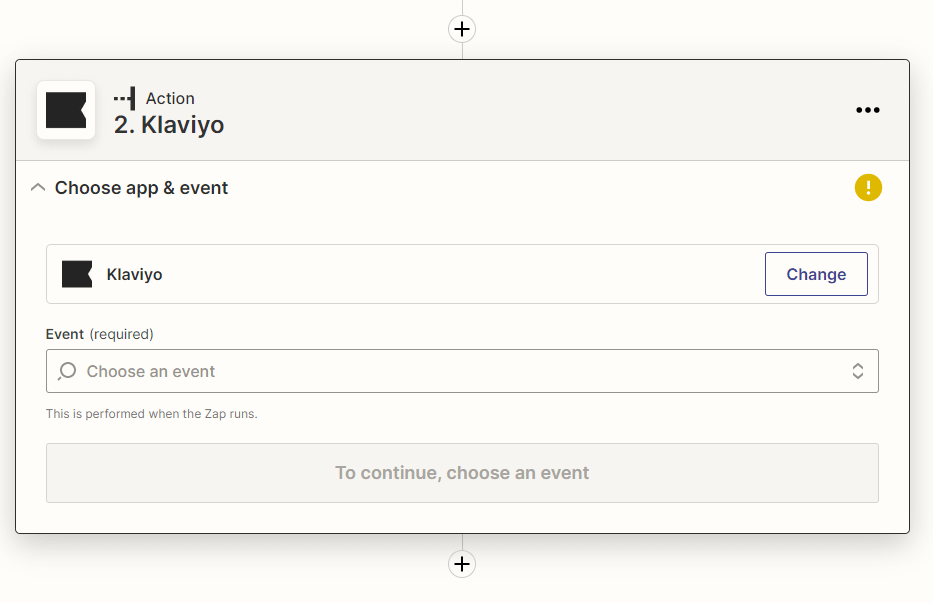
For this use case scenario, we will be selecting “Add Subscriber”, as the purpose of this automation is to add all new visitors who are filling out the form to a Klaviyo mailing list:

Now go ahead and click on “Continue”:

Connect your Klaviyo account
Naturally, in order for the automation to work, you’ll also have to make sure that you are signed in to your Klaviyo account.
Click on “manage all of your connected accounts here” to do that:

In the new tab that opens, look for Klaviyo and click on “Connect”:

Zapier requires you to connect your accounts through an API:

- Get your Klaviyo API keys
In your Klaviyo account, click on your avatar icon and select “Account” from the drop-down list:

From the navigation bar that appears, access the “Settings” and select “API Keys”:
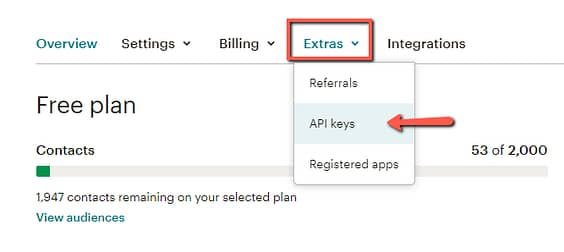
Your “Public API” will be created by default and available for your to copy:

The “Private API” is not available by default, so you’ll have to create it first:

After you do that, the key will instantly appear in your dashboard. In order to view it, click on the eye icon next to it and then simply copy it as you will need this too for the connection:

With both keys copied and pasted into the corresponding fields from your Zapier connection pop-up window, click on “Yes, Continue”:

Your Klaviyo account will automatically be linked in your action card and now you will be able to simply select Klaviyo from the drop-down list:

Set up action
The next step in the process is to set up some actions relevant to this automation – such as to which mailing list will the subscribers be added to and also what data should be used for populating the remaining fields (email, name, etc.):
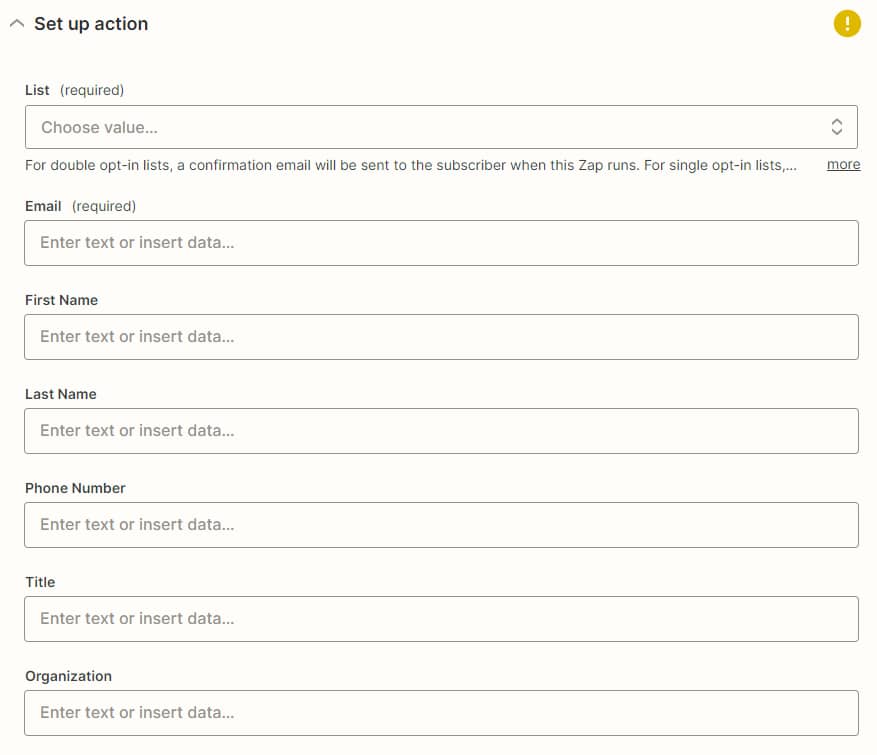
Open the “List” drop-down and select your Klaviyo mailing list:

Next, do the same for each field that is available in your “Lead Generation” form – simply click on the field and select the corresponding value from the list that opens.
Lastly, before you turn on your Zap, you will be able to test it:

4) Publish the Zap
If everything goes well, you will see this notification, alongside the button that allows you to publish the zap:

Your Zap is turned on now and ready to be used as per the configurations you’ve set up in the previous steps.
Whenever someone will fill out the form from your website (that has been also connected to your Zapier account), that person will also be added to your Klaviyo mailing list:

This is just one example out of the many ways in which you can benefit from connecting your account to Zapier. Feel free to follow the steps described in this article if you want to create a connection between these apps and get the most out of the services offered by Thrive Themes, Zapier, and Klaviyo.
We have several resources available in our knowledge base, that you might find useful if you want to read more about Thrive Themes and Zapier: